


Vinyl Plank Repair: St. Louis & Central Illinois Guide

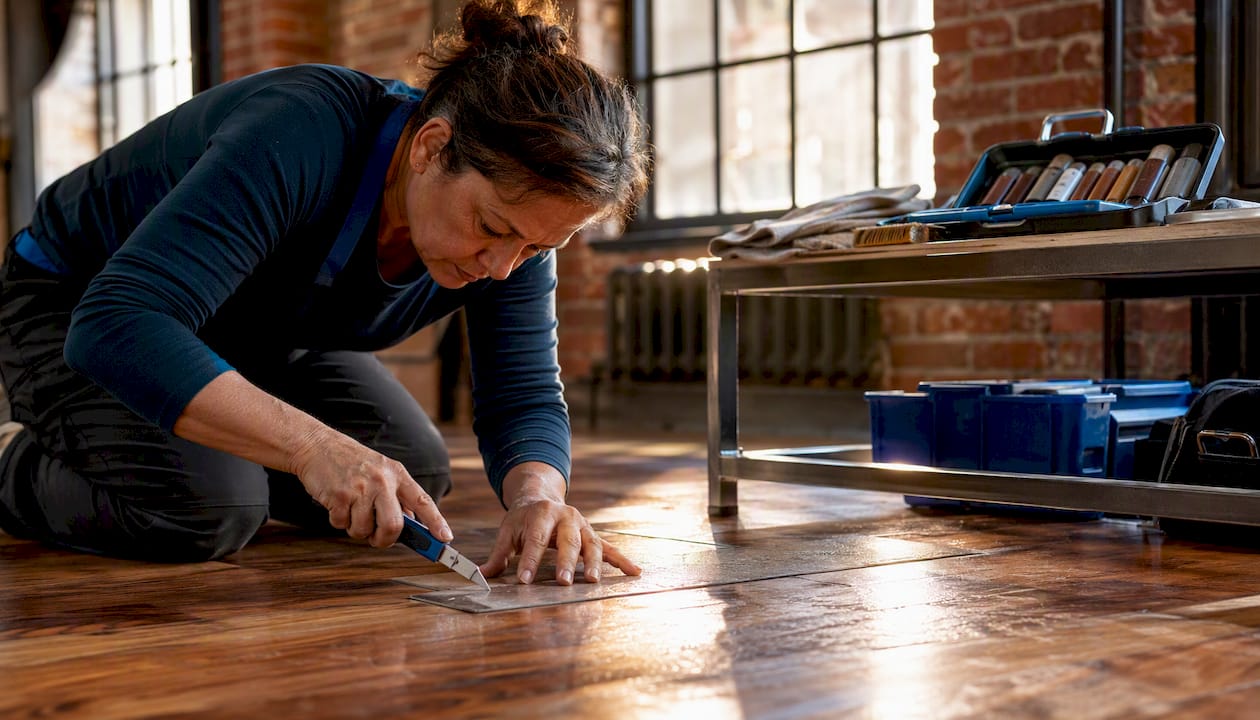
Most vinyl plank damage is repairable without replacing the entire floor. Surface scuffs, small gouges, lifted edges, and even single cracked planks all have practical fixes. The exceptions are severe subfloor moisture, large-area delamination, or flooring that has simply worn past its usable life.
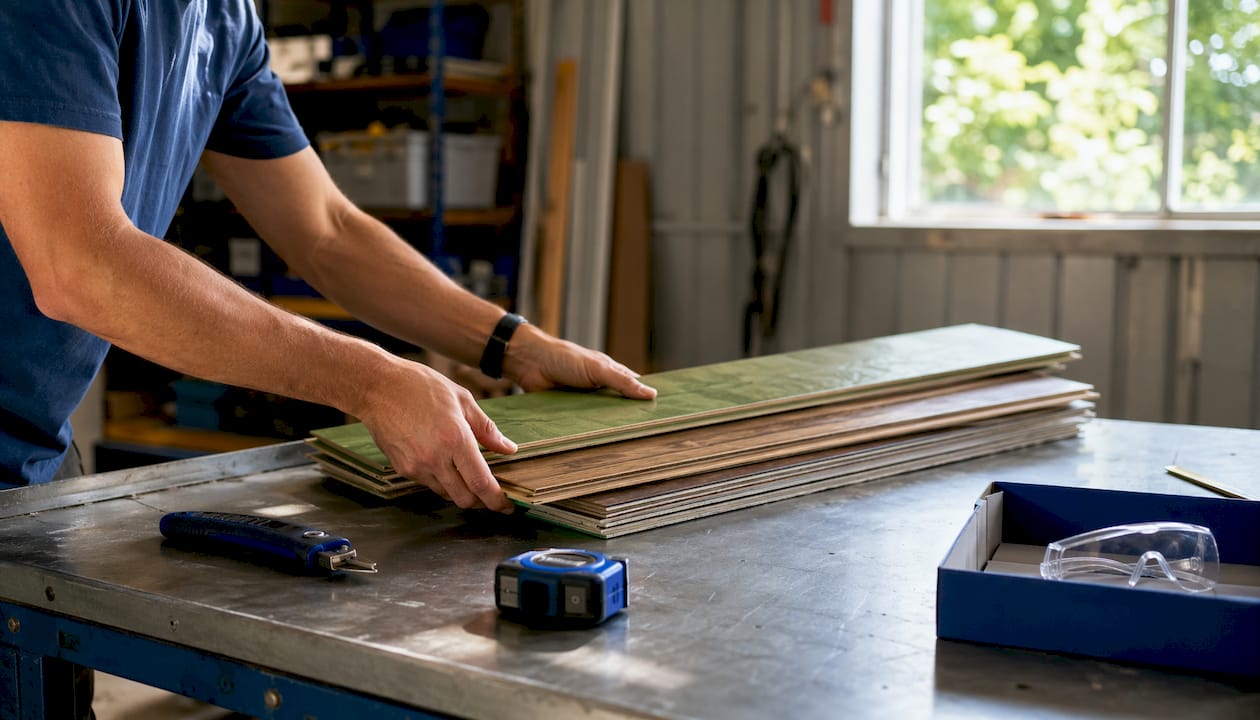
Your first moves matter. Stop foot traffic on the damaged area, blot any visible moisture, and photograph the damage before touching it. Then check whether your floor is floating click-lock or glue-down. That single detail determines whether you can unclick rows back to a wall or must cut and patch in place.
Quick damage guide:
Scuffs and light scratches → soapy water, melamine sponge, or vinyl polish
Small gouges → color-matched filler or repair kit
Cracked or warped plank → single-plank replacement
Buckling, delamination, or water damage → pro assessment before any repair
Save any leftover planks from the original installation. If you have none, pull a plank from a closet or under an appliance and use it as the visible replacement, then put the mismatched spare in the hidden spot.
Pro Tip: When contacting a local contractor, ask three things upfront: Can they visit within the week? Do they have direct experience with LVP repairs specifically? And will they inspect the subfloor and provide a moisture reading before quoting?
Table of Contents
DIY vinyl plank repair: step-by-step fixes that actually work
Surface scratches and scuffs are the easiest fix. Clean the plank with a damp cloth, then apply a wax stick or color-matched repair pen directly over the scratch. Buff with a soft cloth using circular motions until the surface is smooth and flush. For deeper scratches, a two-part vinyl filler holds better than wax alone.
Loose seams and lifted edges respond well to multipurpose vinyl adhesive. Vacuum any grit from under the lifted edge first — even a small grain creates a visible bump after repair. Spread adhesive under the edge, press firmly, wipe away squeeze-out with a damp rag, then weight the area overnight with a flat board and heavy books.
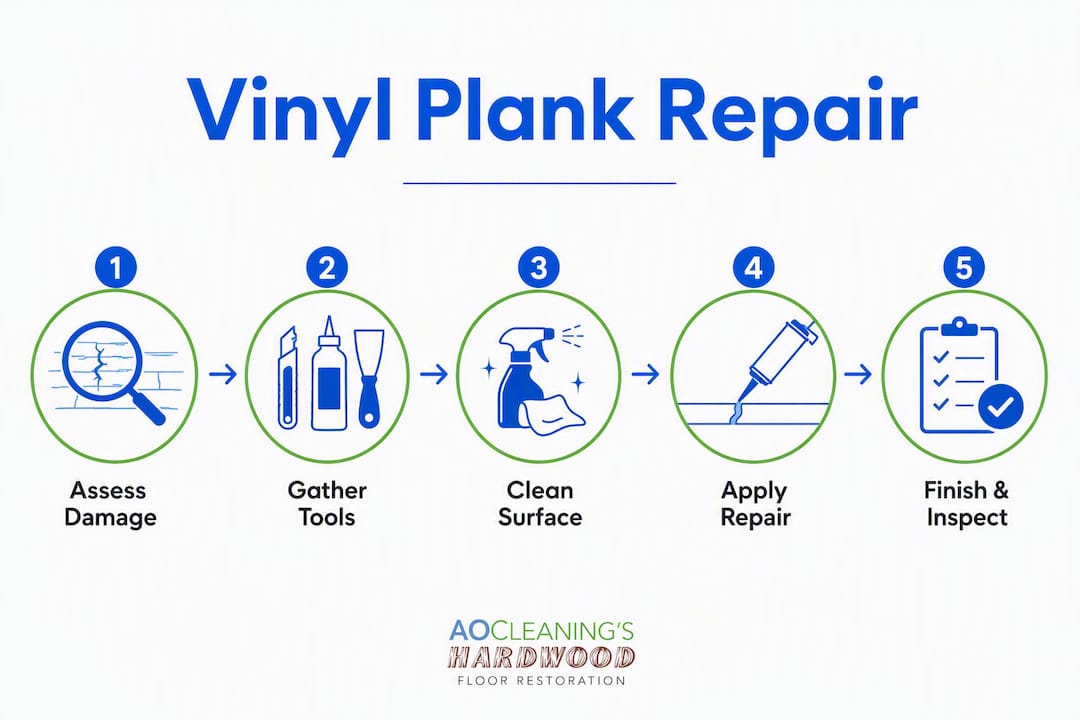
Replacing a single click-lock plank near a wall: remove the baseboard trim, unclick rows one by one back toward the damaged plank, swap it out, reassemble, and reinstall the trim. Clean and straightforward.
Replacing a mid-room click-lock plank is trickier. Score the damaged plank with a utility knife about 1/4 inch inside each seam line, pry out the center section, then carefully remove the edge strips. On the replacement plank, trim the bottom locking lip on the long side and one short end so it drops in from above. Apply vinyl flooring adhesive around the opening perimeter, set the plank, and weight it for 24 hours.
Glue-down repairs follow a similar cut-out process, but the entire plank must be glued and weighted. Avoid superglue or general-purpose adhesives — they create rigid spots that crack under foot traffic. Use a manufacturer-recommended vinyl adhesive only.
Signs your subfloor has water damage underneath
Soft or spongy spots when you walk are the clearest warning. Other signs: planks that buckle or cup without an obvious cause, a persistent musty smell even after cleaning, and visible discoloration or staining at seam lines. Water under planks can reach the subfloor and create mold before you see any surface evidence.
If you find these signs, remove the affected planks, run fans and a dehumidifier until the subfloor is completely dry, then inspect for warping or mold. Any compromised subfloor material must be replaced before you relay vinyl. Skipping that step means the new planks will fail again.
What repairs typically cost and how long they take
Single-plank swaps on floating floors generally have low material costs and can be completed in a few hours, with the floor usually walkable the same day. Glue-down repairs require additional curing time before foot traffic. Surface filler repairs typically take under an hour and cost about the price of a repair kit.
When subfloor replacement enters the picture, both cost and timeline increase substantially. A pro assessment is worth the upfront fee in that scenario — it prevents a second repair call within months.
Tools and materials you need for DIY repairs
Item | Used for |
Utility knife and straightedge | Scoring and cutting planks cleanly |
Wax sticks or color-matched filler | Surface scratches and small gouges |
Vinyl flooring adhesive | Gluing replacement planks and loose edges |
Seam sealer | Closing open seams on sheet or glue-down vinyl |
Putty knife | Removing old adhesive and lifting plank edges |
Masking tape | Protecting adjacent planks during repairs |
Flat board and heavy books | Weighting repairs during adhesive cure |
Melamine sponge | Removing scuffs without scratching the wear layer |
Avoid common DIY repair mistakes like using the wrong adhesive or skipping the subfloor inspection after plank removal.
Preventive maintenance that keeps vinyl planks looking new
Felt pads under every chair and furniture leg prevent the majority of surface scratches. Use a consistent floor maintenance routine with a pH-neutral cleaner — harsh soaps and steam mops degrade the wear layer over time. Wipe spills immediately; standing water at seams is the most common path to subfloor damage.
Keep the room temperature and humidity stable. Floating floors expand and contract with seasonal swings, and without adequate expansion gaps at walls, planks buckle. Check that gap once a year, especially after a renovation that added new trim or thresholds.
Aosaveswoodfloors: local floor expertise when DIY isn’t enough

Vinyl plank repairs are manageable when the damage is surface-level. When the subfloor is involved, or when a glue-down floor needs precise matching and adhesive work, the margin for error shrinks fast. Aosaveswoodfloors has been serving homeowners across central Illinois and the St. Louis metro area since 2003, with professional floor restoration completed in a single day and floors ready to walk on in about three hours. No lingering odors, no mess. For routine upkeep between professional visits, the AO Hardwood Neutral Cleaner keeps surfaces clean without damaging the wear layer. Serving St. Louis, Columbia, Belleville, Fairview Heights, Waterloo, O’Fallon, and surrounding communities. Before you refloor it, call Aosaveswoodfloors first.
Key Takeaways
Most vinyl plank damage is repairable in place; the installation type (floating vs. glue-down) determines which method applies and how long the repair takes.
Point | Details |
Most damage is fixable | Surface scratches, small gouges, and single cracked planks rarely require full floor replacement. |
Installation type matters | Click-lock floors allow row-by-row disassembly; glue-down repairs require cutting out and gluing a replacement plank. |
Subfloor signs need a pro | Spongy spots, musty odor, or visible staining at seams indicate moisture damage that DIY patching will not resolve. |
Cure time is non-negotiable | Glue-down and mid-room click-lock repairs require 24 hours of weighted curing before foot traffic. |
Aosaveswoodfloors | Serving central Illinois and St. Louis metro homeowners since 2003, with single-day restoration and local subfloor expertise. |
Recommended

Comments