


15–40% Tile Damage Means Call a Pro for Parquet Floor Refinishing
- Kim M.

- 1 day ago
- 8 min read
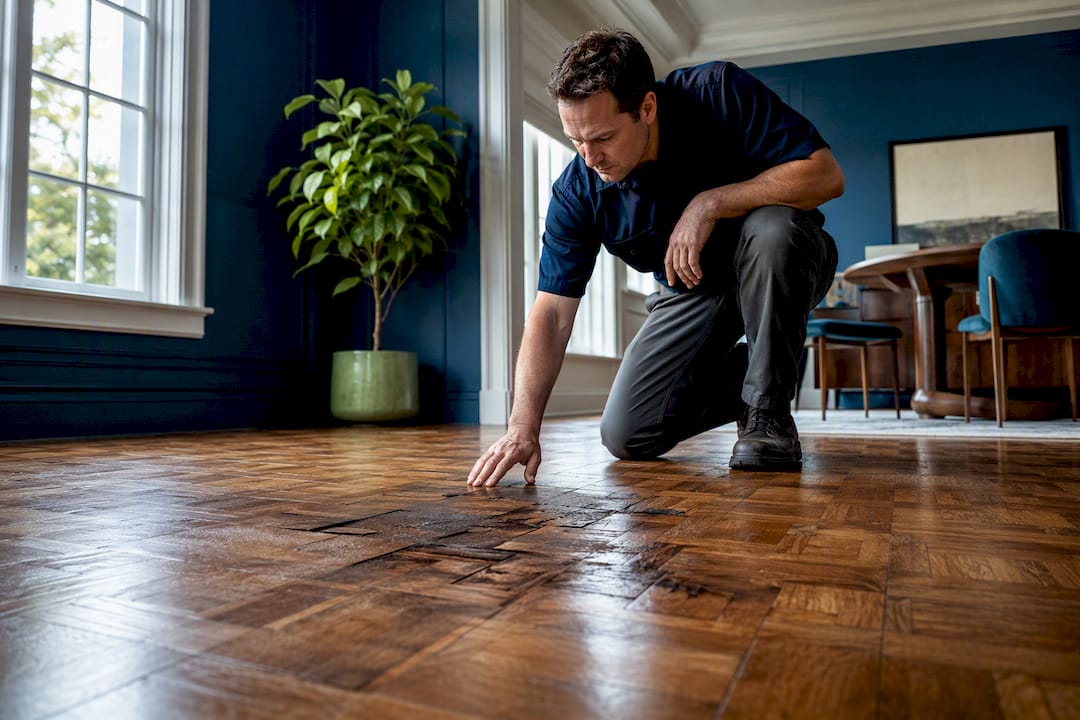
Most worn parquet can be brought back without replacing a single tile: use screen-and-recoat for surface dullness and scuffs, or a controlled sand-and-refinish when the finish has worn through or the wood itself is gouged. Before you touch a sander, measure the wear layer and run a discreet test patch. That single check decides everything else about your project.
TL;DR:
A wear layer of at least 2 millimeters is essential for safe sanding, with thinner layers risking damage to veneer or glue lines.
Deep gouges or tiles that are missing or heavily cupped require spot repairs or replacement before any refinishing attempt.
Proper equipment, such as planetary sanders and a conservative grit progression, is crucial to avoid visible flaws on intricate parquet patterns.
Minor surface dullness and scratches can often be restored with screen-and-recoat, but extensive damage may necessitate full sand-and-refinish.
Professional restoration with dustless equipment is recommended for complex patterns or when vacuum or dust control is a priority, especially in occupied homes.
Table of Contents
What Determines Whether Your Parquet Floor Needs Sanding?
Start by walking every room in bright, low-angle light. Look for cupped or curling tiles, hollow spots that creak or flex underfoot, missing blocks, deep gouges, and dark water stains that suggest moisture damage below the surface. Surface dullness and light scratching are a different problem entirely from structural wear, and treating them the same way wastes money.
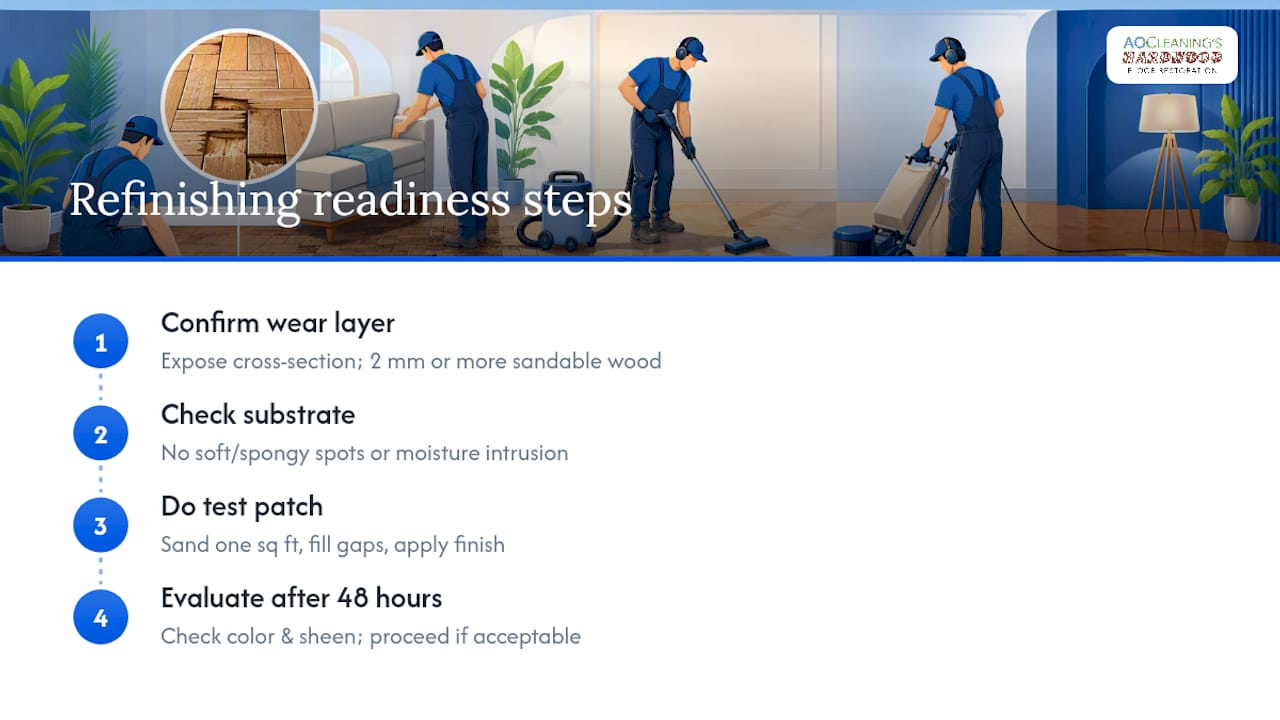
The real test is the wear layer, the sandable wood above the tongue-and-groove or the plywood core on engineered parquet. Pull a floor register, a heat vent cover, or drill a small pilot hole in a closet to expose a cross-section. Many flooring guides recommend against aggressive sanding once that wear layer measures under about 2 millimeters, since there simply isn’t enough wood left to remove finish without hitting veneer or glue.
Check the substrate too. Soft, spongy spots near exterior walls or bathrooms often mean moisture intrusion, and sanding over that problem just buries it under new finish for a few months. Once you’ve confirmed adequate wear layer and dry subfloor, run a one-square-foot test patch in a closet or under a rug. Sand it, fill any gaps, and apply finish. Live with it for 48 hours. If the color and sheen look right, you’re cleared to move forward on the rest of the floor.
When Should You Skip Sanding Entirely?
Sanding isn’t always the answer, and jumping to it can shorten a floor’s life for no reason. Screen-and-recoat, a light abrasion of the existing finish followed by a fresh top coat, works when the wear layer is intact and the damage is cosmetic rather than structural. Acid-free parquet restorers do a similar job chemically: they etch the old finish just enough for a new coat to bond, without removing any wood.
Neither approach fixes everything.
Deep gouges that catch a fingernail need sanding or spot repair, not a restorer.
Missing or badly cupped tiles require individual replacement before any refinishing step.
Finish that’s worn through to bare wood in high-traffic lanes usually needs at least a partial sand.
There’s a tipping point where patchwork stops making financial sense. Once damage spreads across roughly 15 to 40 percent of the field, tile-by-tile repair starts costing close to what a full refinish would, and a sand-and-refinish (or in extreme cases, replacement) becomes the smarter move. A screen-and-recoat schedule every few years, done before damage accumulates, is what keeps you out of that math altogether.
How Do You Prep and Repair Parquet Before Refinishing?
Preparation determines whether the finished floor lasts years or fails within months. Pull shoe molding, vent covers, and any transition strips before you start, and re-glue loose blocks with a modern flooring adhesive rather than assuming the old mastic will hold. Blocks that are cracked, cupped beyond flattening, or missing outright need individual replacement, ideally sourced from a hidden area of the same floor so the grain and color match.
Test moisture levels in the subfloor and let replacement wood acclimate to room humidity for a few days.
Fill small gaps with a slurry made from your own sanding dust mixed with a compatible resin, which blends into the surrounding wood tone far better than a store-bought filler.
For larger gaps, wood slivers cut to match the grain hold up better than slurry, which can shrink or crack in bigger voids.
Mask doorways and HVAC returns with plastic sheeting, and mask baseboards you’re not removing.
Pro Tip: Save a cup of your fine sanding dust before you switch to the finishing grit. It’s the exact color match you’ll need for slurry repairs, and it’s a lot cheaper than buying a tinted filler and guessing.
Whatever equipment you rent, ask about dust collection. A shop vacuum taped to a sander’s port isn’t the same as a sealed, HEPA-filtered system, and the difference shows up in your lungs and your walls a week later. Wear an N100 respirator, not a paper dust mask, for any sanding phase.
What’s the Right Sanding Strategy for Parquet Patterns?
Parquet’s block pattern runs grain in multiple directions across the same floor, which is exactly why a straight-line drum sander is the wrong tool. Drum sanders dig in in one direction and tear out fibers in the next. Professional crews use planetary or multi-disc sanders, machines like the Lagler Trio or Bona FlexiSand, because the spinning discs sand evenly regardless of which way the grain runs underneath them. These are available for rent at most flooring supply stores, and a careful DIYer can run one, though the learning curve is real.
A conservative grit progression matters more on parquet than on strip flooring, because mistakes are harder to hide across a repeating pattern.
Start around 36 to 40 grit only if you’re removing old finish or leveling cupped tiles.
Move to 60, then 80, then 100 grit, and don’t advance until the previous grit’s scratch pattern is fully gone.
Finish with a 120 to 150 mesh screen pass to erase directional marks and prep the surface for stain or finish.
Edges, corners, and inside closets need an edger and often hand-scraping, since the big planetary machine can’t reach tight against baseboards. A final buff with a fine screen after all edging work removes the last bit of visible directionality between field and edge work. The most common mistakes are renting a drum sander to save money, skipping a grit step to save time, and applying finish before the dust from the final pass is fully cleared, all of which show up as visible flaws once the floor is sealed.
Which Finish Should You Choose for Refinished Parquet?
The finish you pick affects how the floor looks, how long you wait to use the room again, and how easy repairs are five years from now.
Water-based two-component polyurethane dries close to clear with minimal ambering, and it recoats faster than oil-based systems, usually within a day between coats. Most jobs use two to three coats.
Oil-modified polyurethane ambers over time into a warmer, richer tone that some homeowners prefer on darker parquet patterns, but it cures more slowly and off-gasses longer.
Hard-wax oils, such as Rubio Monocoat or Osmo, soak into the wood rather than sitting on top of it. Scratches and worn patches can be spot-repaired without recoating the whole room, and the surface feels closer to bare wood. The tradeoff is periodic reapplication, roughly every one to three years in high-traffic zones.
If you’re staining a patterned floor, test on scrap or an inconspicuous corner first. Different wood species within the same parquet pattern can absorb stain unevenly, and you may need spot-staining on individual tiles to even out the final color. A satin or matte sheen also tends to hide the fine scratches parquet accumulates faster than a high-gloss finish does. For a deeper breakdown of finish categories and maintenance schedules, see this guide to hardwood floor finishes.
How Much Does Parquet Refinishing Cost, and How Long Does It Take?
Parquet costs more to refinish than plank flooring of the same square footage, largely because of the pattern work at edges and the added repair time for damaged tiles. Screen-and-recoat typically runs in the neighborhood of $1.80 to $3 per square foot, while a full sand-and-refinish costs considerably more once you factor in block repairs, filler, and multiple coats.
Timeline follows the same split. Screen-and-recoat can often be a single-day job, with the floor walkable within hours. A full sand-and-refinish typically stretches across several days once you count sanding, repairs, drying between coats, and cure time before furniture goes back. Water-based finishes generally allow light foot traffic in three to six hours and furniture after a day or two; hard-wax oil may permit light use sooner, but full hardness takes longer to develop.
DIY makes sense if the pattern is simple, access is easy, and you’re comfortable running a rented planetary sander.
Hiring out makes sense for intricate herringbone or basket-weave patterns, tight timelines, or if dust control matters because you’re living in the home during the work. Learn more about how to pick the right flooring for your custom home here.
Ask any contractor about their experience specifically with parquet, whether they run dustless equipment, how they assess wear layer before quoting, and whether the estimate includes a workmanship warranty.
Pro Tip: Get two quotes minimum, and ask each contractor what percentage of tile damage they’d consider the line for recommending replacement instead of repair. Their answer tells you a lot about how much parquet experience they actually have.
Why Parquet Deserves More Caution Than a Typical Refinish
Most refinishing advice online is written for strip and plank flooring, then applied to parquet as an afterthought. That’s a mistake. Parquet punishes shortcuts that a plank floor would forgive. A drum sander that leaves faint directional lines on oak strip flooring will leave visible gouges where the grain direction flips every few inches on a herringbone or basket-weave pattern. Skipping a grit step that a plank floor might hide under stain will show up as a dull patch on parquet’s tighter, more reflective surface.
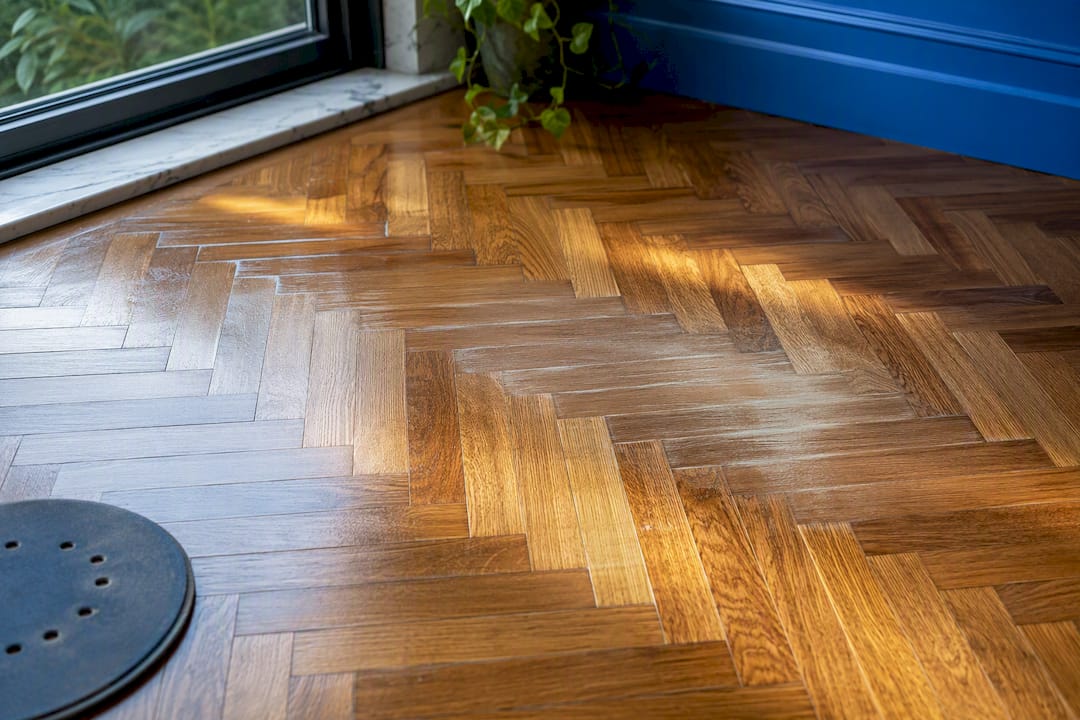
The other thing homeowners consistently underestimate is how much the wear-layer check changes the entire decision. A floor that looks identical to its neighbor can have twice the sandable wood underneath, simply because it was manufactured differently or has already been through one prior refinish. Skipping that measurement and guessing is how floors end up sanded through to the glue line, and that’s not a mistake you fix with more finish.
None of this means DIY is off the table. A patient homeowner with a rented planetary sander, a conservative grit plan, and the discipline to run a real test patch can restore a lot of parquet successfully. But the margin for error is thinner than most general flooring content admits, and that’s exactly where a professional’s experience with pattern floors earns its cost.
— Jim
When It Makes Sense to Call AO Cleaning Instead
If the wear-layer check, the pattern complexity, or the dust involved makes you want a professional handle it, that’s exactly the gap Aosaveswoodfloors fills for homeowners across central Illinois and the St. Louis metro. AO Cleaning has restored parquet and hardwood floors since 2003, backed by more than 450 Google reviews, and runs dustless sanding equipment on every job so you’re not living in a plastic tent for a week.

Their lineup covers exactly the decision points this guide walks through: 1-day hardwood floor restoration for surface wear, screen and recoat for floors that don’t need full sanding, and full sand and refinishing for parquet that’s worn through to bare wood. Most jobs are walkable in about three hours, which matters if you can’t clear a room for a week. A quote will typically include a wear-layer assessment and a straight answer on whether your floor needs sanding or just a refresh, the same checks this article recommends doing yourself first.
If your countertops need attention too, AO Cleaning also handles countertop cleaning, polishing, and sealing as part of the same visit. Request an estimate and get a specific answer for your floor instead of a generic ballpark.
Sources
Recommended

Comments