


How to Restore High End Hardwood Floor Finish Right
- Kim M.

- May 21
- 8 min read
Your floors were an investment. Now they look tired, scuffed, and dull, and you’re wondering whether it’s time to replace them entirely. Before you go down that road, know this: to restore high end hardwood floor finish is almost always faster, cheaper, and less disruptive than a full replacement. The problem is most homeowners either attempt a DIY fix with the wrong products or assume the only option is tearing everything out. This guide walks you through the real methods professionals use, from preparation through final coat, so you know exactly what to expect and how to get results that last.
Table of Contents
Key takeaways
Point | Details |
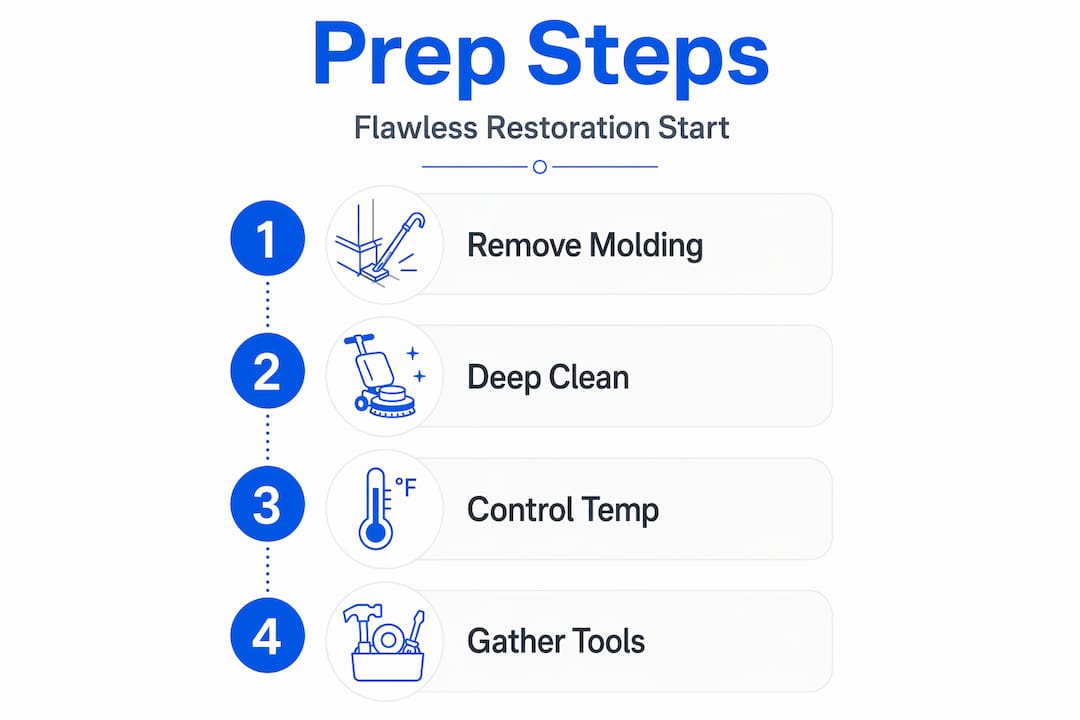
Prep work is non-negotiable | Removing shoe molding, cleaning properly, and controlling temperature set the foundation for a lasting finish. |
Match the method to the damage | Light wear calls for screen and recoat; deep scratches and heavy traffic damage require full sanding and refinishing. |
Water-based poly is the smart choice | It resists yellowing for 10+ years and dries faster than oil-based alternatives with far less odor. |
Polish is not a substitute for refinishing | Applying restorative polish over exposed wood traps dust and creates slippery surfaces that complicate future repairs. |
Professional dustless systems protect your home | HEPA-equipped sanding reduces airborne dust by over 90%, keeping your furniture and air quality intact. |
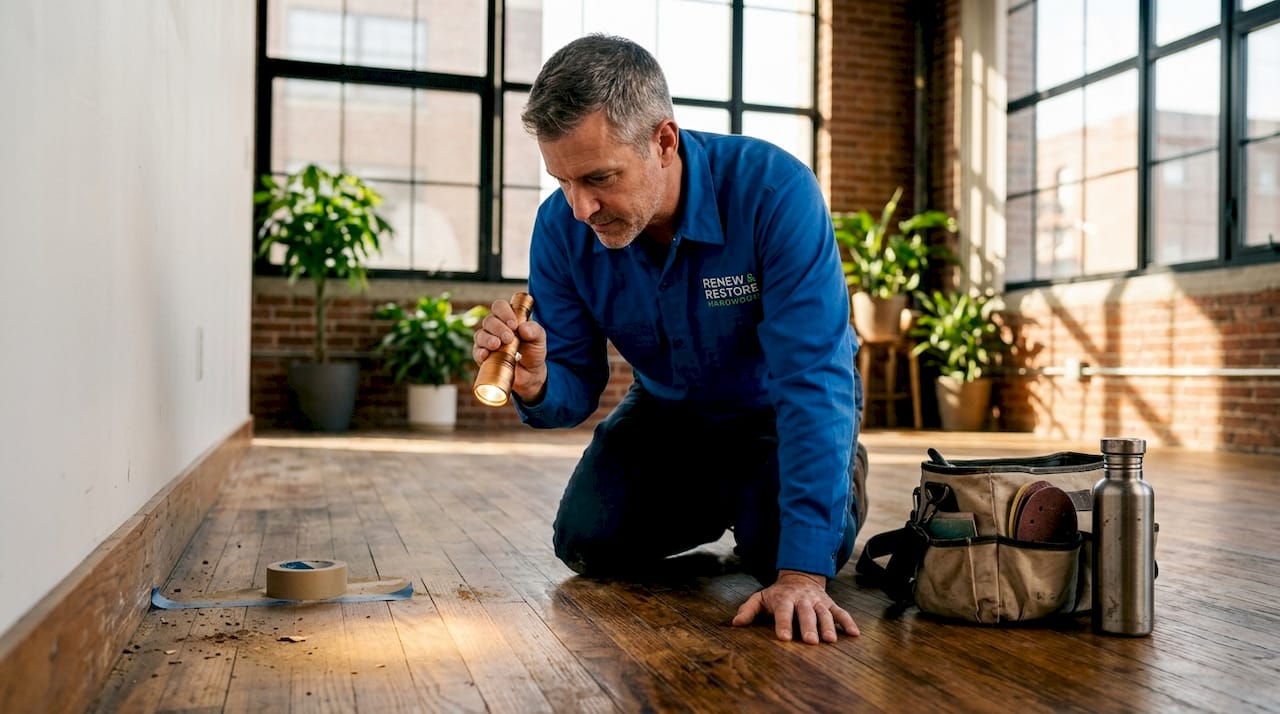
How to restore high end hardwood floor finish: what you need first
Getting the result right starts before you ever touch a sander. Skipping or rushing the preparation phase is the single most common reason a refinishing job looks uneven, peels prematurely, or requires a costly redo.
Tools and materials checklist:
Drum sander and edge sander (or orbital sander for lighter jobs)
Sanding screens in multiple grits (36, 60, 80, and 120)
HEPA vacuum and dustless sanding attachment
pH-neutral hardwood floor cleaner
Tack cloths and microfiber mop
Water-based polyurethane finish (matte, satin, or gloss)
Stain (optional, for color correction)
Painter’s tape and plastic sheeting
Safety glasses, respirator mask, and knee pads
Pry bar for shoe molding removal
Environmental conditions matter more than most people realize. Temperatures between 65 and 75°F are ideal during both application and curing. Too hot and the finish dries unevenly. Too cold and it won’t cure properly at all. Keep humidity between 35% and 55% as well. Wood expands and contracts with moisture changes, and applying finish during a humidity spike can cause bubbling or adhesion failure.
One detail that trips up even experienced DIYers: removing shoe molding before sanding is a separate, necessary step. If you sand around it, you’ll get an uneven edge and a visible line where the finish stops. Pull it off carefully, label each piece with its room location, and plan to repaint or restain it before reinstalling.
Pro Tip: Use a pH-neutral, hardwood-safe cleaner like Bona before sanding to remove wax buildup, grease, and residue. Improper cleaning products leave behind a film that prevents new finish from bonding correctly.
Step-by-step restoration process for high-end floors
This is where high end floor restoration either succeeds or falls apart. Each phase builds on the previous one, and cutting corners at any step shows up in the final result.
Clear and protect the space. Remove all furniture, rugs, and floor vents. Seal doorways with plastic sheeting to contain dust. Even with dustless equipment, fine particles travel.
Rough sanding. Start with a coarser grit (36 or 60) to remove the old finish completely. Sand with the grain of the wood. An edge sander handles the perimeter where the drum sander can’t reach. This step is what makes refinish hardwood floors projects so physically demanding for DIYers.
Progressive sanding. Move through finer grits (80, then 120) to smooth the surface. Each pass removes the scratches left by the previous grit. Skipping grits leaves visible marks under the finish.
Dustless sanding advantage. Professional HEPA-equipped sanding systems reduce airborne dust by over 90%. For high-end homes, this matters. You’re not repainting walls and cleaning furniture for weeks after the job is done.
Stain application (optional). If you’re changing the color or correcting uneven tone, apply stain after the final sanding pass. Test your chosen stain on a small, inconspicuous area first. Let it sit for the full recommended time before wiping. Colors look different on your specific species of wood than they do on a sample board.
Apply the first coat of finish. Water-based polyurethane is the preferred choice for high-end hardwood floors. It maintains color without yellowing for 10 or more years, dries in 2 to 4 hours, and produces far less odor than oil-based alternatives. Apply in long, even strokes with the grain.
Light screening between coats. Once the first coat dries, lightly screen the surface with a 120 or 150 grit screen. This removes any dust nibs or brush marks and gives the next coat something to grip. Vacuum and tack cloth the entire surface before applying the next coat.
Apply second and third coats. Most high-end floor restoration projects use three coats for maximum durability. Each coat adds depth, protection, and sheen.
Pro Tip: Never apply a restorative polish or shine product to bare or exposed wood. Polishes on bare wood trap dust, create slippery surfaces, and make future refinishing far more difficult.
Drying and curing timeline:
Stage | Timeline | Notes |
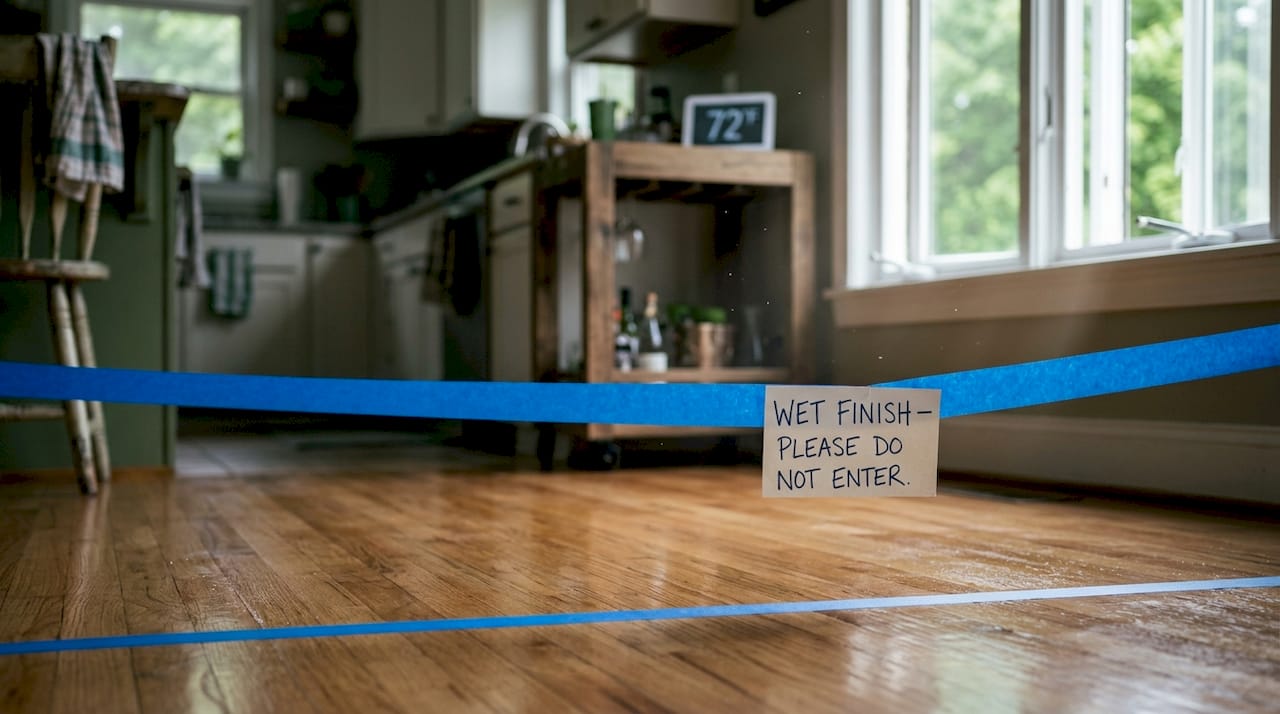
Walk-on dry time | 2 to 4 hours | Light foot traffic only, no shoes |
Furniture return | 24 to 48 hours | Use felt pads under all legs |
Full cure | 7 to 14 days | Avoid rugs and heavy cleaning |
Complete hardness | 30 days | Floor reaches maximum durability |
Controlled indoor environments during the curing phase are just as important as during application. Keep the temperature and humidity stable for the full cure window.
Troubleshooting, mistakes to avoid, and maintenance
Even a well-executed restoration can develop issues over time if the maintenance routine is wrong. Here’s what to watch for and how to handle it.
Common post-restoration mistakes:
Using steam mops on finished hardwood. Steam forces moisture into the wood and breaks down the finish from below.
Applying spray-on shine products thinking they’ll restore wood floor shine. They mask the problem temporarily and create adhesion issues for future refinishing.
Dragging furniture instead of lifting it. One heavy drag can cut through all three coats of finish.
Using vinegar or ammonia-based cleaners. Both strip finish over time and dull the surface.
For small scratches and wear spots that appear between full refinishing cycles, a microfiber mop system with a residue-free hardwood cleaner is your best maintenance tool. Clean weekly in high-traffic areas and monthly in lower-traffic rooms.
Pro Tip: Check out these hardwood floor maintenance tips to build a routine that extends the life of your restored finish by years.
The best time to think about maintenance is immediately after restoration, not when the floor starts looking worn again.
If you notice finish peeling, white haziness, or soft spots appearing within the first year, those are signs of a preparation or application error, not normal wear. That’s when you call a professional for a targeted wood floor finish repair rather than waiting for the damage to spread.
Comparing restoration methods: which one fits your floor
Not every floor needs a full sand and refinish. Choosing the right method depends on the current condition of your finish, your budget, and how much disruption you can tolerate.
Method | Best for | Duration | Disruption | Longevity |
Full sand and refinish | Heavy wear, deep scratches, color change | 1 to 3 days | High | 10 to 15 years |
Screen and recoat | Light wear, dull finish, no bare wood | 1 day | Low | 3 to 5 years |
Spot repair | Isolated scratches or stains | Hours | Minimal | Varies |
Professional refinishing costs typically run between $3 and $8 per square foot, depending on the method, floor condition, and region. Full sand and refinish sits at the higher end of that range. Screen and recoat is significantly less expensive and works well as a maintenance strategy every 3 to 5 years to keep a full refinish from ever being necessary.
The key question is whether your floor still has finish on it. If you can see bare wood in any area, screen and recoat is not an option. You need to either spot repair or go to full sanding. Trying to recoat over bare wood produces an uneven, patchy result that looks worse than the original problem.
For a deeper breakdown of your options, the guide to hardwood floor restoration options covers each service type in detail, including what questions to ask before hiring anyone.
When dustless technology changes the equation: Modern dustless sanding systems have made full sand and refinish far less disruptive than it used to be. For homeowners who previously avoided refinishing because of the mess and downtime, this technology removes the biggest objection.
My honest take on restoring high-end hardwood floors
I’ve seen hundreds of floors in central Illinois and the St. Louis area, and the pattern is almost always the same. Homeowners wait too long, try a polish or shine product to buy time, and then come to us with a floor that’s harder to restore because of the buildup those products left behind.
The prep work is where most people underestimate the job. Removing shoe molding, cleaning the surface correctly, and controlling the temperature in the room sounds boring compared to the actual sanding and finishing. But in my experience, the floors that come out looking genuinely stunning are the ones where someone spent real time on those steps. The floors that look mediocre? Almost always a prep problem.
My other strong opinion: choose satin water-based polyurethane for high-end hardwood floors in most rooms. Gloss shows every footprint and scratch. Matte can look flat under certain lighting. Satin gives you that warm, subtle sheen that makes the wood grain pop without screaming “freshly finished.” It also holds up better in rooms with natural light.
And if you’re weighing DIY versus professional refinishing, be honest with yourself about the equipment and the learning curve. A drum sander in the wrong hands can gouge a floor in seconds. For floors that cost what high-end hardwood costs, the professional route almost always makes more financial sense.
— Jim
Ready to restore your floors the right way?
If your floors are showing wear and you’re not sure whether you need a full sand and refinish or just a screen and recoat, Aosaveswoodfloors makes that decision easy. They’ve been restoring high-end hardwood floors across the St. Louis metro and central Illinois since 2003, with over 450 Google reviews backing up every job.
Their full sand and refinishing service uses dustless technology and eco-friendly products, with most jobs completed in a single day and floors ready to walk on in about three hours. For floors that just need a refresh, their screen and recoat service is a faster, lower-cost option that brings back the shine without the full refinishing process. Before you replace those floors, give Aosaveswoodfloors a call.
FAQ
What is the best finish for high-end hardwood floors?
Satin water-based polyurethane is the top choice for most high-end hardwood floors. It resists yellowing for 10 or more years, dries faster than oil-based products, and delivers a balanced sheen that enhances wood grain without looking plastic.
How often should hardwood floors be refinished?
Full sand and refinish is typically needed every 10 to 15 years, depending on traffic and maintenance. A screen and recoat every 3 to 5 years can extend that cycle significantly and keep your floors looking fresh between major restorations.
Can I use floor polish to restore wood floor shine?
Restorative polishes work only on floors that still have an intact finish. Applying polish to bare or exposed wood traps dust, creates slippery surfaces, and makes future refinishing harder. If your floor has worn through to bare wood, professional refinishing is the right fix.
How long does it take to restore a hardwood floor finish?
Screen and recoat takes one day, with floors ready to walk on in a few hours. Full sand and refinish typically takes one to three days for the work itself, with a full cure period of seven to thirty days before the finish reaches maximum hardness.
What temperature is best during hardwood floor refinishing?
Keep the room between 65 and 75°F during both application and curing. Temperatures outside that range cause uneven drying, poor adhesion, or finish failure. Humidity should stay between 35% and 55% for the same reasons.
Recommended
Why Your Beautiful Countertops Look Dull (And How Professional Restoration Can Fix Them)
How to Refurbish Your Hardwood Floor Without Sanding: A Professional Guide
Understanding Pro Services: A Complete Guide to Hardwood Floor Restoration Options
The Ultimate Guide: When to Clean and Buff Your Hardwood Floors

Comments