


Professional Floor Refinishing vs DIY: 2026 Comparison

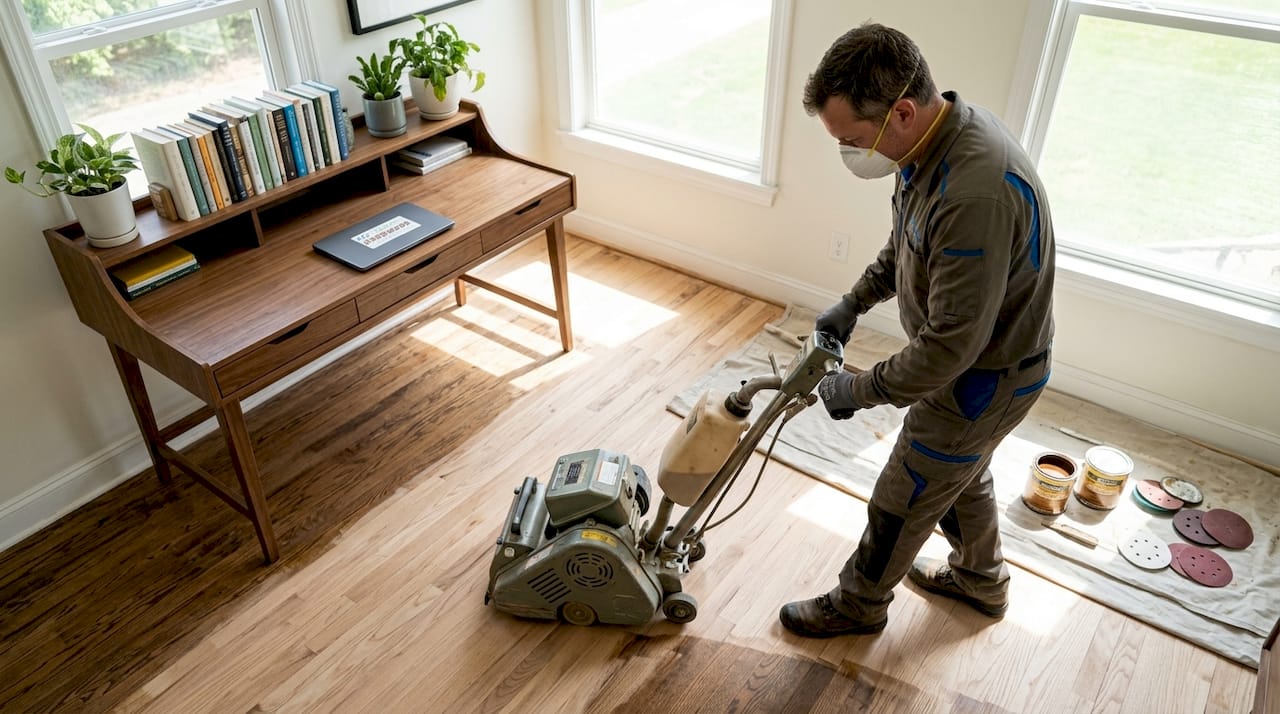
Professional floor refinishing is defined as a full-service process where trained technicians sand, stain, and apply finish coats to restore hardwood floors to like-new condition. The professional floor refinishing vs DIY comparison comes down to four factors: cost, skill level, time, and the risk of permanent damage. DIY refinishing ranges from a simple screen-and-recoat (the industry term is “buff-and-coat”) to a full sand-and-finish using rented equipment. Aosaveswoodfloors has handled both types of projects across central Illinois and the St. Louis metro since 2003, and the right choice depends heavily on your floor’s condition and your experience level.
1. What are the cost differences between professional and DIY refinishing?
Cost is the first reason homeowners consider DIY, but the gap is smaller than most expect. Professional refinishing costs $3–$8 per square foot, putting a 500 sq ft project at $1,500–$4,000. DIY runs $1.50–$3 per square foot, or roughly $450–$900 for the same area including rentals and materials. That looks like a clear win for DIY until you factor in what can go wrong.
Hidden DIY expenses often close the gap on professional pricing. Equipment rental alone for a drum sander, edge sander, and buffer can run $150–$300 per day. Add sandpaper, stain, finish coats, tape, and safety gear, and your material costs climb fast. If a mistake requires a professional to come fix uneven sanding or a blotchy finish, you pay twice.
Expense | Professional | DIY |
Labor cost per sq ft | $3–$8 | $0 (your time) |
Equipment | Included | $150–$300/day rental |
Materials | Included | $100–$300 |
Total (500 sq ft) | $1,500–$4,000 | $450–$900 |
Risk of repair costs | Low | High |
Pro Tip: Before calculating DIY savings, get one professional quote first. The difference is often smaller than you think, and knowing the number helps you decide if the time and risk are worth it.
2. How do project timelines compare for professional vs DIY refinishing?
Time is where professional services win decisively. Professional refinishing for a 300 sq ft area takes 1–2 days, while DIY takes 3–5 days of active labor plus up to 7 days of curing time before the floor is safe for furniture. That is nearly two weeks of disruption for a DIY project versus a weekend for a professional crew.
Aosaveswoodfloors completes most restoration services in a single day, with floors ready to walk on in about three hours. That matters when you have kids, pets, or a household that cannot afford a week of displaced furniture and blocked rooms.
Factor | Professional | DIY |
Active work time | 1–2 days | 3–5 days |
Curing time | Included in schedule | Up to 7 additional days |
Household disruption | Minimal | Significant |
Floor walkable | ~3 hours (Aosaveswoodfloors) | 24–72 hours minimum |
Scheduling a professional also means one fixed disruption window. DIY projects frequently stretch longer than planned when mistakes require re-sanding or when finish coats need extra drying time between applications.
3. What are the risks and quality issues with DIY floor refinishing?
DIY floor refinishing carries real risks of permanent damage, and most of them come from sanding errors. Drum sanders require steady movement at all times. Pausing even briefly creates deep gouges that cannot be repaired without removing significant wood. First-time users almost always pause at some point.
The second most common problem is edge sanding. Mismatched grit levels at the edges create visible dark halos that contrast sharply with the main floor area. Professionals follow a precise grit sequence and blend edges carefully to avoid this. A DIYer working with rented equipment and no prior experience rarely achieves that consistency.
Finish quality is another gap. Professionals use industrial dustless sanding systems that capture far more airborne particles than rental equipment. Dust contamination in a finish coat causes a rough, cloudy surface that must be re-sanded and recoated. Aosaveswoodfloors uses dustless techniques and eco-friendly products on every job, which eliminates that risk entirely.
There is also a chemistry problem most homeowners do not know about. Silicone-based cleaners and wax-based polishes cause finish rejection even when sanding is done correctly. If your floors have been treated with products like Pledge or similar wax-based sprays, a new finish coat may simply not bond. Testing a hidden area before starting is not optional.
Pro Tip: Run the water-bead test before deciding on any refinishing approach. Drop a few drops of water on the floor. If they soak in rather than bead up, the finish is worn through and the floor likely needs professional attention, not a DIY buff-and-coat.
Key DIY risks to evaluate before starting:
Drum sander gouges from pausing or tilting the machine
Edge halo effect from mismatched sanding grits
Finish blotching from dust contamination
Finish rejection from prior wax or silicone product use
Uneven stain absorption from inconsistent sanding depth
4. What equipment and materials does DIY refinishing actually require?
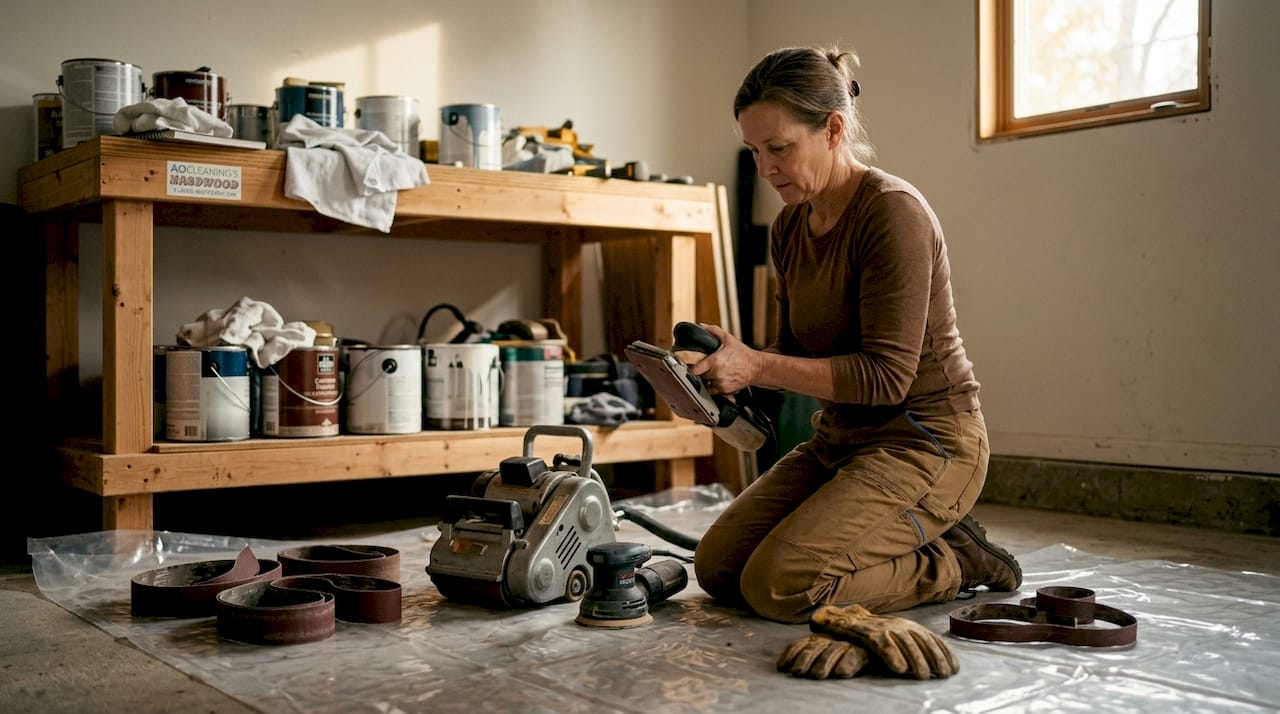
A full DIY sand-and-finish project requires more equipment than most homeowners expect. Renting a drum sander covers the main floor area, but you also need an edge sander for perimeters, a floor buffer for the screen-and-recoat step, a shop vacuum, and a random orbital sander for tight corners. Each piece adds to your daily rental cost.
Material quality also differs significantly between professional and consumer-grade products. Professionals apply commercial-grade polyurethane or oil-modified finishes that cure harder and last longer than the water-based finishes typically available at home improvement stores. The difference shows up in durability over years, not just appearance on day one.
Equipment and materials a DIYer must source:
Drum floor sander (rental, $75–$150/day)
Edge sander (rental, $40–$75/day)
Floor buffer with screen pads (rental, $40–$60/day)
Shop vacuum with fine-dust filter
Sandpaper in multiple grits (60, 80, 100, 120)
Wood stain (if changing color)
Finish coats (2–3 coats minimum)
Painter’s tape, plastic sheeting, safety respirator, and eye protection
The total rental and material spend for a 500 sq ft project typically lands between $450 and $900. That figure assumes no mistakes. One re-sand adds another day of rental fees and a full set of sandpaper.
5. Which scenarios are best suited for DIY versus professional refinishing?
The screen-and-recoat method is the only floor refinishing approach that is genuinely DIY-friendly for most homeowners. It involves lightly scuffing the existing finish with a buffer and screen pad, then applying a fresh topcoat. No bare wood is exposed, no staining is involved, and the risk of permanent damage is low. This method works well for floors with light surface wear and a finish that is still mostly intact.
Full sanding and refinishing is a different situation. Floors with deep scratches, cupping, water stains, or worn-through finish require a drum sander and professional skill to restore correctly. The water-bead test is the fastest way to assess your floor’s condition. If water soaks in, the finish is gone and a screen-and-recoat will not fix the problem. You can also check the signs your floors need refinishing to get a clearer read before committing to either path.
Homes built before 1978 may have lead-based paint or finishes on floors. Sanding those floors without proper containment and testing creates a serious health hazard. Always test for lead before any DIY sanding project in an older home.
Use this checklist to decide if DIY is appropriate:
Floor has only light surface scratches, not deep gouges
Finish still passes the water-bead test in most areas
No previous wax or silicone-based products used on the floor
You have prior experience with power sanding tools
The project area is under 200 sq ft
No lead paint or unknown finish history in the home
If you check all six, a screen-and-recoat DIY approach is reasonable. If you miss even two, call a professional. The full sand refinish guide from Aosaveswoodfloors walks through exactly when professional intervention is the smarter call.
Key Takeaways
Professional refinishing delivers better results, faster timelines, and lower risk. DIY is viable only for light maintenance using the screen-and-recoat method on floors in good condition.
Point | Details |
Cost gap is smaller than it looks | DIY saves money upfront but hidden costs from mistakes often close the gap. |
Timelines favor professionals | Professional jobs finish in 1–2 days; DIY takes up to two weeks with curing. |
Sanding errors cause permanent damage | Drum sanders and edge work require skill most homeowners do not have. |
Screen-and-recoat is the safe DIY option | Buff-and-coat avoids bare-wood sanding and suits floors with light wear only. |
Test before you start | The water-bead test tells you whether your floor needs a recoat or a full refinish. |
What 20 years of floor projects taught me about this decision
Most homeowners who call Aosaveswoodfloors after a DIY attempt are not calling because they wanted to save money. They are calling because they stopped the drum sander for 10 seconds to answer their phone and gouged a 3-foot strip into the middle of their living room. That is not a hypothetical. It happens regularly, and fixing it costs more than the original professional job would have.
My honest recommendation: if your floors just look dull and the finish is still intact, a screen-and-recoat is a reasonable weekend project. Buy the right products, watch a few detailed tutorials, and take your time. The buff-and-coat process is forgiving enough for a careful first-timer.
But if your floors have real damage, visible wear-through, or an unknown finish history, do not rent a drum sander. The risk-to-reward ratio is simply not there. A professional crew with dustless equipment, commercial-grade finish, and the experience to blend edges correctly will give you a result that lasts 8–10 years. A DIY full sand on damaged floors, done without prior experience, often creates a floor that looks worse than before.
The hybrid approach I see work well: hire a professional for the sanding and staining, then apply the final finish coat yourself if you want to save something. That keeps the high-risk steps in experienced hands while giving you some cost control.
— Jim
Aosaveswoodfloors: professional results without the DIY risk
Aosaveswoodfloors has been restoring hardwood floors across St. Louis, Columbia, Belleville, and surrounding communities since 2003. With over 450 Google reviews and more than 20 years of experience, the team handles everything from a quick screen-and-recoat service to a full sand-and-refinish on heavily damaged floors.

Every job uses dustless sanding systems and eco-friendly products, so your home stays clean and odor-free. Most services are completed in a single day, with floors walkable in about three hours. Aosaveswoodfloors also offers countertop cleaning, polishing, and sealing for homeowners who want a full surface refresh. Before you replace your floors, call Aosaveswoodfloors first.
FAQ
How much does professional floor refinishing cost per square foot?
Professional floor refinishing costs $3–$8 per square foot, putting a typical 500 sq ft project between $1,500 and $4,000 depending on floor condition and finish type.
Is DIY floor refinishing worth it?
DIY is worth it only for screen-and-recoat maintenance on floors with light wear. Full sanding without professional experience risks permanent gouges, uneven edges, and finish failure.
How do I know if my floor needs refinishing or just a recoat?
Run the water-bead test: drop a few drops of water on the floor. If they soak in, the finish is worn through and the floor needs professional refinishing, not a simple recoat.
What is the safest DIY floor refinishing method?
Screen-and-recoat (buff-and-coat) is the safest DIY method because it avoids drum sanding and bare-wood exposure, which are the two steps most likely to cause permanent damage.
How long does professional floor refinishing take compared to DIY?
Professional refinishing takes 1–2 days for a 300 sq ft area. DIY takes 3–5 days of active labor plus up to 7 additional days of curing time before the floor is ready for furniture.
Recommended

Comments