


Hardwood Restoration Stages: What's the Difference?
- Kim M.

- 3 days ago
- 9 min read
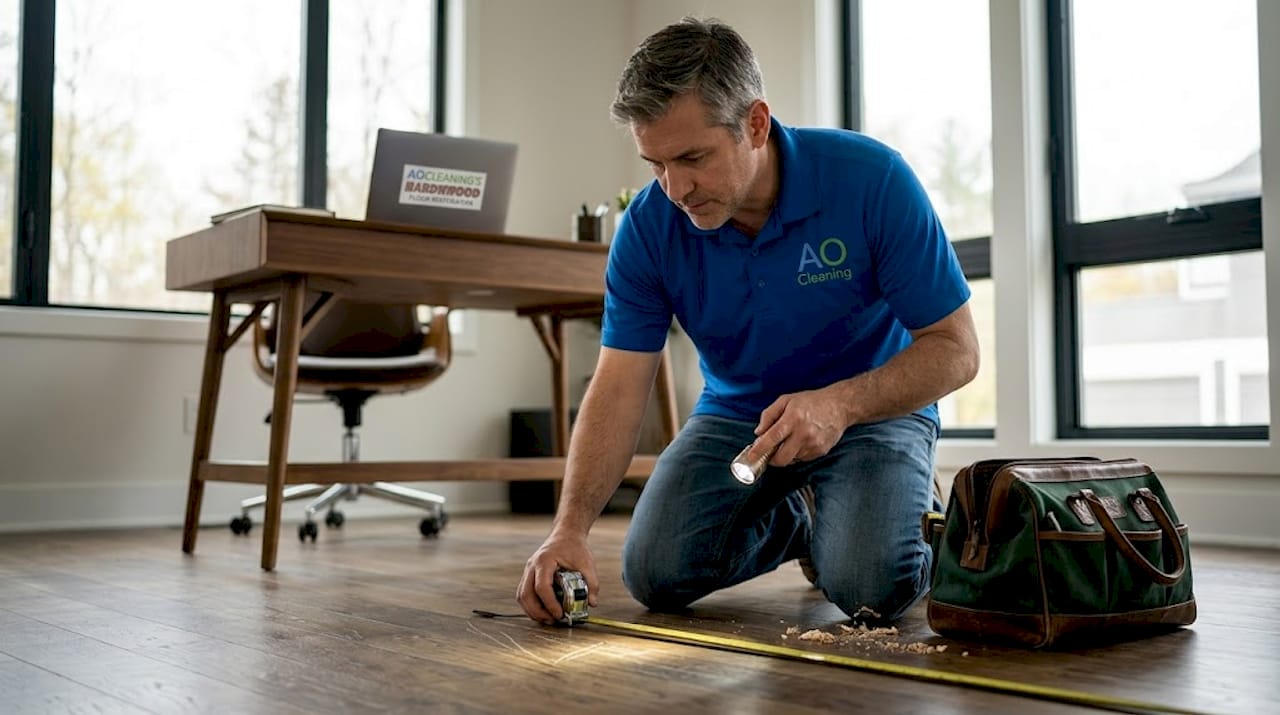
Not every damaged floor needs the same fix, and assuming otherwise is one of the most expensive mistakes homeowners make. Understanding the difference between hardwood restoration stages is what separates a smart flooring decision from a costly one. Some floors just need a fresh coat of finish. Others need to be sanded down to bare wood. And some are genuinely past saving without replacement. This guide breaks down each stage clearly so you can walk into any restoration conversation knowing exactly what your floors need and why.
Table of Contents
Key takeaways
Point | Details |
Condition determines stage | Your floor’s damage level and wear layer thickness dictate which restoration method is appropriate. |
Screen-and-recoat is cosmetic only | This method works only when the finish is dull but intact, with no deep scratches or stains. |
Full sanding is a structural reset | The hardwood floor refinishing process removes old finish and wood surface to start fresh. |
Wear layer thickness is the limiting factor | Floors with less than 3/32" of wear layer cannot be sanded and may need replacement instead. |
Sequence your remodel work correctly | Always plan other home renovations before refinishing floors to avoid redoing the work. |
Difference between hardwood restoration stages
The depth of each intervention is what separates the three main restoration stages. Cosmetic resurfacing stays on top of the finish. Full refinishing goes through the finish and into the wood surface. Replacement removes the floor entirely. Each stage addresses a different level of damage, and choosing the wrong one wastes money or leaves the underlying problem unsolved.
Before any decision gets made, you need to look at what is actually wrong with your floor. Common issues include:
Dull or hazy finish with no visible scratches (usually cosmetic)
Surface scratches that have not penetrated through the finish layer
Deep scratches or gouges that reach the bare wood
Pet stains that have soaked into the wood grain
Warping, cupping, or buckling from moisture damage
Structural gaps or soft spots that signal subfloor problems
The type of wood also matters. Solid hardwood planks are typically 3/4" thick and can be sanded down multiple times over their lifespan. Engineered hardwood has a thin veneer on top, and wear layer thresholds determine whether sanding is even possible. Floors with less than 3/32" of wear layer left cannot be sanded without damaging the wood underneath.
Pro Tip: Check your wear layer thickness at an HVAC floor register, where you can see the floor’s cross-section clearly. If the layer looks paper thin, skip straight to the replacement conversation.
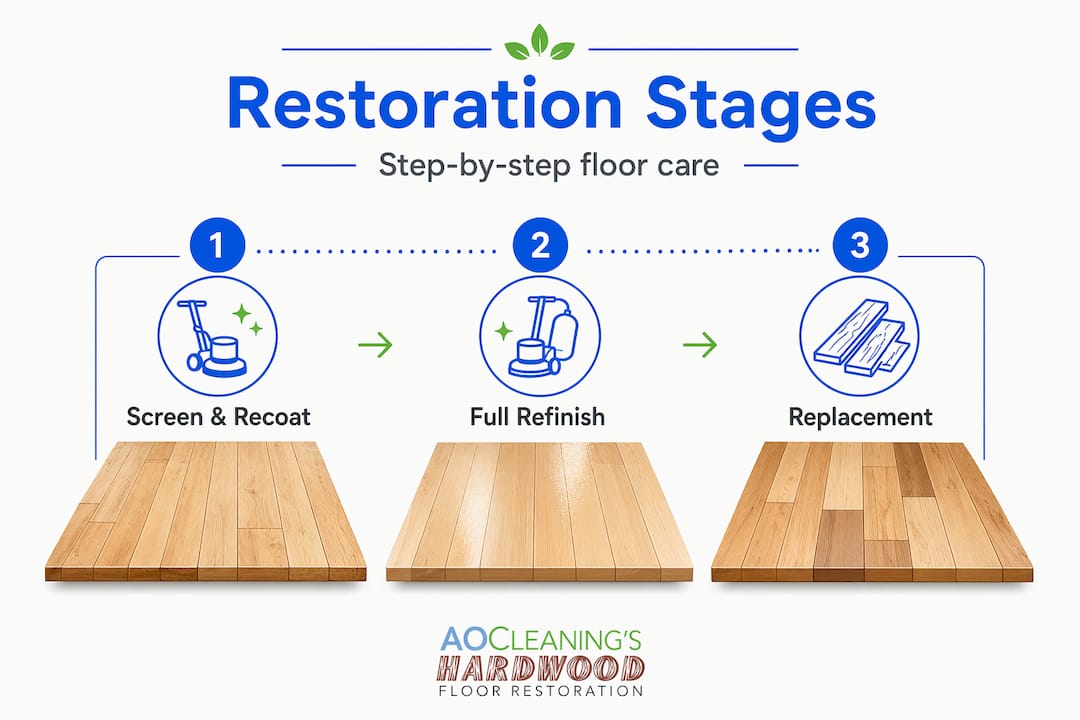
Stage 1: Screen-and-recoat (cosmetic surface refresh)
Screen-and-recoat is the lightest of all the stages of wood restoration, and it works beautifully when it is the right call. The process uses an abrasive screen, typically 120 to 150 grit, to lightly abrade the finish surface without touching the wood itself. Once the existing finish is scuffed up, a fresh coat of polyurethane or similar topcoat gets applied. The result is a floor that looks renewed without any heavy equipment or sanding into the wood.
This method fits floors that are dull from foot traffic and cleaning product buildup but otherwise structurally sound. Think of it as a reset for the shine, not a fix for damage. The job takes a few hours, costs significantly less than full refinishing, and lets you walk on the floor the same day.
Where screen-and-recoat breaks down is worth knowing before you commit. This method fails in four specific situations:
Floors that were previously waxed (new finish will not bond)
Finishes that are already peeling or flaking
Aluminum oxide factory finishes without a bonding agent applied first
Deep pet stains that have soaked into the wood
If your floor has any of these problems, screen-and-recoat will not fix them. It may actually make things worse by trapping contamination under a fresh layer of finish. The difference in wood restoration methods becomes most obvious here: a cosmetic fix cannot solve a structural or penetrating problem.
Pro Tip: If you are unsure whether your floor has a wax finish, drop a small amount of water on an inconspicuous area. If it beads up slowly and leaves a white ring, you likely have wax, and screen-and-recoat is off the table.
You can learn more about when this service makes sense by reading about clean and buff vs. screen and recoat options for your specific floor condition.
Stage 2: Full hardwood floor refinishing
Full refinishing is what most people picture when they think about restoring hardwood. It is also the most commonly misunderstood stage because homeowners either use it when they did not need to, or avoid it when they absolutely should. The hardwood floor refinishing process involves sanding the floor down through the old finish and into the wood surface itself, then applying fresh stain (if desired) and multiple coats of new finish.
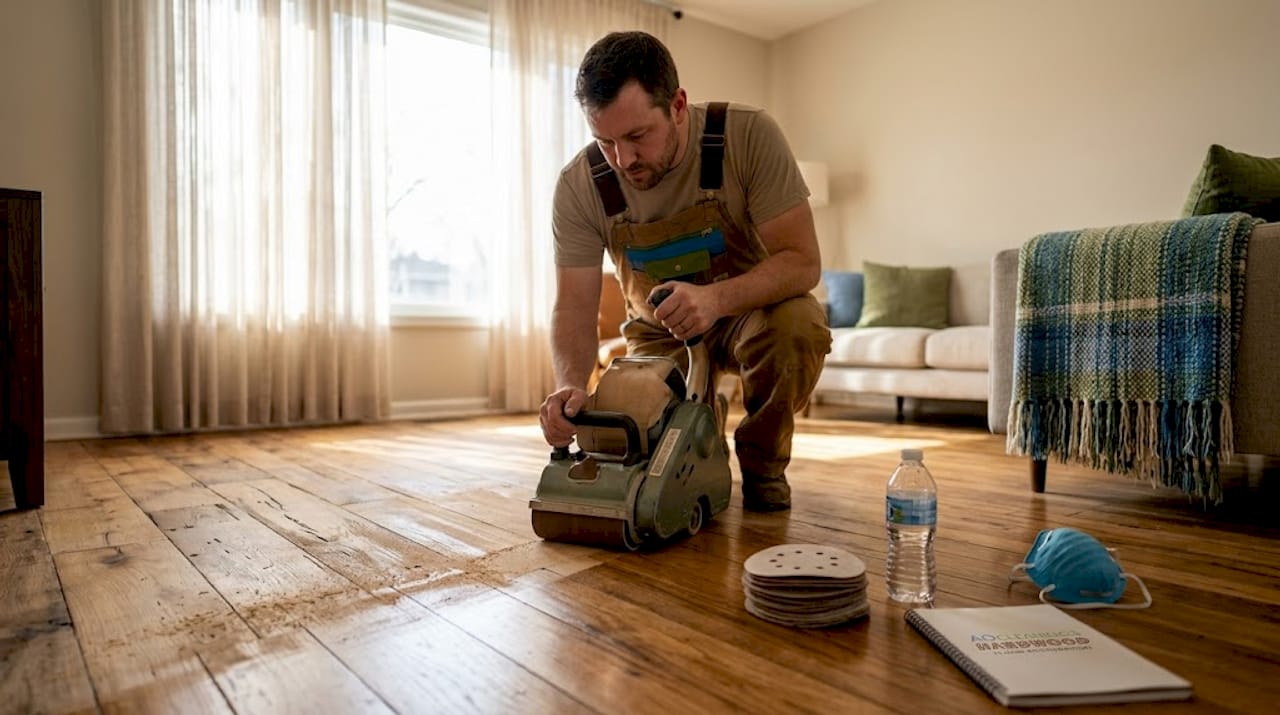
The sanding sequence matters more than most people realize. Professionals start with a coarse grit, typically around 36 grit, to strip the old finish quickly, then progress through medium grits and finish with a fine grit of around 120 grit to smooth the wood surface. Each pass removes more material and refines the surface further. Skipping grits leaves visible scratches in the final product.
Here is a clear breakdown of when full refinishing is the right choice versus screen-and-recoat:
Situation | Screen-and-recoat | Full refinishing |
Dull finish, no scratches | Yes | No (overkill) |
Surface scratches in finish | Sometimes | Yes |
Deep scratches into wood | No | Yes |
Wanting to change stain color | No | Yes |
Pet stains in wood grain | No | Yes |
Peeling or flaking finish | No | Yes |
The disruption involved is real. Full sanding requires dust containment, respiratory and hearing protection, and clearing the room of furniture. Even with dustless equipment, you should plan to be out of the space during the work. Drying and curing time after the final finish coat adds another day or two before the floor can handle normal foot traffic and furniture.
Cost runs higher than screen-and-recoat, but the payoff is proportional. A properly done full refinish resets the floor completely. You can change the stain color, fix deep damage, and buy yourself another 10 to 15 years before the floor needs serious attention again.
Pro Tip: Test your stain color on the actual floor before committing. On-site stain testing under your home’s lighting is the only way to know if the color you love at the hardware store will look right in your space.
The steps in hardwood rejuvenation at this stage require the right equipment and technique. If you want to understand exactly what a professional sanding job involves, the full sand refinishing guide breaks it down in detail.
Stage 3: When replacement is the only answer
Replacement is not a restoration stage in the traditional sense. It is what happens when restoration is no longer viable. The signs that point toward replacement rather than refinishing are specific and worth knowing.
Severe warping or cupping that does not flatten after moisture is addressed
Wear layer too thin to sand, typically under 3/32" for solid and under the veneer threshold for engineered
Rot or soft spots in the wood from prolonged water damage
Structural subfloor damage that requires tearing up the floor anyway
Board separation or gaps that are too wide to fill and have compromised the floor’s integrity
The cost comparison between replacement and refinishing is significant. Full floor replacement typically costs three to five times more than a full refinishing job, depending on the wood species you choose and the labor involved. That cost gap is exactly why it is worth having a professional assess your floor before assuming replacement is necessary.
Here is the stage comparison at a glance:
Stage | Depth of work | Best for | Approximate lifespan added |
Screen-and-recoat | Finish surface only | Dull finish, light wear | 3 to 5 years |
Full refinishing | Through finish into wood | Deep damage, color change | 10 to 15 years |
Replacement | Complete floor removal | Structural failure | 25 to 50+ years |
The hardwood maintenance stages you invest in early, particularly keeping up with screen-and-recoat on a regular schedule, are what push that replacement date further and further into the future. Neglect the cosmetic stages long enough, and full refinishing becomes necessary sooner. Skip full refinishing when needed, and replacement becomes unavoidable.
How to decide which stage you need
Most homeowners get this wrong because they rely on gut feeling instead of a quick inspection. Here is a practical approach to get it right before you call anyone.
Scratch test: Drag a coin lightly across a low-traffic area. If it catches or leaves a mark in the wood, you are past the screen-and-recoat stage.
Wear layer check: Look at your floor’s cross-section at a floor vent. Measure the top layer. Under 3/32" means no sanding.
Water test: Place a few drops of water on a questionable area. If it soaks in within a minute, the finish is gone and the wood is unprotected.
Pet stain check: Look for dark staining that goes through the finish into the grain. Full refinishing or replacement is likely needed.
Moisture check: If boards are cupped or bowed, address the moisture source first before any restoration work begins.
One thing that often gets overlooked is the sequencing of home remodeling work. If you are planning a bathroom renovation, kitchen update, or any work that involves foot traffic and dust, do all of it before refinishing your floors. Redoing a fresh finish because of construction traffic is a waste of money that is entirely avoidable.
After any restoration, give the finish time to cure fully before placing furniture or area rugs. Walking on the floor too soon, or trapping moisture under a rug before the finish has set, can ruin a freshly done job. Ask your contractor for the specific curing timeline for the product they use. And between professional services, use a hardwood floor cleaner that is pH neutral and designed for finished wood. Standard household cleaners break down polyurethane finishes faster than normal wear does.
My honest take on where homeowners go wrong
I have seen this play out hundreds of times. A homeowner calls convinced they need a full refinishing job, and when I look at the floors, screen-and-recoat would have done the job fine for another five years at a third of the cost. I have also seen the opposite: someone who waited too long, kept buffing a floor that was clearly past that stage, and ended up with a refinish that barely held because there was not enough wood left to work with.
The biggest misconception I run into is that more aggressive always means better. Sanding a floor that did not need sanding removes wood you can never get back. Every time you sand, you are spending some of the floor’s lifespan. A floor that could have lasted 80 years with proper cosmetic maintenance gets sanded unnecessarily at year 20 and again at year 35 and suddenly you are looking at replacement by year 50.
What I always tell homeowners is this: get an honest assessment before you decide anything. Not a quote. An assessment. There is a real difference between a contractor who sizes up your floor and a contractor who sizes up your budget. The hardwood maintenance stages exist for a reason, and each one has its place. Skipping ahead to a more aggressive stage does not save time. It costs wood.
— Jim
Ready to restore your floors the right way?
If you have been going back and forth on what your floors actually need, Aosaveswoodfloors has been helping homeowners answer that exact question since 2003. With over 450 Google reviews across the St. Louis metro and central Illinois area, they have seen every floor condition imaginable and can tell you honestly which stage applies to yours.

Whether your floors need a screen and recoat service to bring back the shine or a full sand and refinishing to fix years of deep wear, Aosaveswoodfloors handles both with dustless equipment and eco-friendly products. Most jobs are completed in a single day, with floors ready to walk on within about three hours. They serve homeowners in St. Louis, Columbia, Belleville, O’Fallon, Waterloo, Fairview Heights, and surrounding communities. Before you spend money on new floors, call Aosaveswoodfloors first. Your floors may have more life left in them than you think.
FAQ
What is the main difference between restoration stages?
The difference between hardwood restoration stages comes down to depth of intervention. Screen-and-recoat addresses the finish surface only, full refinishing removes the finish and some wood, and replacement removes the entire floor.
How do I know if my floor needs screen-and-recoat or full refinishing?
If your floor looks dull but has no scratches reaching the wood and the finish is not peeling, screen-and-recoat is likely sufficient. Deep scratches, stains in the wood grain, or a desire to change the floor color all require full refinishing.
Can engineered hardwood be refinished the same way as solid hardwood?
Not always. Engineered hardwood has a thin veneer layer, and floors with less than the minimum wear layer thickness cannot be sanded without damaging the wood underneath. A professional should measure the wear layer before any sanding work begins.
How often should hardwood floors go through each restoration stage?
Screen-and-recoat every three to five years keeps the finish fresh and pushes back the need for full refinishing. Full sanding and refinishing is typically needed every ten to fifteen years depending on foot traffic and wear.
When is replacement a better choice than refinishing?
Replacement makes sense when the floor has structural damage like warping or rot, when the wear layer is too thin to sand, or when the subfloor itself is compromised. If those conditions are not present, refinishing almost always delivers better value.
Recommended

Comments