


Hardwood Floor Inspection Before Restoration: A Homeowner's Guide

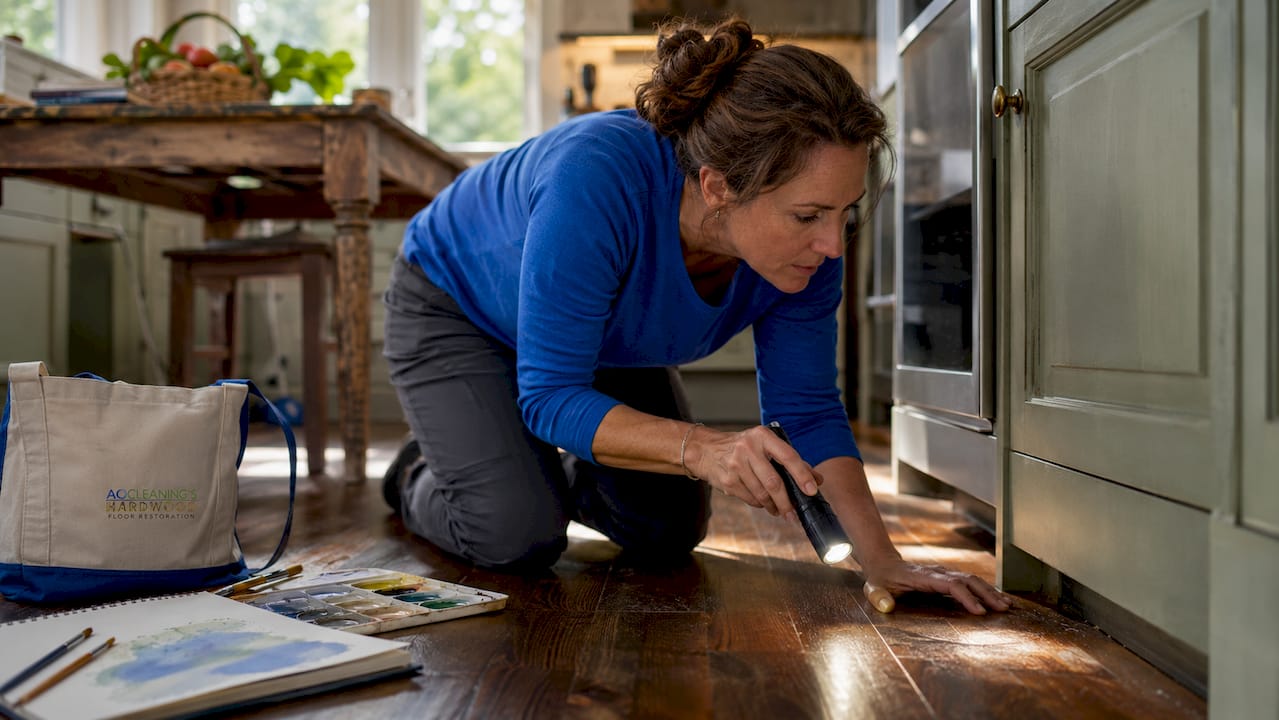
A hardwood floor inspection before restoration is the process of systematically evaluating your floor’s condition to determine whether refinishing, a screen and recoat, or full board replacement is the right path forward. Skipping this step is the most common reason restoration projects go over budget or fail to deliver results. Refinishing hardwood floors yields an estimated 147% ROI, with typical costs of $3–$8 per square foot compared to $12–$22 or more for full replacement. That return only holds when the right restoration method is matched to the actual condition of the floor. A proper pre-restoration floor inspection covers three core factors: wear layer thickness, damage type, and structural integrity.
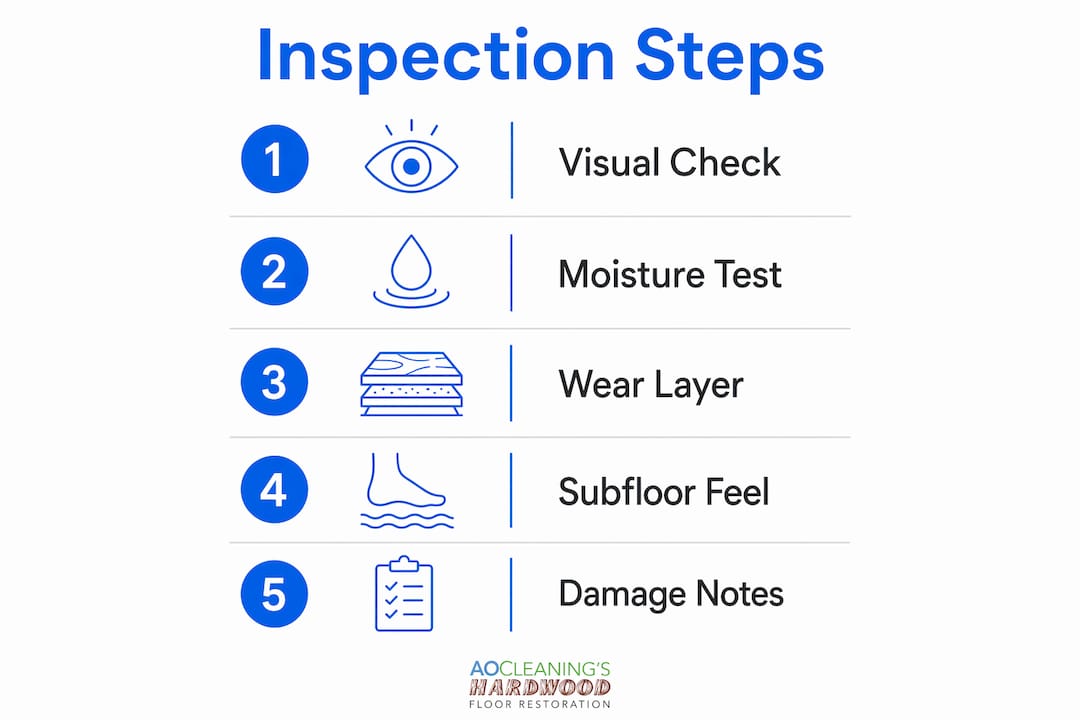
What does a hardwood floor inspection before restoration involve?
A hardwood floor inspection is the industry term for a structured floor condition assessment that professionals and homeowners use to determine restoration feasibility. The inspection evaluates whether boards are structurally sound, whether the wear layer can handle additional sanding, and whether damage is cosmetic or structural. A restoration is viable when boards are structurally sound, the wear layer can handle 3–5 sandings over its lifetime, and damage is cosmetic. When severe water damage or structural failure is present, replacement is the correct call. Getting this determination right before any work begins saves you from spending money on a refinish that cannot fix the underlying problem.
How to prepare for your floor evaluation
The right tools make the difference between a surface-level look and a true hardwood floor assessment. Gather these before you start:
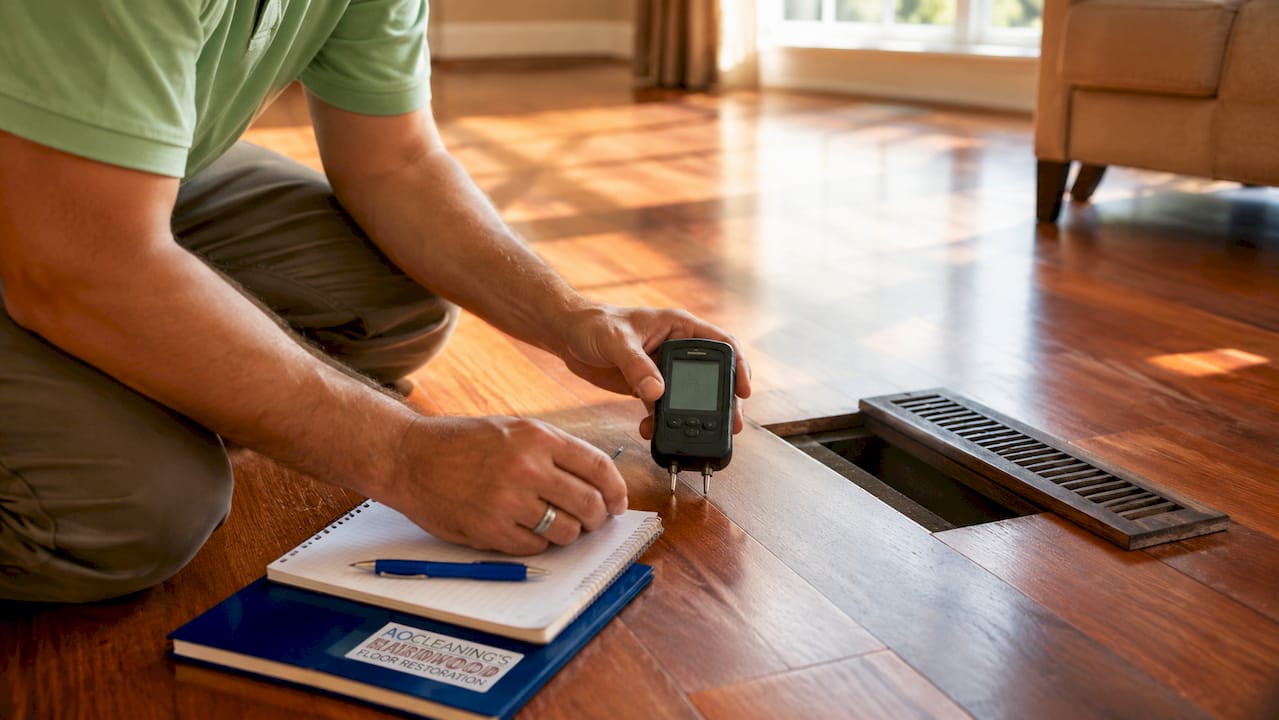
Moisture meter: Reads moisture content in the wood, which visual inspection alone cannot detect. Visual inspection alone is insufficient for a complete evaluation; moisture content analysis and structural movement patterns are required.
Flashlight or work light: Raking light across the floor surface reveals low spots, cupping, and scratches that overhead lighting hides.
Straight edge or level: A 4-foot level laid flat on the floor shows crowning, cupping, and subfloor dips.
Painter’s tape and a marker: Used to flag damaged boards for contractor reference.
Camera or smartphone: Documents findings with timestamps for accurate quotes.
Thin probe or awl: Tests board softness, which indicates rot or subfloor failure beneath.
Set up your inspection during daylight hours with all overhead lights on. Open windows if humidity is high, since environmental conditions like HVAC use and humidity directly affect how hardwood behaves and what your moisture meter reads.
Pro Tip: Remove one floor vent cover before you start. The exposed board edge shows you the actual wear layer thickness. You need at least 1/16 inch of wear layer remaining for safe sanding. If the layer is thinner, full sanding will expose fasteners and ruin the floor.
Step-by-step guide to inspecting your hardwood floors
Follow this sequence to complete a thorough floor condition assessment before restoration.
Walk the entire floor slowly. Feel for soft spots, springy boards, or areas that flex underfoot. These signal subfloor or joist problems, not just surface wear.
Conduct a visual survey in raking light. Hold your flashlight at a low angle and scan each section. Mark scratches, staining, fading, and discoloration with painter’s tape.
Check for moisture damage signs. Look for cupping (edges higher than the center), crowning (center higher than edges), and dark staining near appliances or exterior walls.
Measure wear layer thickness. Use the vent cover method described above. Removing a floor vent to measure wear layer thickness at board edges prevents accidental over-sanding that can expose fasteners.
Test moisture content. Press your moisture meter against boards in multiple zones, especially near kitchens, bathrooms, and exterior walls. Elevated readings in isolated spots point to active leaks.
Assess board stability. Press down on boards that feel soft. A board that compresses or sounds hollow under pressure likely has subfloor damage beneath it.
Photograph every flagged area. Take photos from directly above and at an angle. Include a ruler or coin for scale so contractors can gauge severity without a site visit.
Reading what you find
Different findings point to different restoration paths. Use this table as a quick reference:
Finding | Likely cause | Restoration path |
Surface scratches, dullness | Normal wear | Screen and recoat |
Deep scratches, staining | Heavy traffic or spills | Full sand and refinish |
Cupping or crowning | Moisture imbalance | Moisture fix first, then refinish |
Dark stains near appliances | Tannin reaction from moisture | Board replacement required |
Soft or spongy boards | Subfloor or joist damage | Subfloor repair before any refinish |
Thin wear layer (under 1/16 inch) | Previous over-sanding | Replacement or overlay only |
Pro Tip: Engineered hardwood handles fewer refinishes than solid hardwood because its wear layer is thinner. If you have engineered floors, check the engineered hardwood refinishing guide before deciding on a sanding approach.
Common issues found during inspection and what they mean
Surface damage is the most common finding and the easiest to address. Scratches, fading, and dullness that do not penetrate through the finish coat are candidates for a screen and recoat. A screen and recoat costs about half as much as a full refinish and takes one day, making it the right call when floors are structurally sound but have lost their sheen.
Water damage requires a harder look. Cupping and crowning both indicate moisture imbalance, but they do not automatically mean replacement. If the moisture source is resolved and boards are still structurally intact, a full sand and refinish can flatten the floor. Dark staining near appliances often indicates a tannin reaction from moisture penetration, which requires board replacement rather than sanding. Sanding over tannin stains does not remove them; it only exposes fresh wood that will stain again if the moisture problem persists.
Soft or spongy boards and uneven flooring frequently indicate subfloor or joist damage. No amount of surface refinishing fixes a failing subfloor. Attempting to refinish over structural damage produces a floor that looks new for a few months and then fails again. Repair the structure first, then refinish.
Over-sanding is a real risk that homeowners often overlook. Each sanding removes a thin layer of wood. Most floors handle 3–5 sandings over their lifetime, and floors that have already been refinished multiple times may not have enough wear layer left for another full sand. The vent cover check tells you exactly where you stand before any contractor touches the floor.
Understanding the difference between restoration stages helps you match the right method to what your inspection reveals. Cosmetic damage calls for light work. Structural damage calls for repair first. Matching the method to the finding is what makes restoration cost-effective.
How to document your findings for a professional
Clear documentation is what separates a vague contractor conversation from an accurate, binding quote. Marking damaged areas with painter’s tape and photos gives professionals a clear scope of work and prevents misunderstandings about what is included in the job.
Use this checklist when organizing your documentation:
Mark every damaged or soft board with painter’s tape and a number.
Photograph each marked area from two angles: overhead and at floor level.
Note the moisture meter reading for each flagged zone.
Measure the total square footage of visibly damaged areas.
Write a brief note for each area describing what you felt or saw (soft, dark stain, cupped, etc.).
Group your photos by zone (kitchen area, hallway, living room) so contractors can review them efficiently.
Bring this documentation to every contractor consultation. Standard hardwood restoration projects take 3–6 weeks including assessment and curing periods. If you are planning a hardwood floor restoration before selling your home, starting with a documented inspection gives you a realistic timeline and prevents last-minute surprises before listing.
Pro Tip: Use your phone’s video feature to do a slow walk-through of the floor while narrating what you see. This gives contractors a complete picture and reduces the chance of scope creep once work begins.
Key Takeaways
A thorough pre-restoration inspection determines the correct restoration method, prevents wasted spending, and protects your floor’s long-term value.
Point | Details |
Inspection determines method | Match the restoration approach to actual findings: screen and recoat, full refinish, or board replacement. |
Wear layer thickness is critical | Check the board edge at a vent cover; you need at least 1/16 inch for safe sanding. |
Moisture damage needs source repair first | Dark tannin stains and cupping require fixing the moisture source before any refinishing work. |
Structural problems come before surface work | Soft or spongy boards signal subfloor damage that must be repaired before refinishing. |
Documentation drives accurate quotes | Painter’s tape, photos, and moisture readings give contractors a clear, unambiguous scope of work. |
What 20 years of floor inspections taught me
After seeing hundreds of floors across the St. Louis metro area and central Illinois, the mistake I see most often is homeowners treating inspection as a formality. They walk the floor once, see scratches, and assume a full sand and refinish is the answer. That assumption costs money.
The floors that deliver the best results are the ones where the homeowner took 30 minutes to do a real assessment before calling anyone. They found the soft board near the dishwasher. They checked the vent cover and realized the wear layer was thinner than expected. They documented everything. That preparation changes the entire contractor conversation from “trust me” to “here is exactly what needs to happen.”
The other mistake is chasing perfection. Focus on visual uniformity and freshness rather than absolute flawlessness to get the best return, especially if you are preparing floors for a home sale. A floor that looks clean, consistent, and well-maintained does its job. Spending extra to eliminate every minor imperfection rarely adds proportional value.
My advice: do the inspection yourself first, document what you find, then call a professional with that documentation in hand. You will get a more accurate quote, a cleaner scope of work, and a better result. The signs your floors need refinishing are usually obvious once you know what to look for.
— Jim
Aosaveswoodfloors: professional floor assessment and restoration for Illinois and St. Louis homeowners
Aosaveswoodfloors has been helping homeowners across central Illinois and the St. Louis metro area assess and restore hardwood floors since 2003, with over 450 Google reviews backing their work.

Whether your inspection reveals light surface wear or something more serious, Aosaveswoodfloors has a service to match. Their hardwood floor clean and buff service is the right call for floors that are structurally sound but need a refresh, and most jobs finish in a single day with floors ready to walk on in about three hours. They use dustless techniques and eco-friendly products on every job. If you are not sure what your floors need, call Aosaveswoodfloors first. Before you refloor it, let them restore it.
FAQ
What is the first step in a hardwood floor inspection?
Walk the entire floor slowly to feel for soft, spongy, or springy boards, which signal subfloor damage. Then conduct a visual survey using a flashlight held at a low angle to reveal scratches, staining, and surface irregularities.
How do I check if my hardwood floor can be sanded again?
Remove a floor vent cover and look at the exposed board edge. You need at least 1/16 inch of wear layer remaining for safe sanding; anything thinner risks exposing fasteners.
What does dark staining near my kitchen appliances mean?
Dark staining near appliances usually indicates a tannin reaction caused by moisture penetration. Those boards typically require replacement rather than sanding, since the stain is deep in the wood fiber.
When is a screen and recoat enough instead of a full refinish?
A screen and recoat is appropriate when floors are structurally sound but dull or lightly scratched. It costs about half as much as a full refinish and takes one day, making it a practical option before listing a home for sale.
How long does hardwood floor restoration take before selling a home?
Standard hardwood restoration projects take 3–6 weeks from assessment through curing. Plan your inspection and contractor consultations well ahead of your intended listing date to avoid delays.
Recommended

Comments