


How to Refinish Engineered Hardwood Floors Step by Step
- Kim M.
- Jun 1
- 9 min read
Refinishing engineered hardwood floors is a precise restoration process that removes surface damage, refreshes the finish, and extends the life of your flooring without requiring full replacement. The key variable that controls everything is your floor’s wear layer, the thin hardwood veneer bonded to the plywood core beneath. Get that assessment right, and the rest of the process follows logically. Get it wrong, and you risk permanent damage that no amount of finish can fix. This guide walks you through every stage of the refinish engineered hardwood floors process, from wear layer inspection to final cure.
How to assess whether your engineered hardwood floor can be refinished
The wear layer thickness is the single most important factor in determining which refinishing method your floor can handle. Most engineered hardwood floors carry a wear layer between 1mm and 6mm, and that number dictates everything from how many times the floor can be sanded to whether sanding is even an option.
Wear layers less than 1.5 to 2mm are not safely sandable. For these floors, screen and recoat is the correct maintenance method, not full sanding. Floors with 3mm or more of wear layer have more flexibility. A 4mm wear layer can handle roughly three to five sanding passes before the veneer is consumed down to the plywood core.
How to check your wear layer thickness:
Pull up a floor vent or transition strip and look at the exposed edge of a plank. The hardwood veneer sits on top of the plywood layers, and you can measure it visually.
Check the original manufacturer documentation or the brand’s website. Most reputable brands like Shaw, Bruce, or Armstrong publish wear layer specs by product line.
If the floor has a hand-scraped or distressed texture, treat it conservatively. Hand-scraped floors typically have only one sanding chance because the texture variation means the highest points of the surface are already thinner than they appear.
Beyond thickness, assess the floor’s condition honestly. Light scratches and dull finish are ideal candidates for refinishing. Warped planks, cupping, or water-stained boards that show signs of subfloor moisture intrusion are a different problem entirely. Refinishing over active moisture damage will fail within months. Address the moisture source first, or consider replacement for the affected sections.
Pro Tip: Drag a coin across a worn area of your floor. If you feel the scratch catch on bare wood rather than a finish layer, you are past the point where screen and recoat alone will restore the surface. You need at least a light sand.
What refinishing methods work best for engineered hardwood?
Three methods cover the full range of engineered hardwood floor restoration scenarios. Each one suits a different wear layer thickness and damage level.
Method | Best for | Wear layer consumed | DIY-friendly? |
Screen and recoat | Dull finish, light surface scratches | None (finish only) | Yes, with care |
Light sanding | Moderate scratches, stain change | 0.5 to 1mm per pass | Professional recommended |
Chemical abrasion | Thin veneers under 2mm | None (finish only) | Yes, with proper products |
Screen and recoat uses a 220-grit screen pad to lightly abrade the existing finish without cutting into the wood itself. Fresh polyurethane coats are then applied over the cleaned surface. This method preserves wear layer thickness completely and is the most forgiving option for homeowners attempting the process themselves. It works best when the finish is dull or lightly scratched but the wood itself is undamaged.
Light sanding removes a thin layer of the actual wood veneer, which allows you to address deeper scratches, change the stain color, or correct uneven finish buildup. Professional sanding uses fine-grit discs between 80 and 120 grit to remove the minimal amount of material necessary. Over-sanding is the most common and most damaging mistake in engineered hardwood refinishing. Once you sand through the veneer into the plywood core, the floor cannot be repaired without replacement.
Chemical abrasion uses a liquid etching solution to roughen the existing finish chemically rather than mechanically. Products like Bona’s Prep or similar prep solutions create adhesion for a new topcoat without touching the wood. This is the right call for floors with thin veneers where any sanding carries real risk.
Pro Tip: If you are unsure which method your floor needs, default to screen and recoat first. You can always escalate to light sanding later. You cannot undo a sanding pass that went too deep.
For a detailed comparison of low-abrasion options, the clean and buff versus screen and recoat breakdown from Aosaveswoodfloors explains exactly when each approach applies.
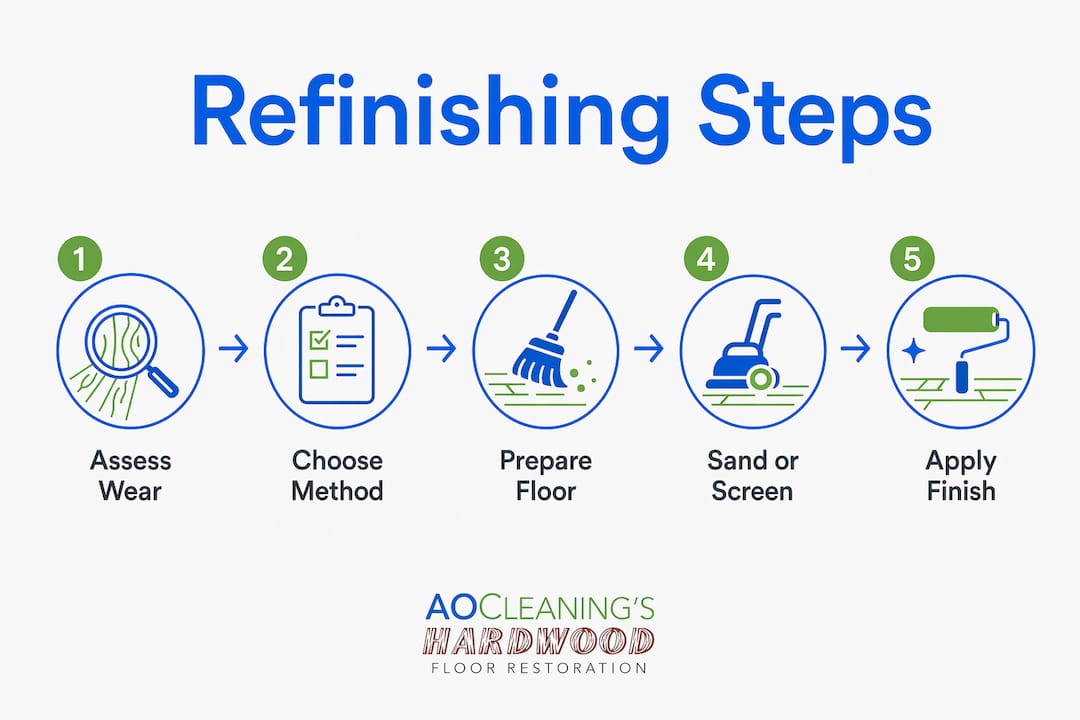
Step-by-step guide to refinishing engineered hardwood floors
This sequence applies to a screen and recoat or light sanding project. Adjust the sanding steps based on the method you selected above.
Stage 1: Room preparation
Remove all furniture, rugs, and floor vents from the room.
Clean the floor thoroughly with a hardwood-safe cleaner. Any grease, wax, or residue left on the surface will prevent the new finish from bonding.
Seal doorways with plastic sheeting to contain dust, even if you are using a dustless sanding system.
Check the room temperature and humidity. Most polyurethane finishes require 60 to 80 degrees Fahrenheit and 30 to 50 percent relative humidity to cure correctly.
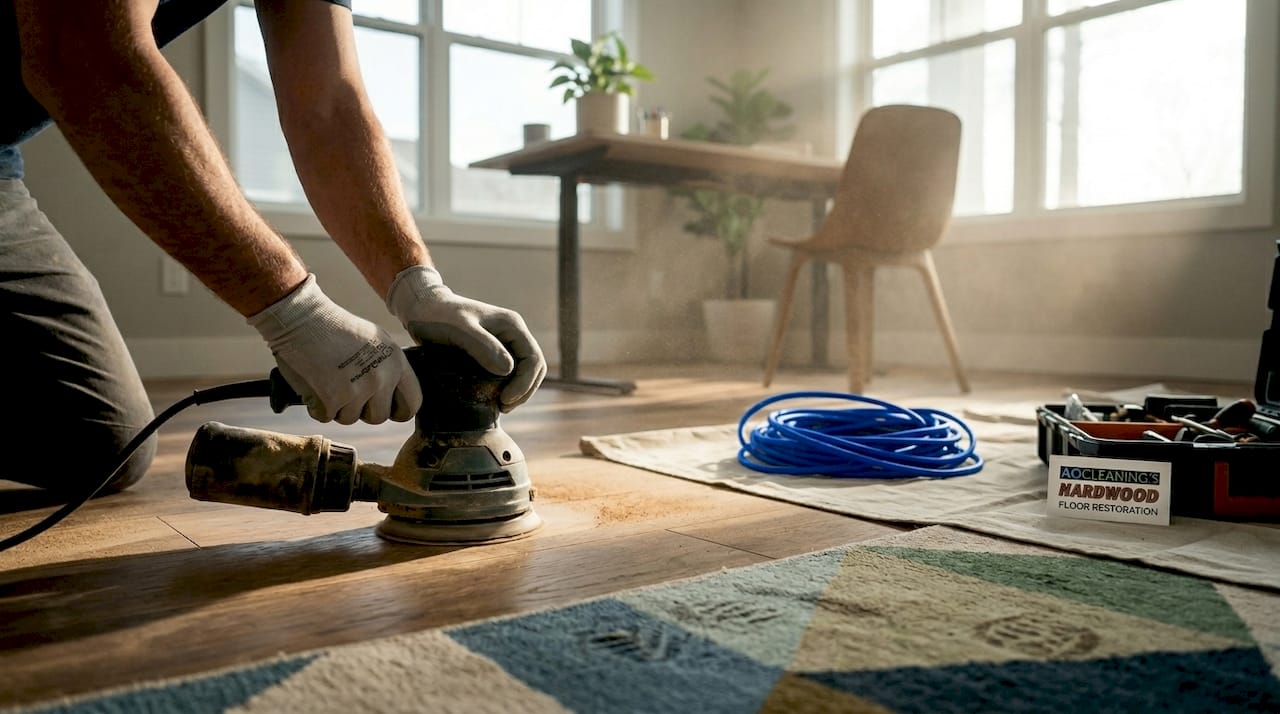
Stage 2: Sanding or screening
For screen and recoat: attach a 220-grit screen pad to a floor buffer and work in the direction of the wood grain. Overlap each pass by about 50 percent to avoid visible lines.
For light sanding: use a drum or orbital sander with 80 to 120 grit paper. Work with the grain, never against it. Sand the edges with a hand sander or edge sander using the same grit.
Vacuum the entire floor twice, then wipe with a tack cloth to remove all fine dust. Any dust left on the surface will show through the finish as bumps.
Stage 3: Stain application (optional)
If you are changing the color, apply your chosen stain with a lambswool applicator or foam pad, working in small sections. Stain dry time ranges from 8 to 12 hours before you can apply the first finish coat.
Test the stain color on an inconspicuous area or a scrap piece first. Stain reads differently on engineered veneer than on solid hardwood because the grain is often tighter and more uniform.
Stage 4: Finish application
Apply the first coat of polyurethane with a T-bar applicator or lambswool pad, working from the far corner toward the door. Thin, even coats outperform thick ones every time.
Water-based polyurethane coats dry enough to recoat after 2 to 4 hours depending on temperature and humidity. Oil-based formulas require 8 hours or more between coats.
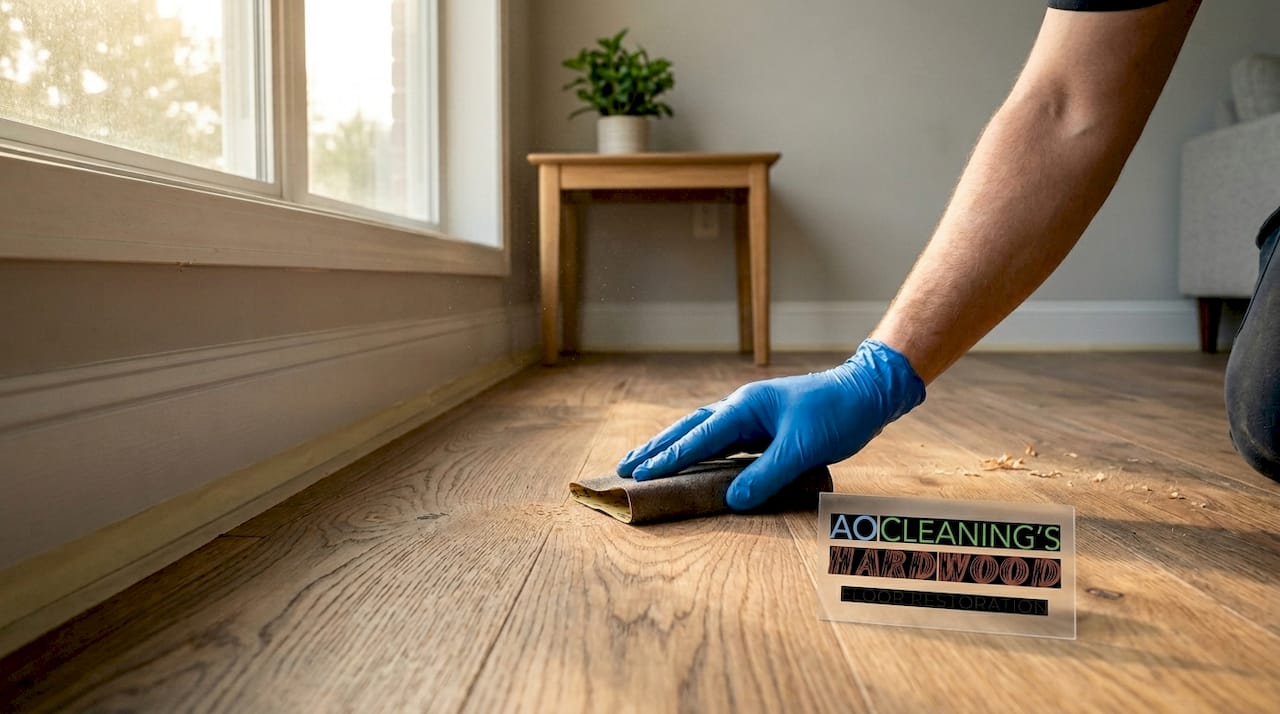
Lightly sand between coats with 220-grit paper to knock down any raised grain or dust nibs, then vacuum and tack cloth again before the next coat.
Apply two to three finish coats total for a durable surface.
Stage 5: Curing
The floor will feel dry to the touch within hours, but full cure takes significantly longer. Moving furniture back before the finish is fully cured risks dents and scratches that are impossible to remove without re-sanding.
Wait at least 24 hours before light foot traffic. Wait 72 hours before replacing furniture, and use felt pads under every leg.
Pro Tip: Water-based polyurethane from brands like Bona Traffic HD or Loba 2K Invisible delivers a harder, faster-curing finish than standard oil-based products. It costs more upfront but holds up significantly better on engineered floors that see daily traffic.
How to maintain refinished engineered hardwood floors
Protecting your refinished floor starts with the right cleaning routine. Use a microfiber mop and a pH-neutral hardwood cleaner like Bona Hardwood Floor Cleaner or Method Squirt and Mop. Avoid steam mops entirely. Steam forces moisture into the seams between planks and degrades the finish from below, which is the opposite of what you want after investing in a refinish.
Place felt pads under all furniture legs and replace them every six months. Hard felt compresses over time and loses its protective effect. Area rugs in high-traffic zones like hallways and in front of kitchen sinks add meaningful protection, but use rugs with breathable backings rather than rubber. Rubber backings trap humidity against the finish and can cause discoloration over time.
Watch for these signs that your floor needs attention again:
The finish looks dull even after cleaning, which signals the topcoat is worn through in high-traffic areas.
You can feel texture differences underfoot where the finish has worn unevenly.
Water no longer beads on the surface and instead soaks in quickly.
Scratches are reaching the wood rather than stopping at the finish layer.
When these signs appear, a screen and recoat is usually all you need. Catching wear early means you never have to sand again, which preserves the wear layer for the life of the floor. For ongoing care strategies, the hardwood floor maintenance guide from Aosaveswoodfloors covers daily and seasonal routines in detail.
Key takeaways
Successful engineered hardwood floor restoration depends on matching the refinishing method to your floor’s wear layer thickness before any work begins.
Point | Details |
Wear layer determines method | Floors under 2mm require screen and recoat; floors over 3mm can handle light sanding. |
Sanding removes 0.5 to 1mm per pass | A 4mm wear layer supports three to five total sanding cycles before replacement is needed. |
Cure time protects your investment | Wait 72 hours before replacing furniture to avoid dents in the fresh finish. |
Screen and recoat extends floor life | Regular recoating prevents wear from reaching the wood and delays the need for full sanding. |
Moisture is the primary threat | Steam mops and rubber-backed rugs degrade finish from below and should be avoided entirely. |
What I’ve learned after years of watching homeowners refinish their own floors
The single most common mistake I see is homeowners skipping the wear layer assessment entirely and going straight to renting a drum sander. A drum sander on a floor with a 1.5mm veneer is not refinishing. It is destroying. The floor looks fine on day one, and then six months later the plywood core starts showing through in the middle of the room where foot traffic is heaviest.
The second mistake is rushing the cure. I have watched people move a couch back onto a freshly finished floor after 12 hours because it felt dry. It was not dry. It was surface-dry. The finish underneath was still soft, and those couch legs left permanent impressions that required a full re-sand to fix.
My honest recommendation for most homeowners is this: do the screen and recoat yourself if you are comfortable with the process, but hire a professional for any job that involves actual sanding. The cost difference between DIY and professional refinishing is real, but so is the cost of replacing a floor you sanded through. Professionals bring calibrated equipment, dustless containment systems that produce cleaner finishes, and the experience to stop before they cause irreversible damage.
If your floor has a 4mm or thicker wear layer and you are confident in your technique, light sanding is within reach for a careful DIYer. But if there is any doubt about the veneer thickness, protect what you have. A screen and recoat every three to five years costs far less than a floor replacement.
— Jim
Restore your engineered hardwood floors with Aosaveswoodfloors
If your floors need more than a DIY refresh, Aosaveswoodfloors has been restoring engineered and solid hardwood floors across the St. Louis metro area and central Illinois since 2003. With over 450 Google reviews and 20-plus years of experience, they know exactly how much wear layer your floor can handle before a single pass is made.

Their full sand and refinishing service uses dustless technology on every job, which means no fine dust coating your furniture and a cleaner finish coat from the first application. Most jobs are completed in a single day, with floors ready to walk on in about three hours. Whether your floor needs a full sand or just a screen and recoat, their team will assess your wear layer first and recommend the right solution. Call Aosaveswoodfloors before you decide to replace. Before you refloor it, let them restore it.
FAQ
Can all engineered hardwood floors be refinished?
No. Most engineered floors can be refinished once or twice depending on veneer thickness. Floors with wear layers under 1.5mm are not safely sandable and should only receive screen and recoat treatments.
How many times can you sand engineered hardwood?
Sanding removes roughly 0.5 to 1mm of wear layer per pass, so a 4mm veneer supports three to five total sandings. Thinner veneers may allow only one sanding before the plywood core is at risk.
What is the difference between screen and recoat and full sanding?
Screen and recoat abrades only the finish layer using a 220-grit screen pad, preserving the wood veneer entirely. Full sanding cuts into the wood itself, removing scratches and old stain but consuming wear layer thickness permanently.
How long before you can walk on refinished engineered hardwood?
Light foot traffic is safe after 24 hours for most water-based polyurethane finishes. Full cure for furniture replacement requires at least 72 hours, and rushing this step risks permanent dents in the fresh finish.
Is refinishing engineered hardwood worth it compared to replacement?
Refinishing costs a fraction of full floor replacement and restores the floor’s appearance effectively when the wear layer has sufficient thickness remaining. For floors with adequate veneer depth, refinishing is the better financial and practical choice.
Recommended
