


Full Sand Refinish Hardwood Floors Guide for Homeowners
- Kim M.

- 2 days ago
- 9 min read
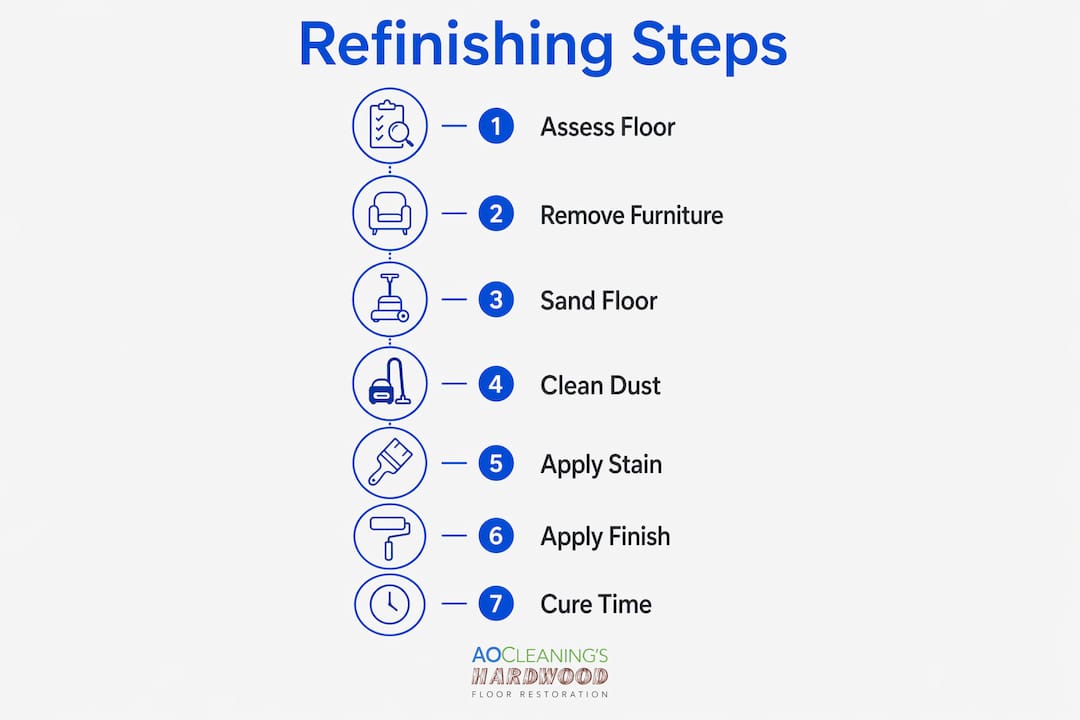
A full sand and refinish is defined as the complete removal of an existing floor finish and a thin layer of wood surface, followed by staining and applying fresh protective coats to restore the floor to near-new condition. This process is the most thorough option in the refinishing hardwood floors process, and it addresses damage that surface-level treatments simply cannot fix. A typical project spans 5 to 7 days, with professional costs running $3.00 to $8.00 per square foot and DIY costs between $1.50 and $4.00 per square foot. The primary tools involved are a drum sander, edge sander, random orbital sander, tack cloth, and polyurethane finish.
Does your floor actually need a full sand and refinish?
The single most common mistake homeowners make is choosing the wrong treatment for their floor’s condition. DIYers frequently confuse screen and recoat with full sanding, which leads to inadequate results on genuinely damaged floors. Knowing which option fits your situation saves time, money, and unnecessary wear on the wood.
A full sand and refinish is required when you see any of the following:
Deep scratches that catch a fingernail or penetrate through the finish into bare wood
Pet stains or water damage that have darkened or grayed the wood fiber itself
Peeling or flaking finish that has lost adhesion across large sections of the floor
Desired color change since screen and recoat cannot alter the stain color underneath
Cupping or warping caused by moisture that requires leveling through sanding
Screen and recoat is the right call when the finish is still intact but dull, lightly scratched, or losing sheen from foot traffic. A simple water droplet test confirms which category your floor falls into. Drop a few tablespoons of water on the surface. If it beads up, the finish is still functional. If it absorbs within a minute or two, the finish is compromised and a full sand is likely needed.
Before committing to sanding, check the wear layer thickness. Floors need at least 2.4 mm of wear layer above the tongue-and-groove joint to survive sanding without risk of sanding through. Engineered hardwood with a thin veneer often falls below this threshold, so check the engineered hardwood refinishing steps before proceeding. You can also look for exposed nail heads near the edges. If nails are visible, the floor has been sanded close to its limit.
What tools and preparation does a refinishing project require?
Preparation is where most DIY projects succeed or fail before the first pass of the sander. Skipping steps here creates problems that no amount of finish can hide.
The core equipment list for step-by-step hardwood sanding includes a drum sander for the main floor area, an edge sander for perimeter work, a random orbital sander for blending and corners, a floor buffer with a screen attachment for between-coat scuffing, a shop vacuum, and tack cloths for final dust removal. Drum sanders and edge sanders are available at most tool rental centers, including Home Depot and Menards.
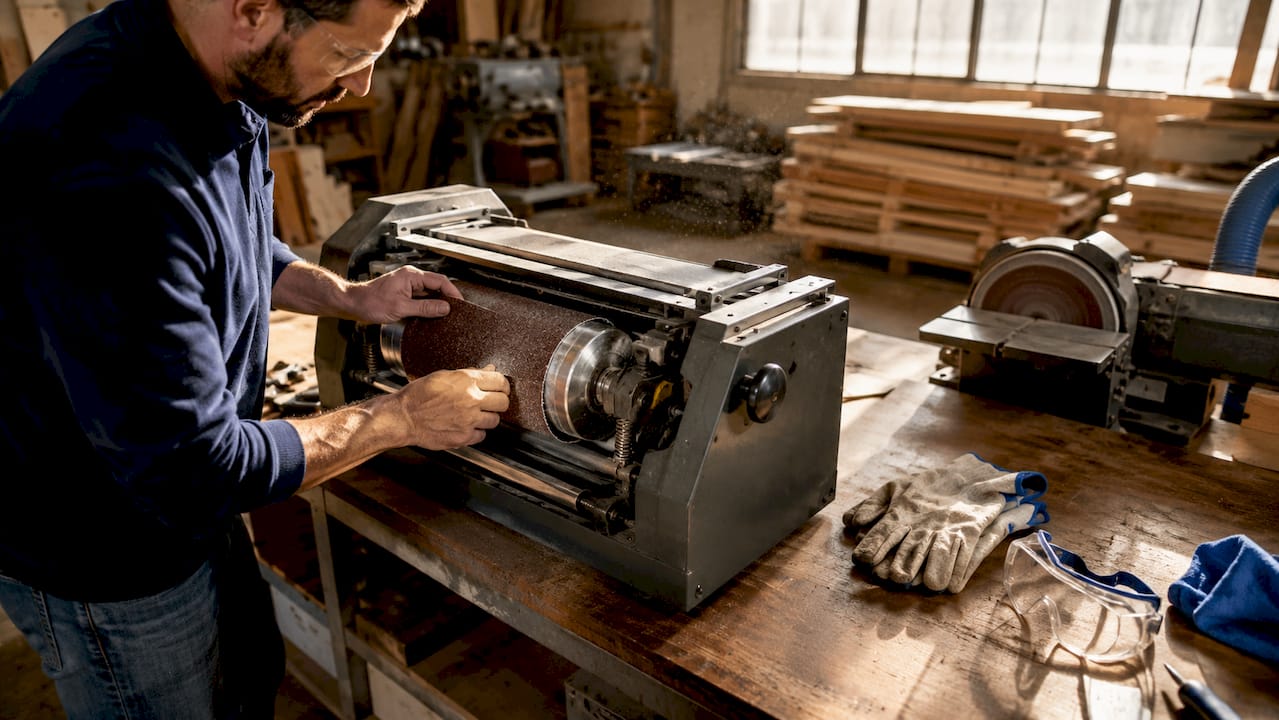
The grit progression is non-negotiable. Start at 36 grit for heavy old finishes, then move through 60, 80, 100, and finish at 120 grit. Skipping a grit level leaves scratches from the coarser paper that finer grits cannot fully erase. Those scratches show clearly under a glossy finish coat.
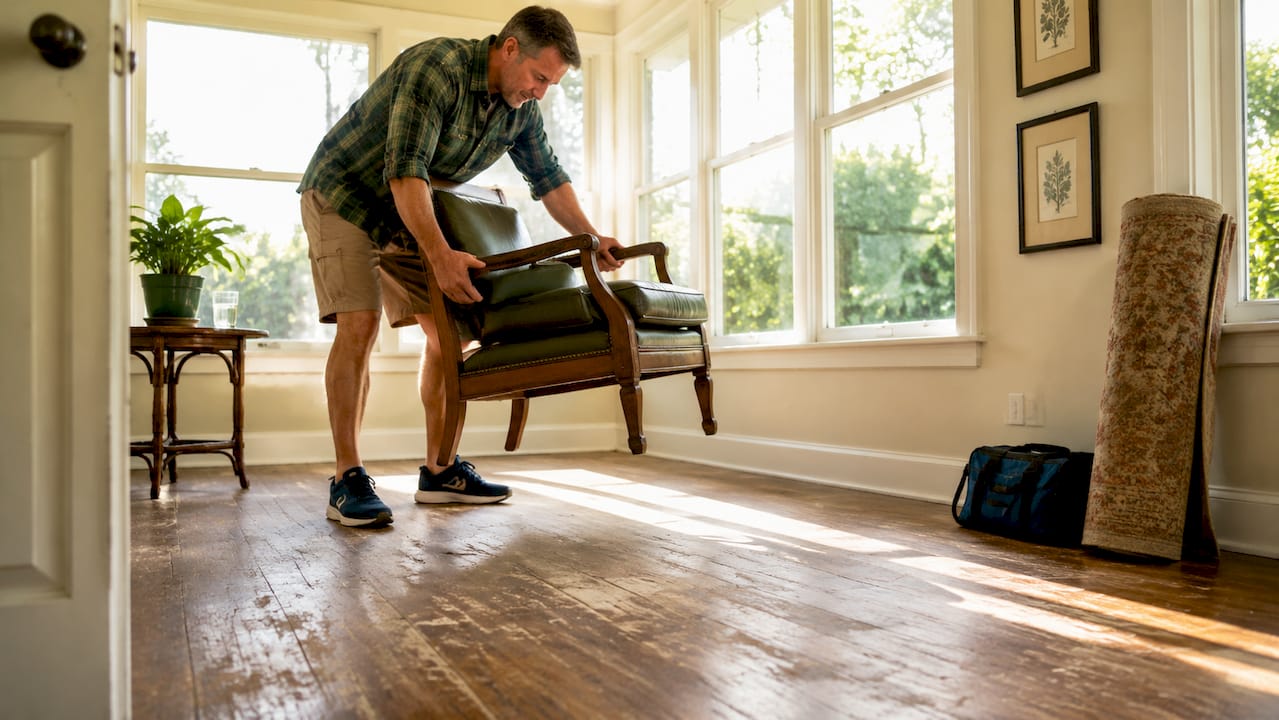
Room preparation follows this sequence before any sanding begins:
Preparation Task | Why It Matters |
Remove all furniture, rugs, and floor registers | Prevents damage and allows full sanding coverage |
Counter-sink protruding nails | Exposed nails tear sanding belts and damage the drum sander |
Secure loose or squeaky boards | Vibration during sanding worsens loose boards and affects finish adhesion |
Seal doorways with plastic sheeting | Contains sanding dust and prevents spread to other rooms |
Cover HVAC vents | Keeps fine dust out of the duct system |
Wear a respirator rated for fine dust (N95 or better) and hearing protection throughout the sanding phase. Drum sanders run loud enough to cause hearing damage over a full day of work.
Pro Tip: Never lower the drum sander drum onto a stationary floor. The machine must already be moving forward before the drum contacts the wood. Stopping with the drum spinning causes permanent gouges that require additional sanding to remove.
How to sand the main floor, edges, and corners correctly
The sanding phase has three distinct zones: the main field, the perimeter edges, and the corners. Each requires a different tool and technique, and the transitions between zones must be blended carefully.
Main floor sanding with the drum sander. Always sand with the wood grain, never across it. Overlap each pass by about one-third of the drum width to avoid ridges. Start with 36 grit and complete the entire floor before changing to the next grit. Vacuum thoroughly between every grit change to remove loose abrasive particles that would scratch the surface under the next pass.
Edge sanding with the edge sander. Match the grit on the edge sander to whatever grit you just finished on the drum sander. Use a smooth arc motion rather than scrubbing back and forth. Work in the same direction as the wood grain wherever possible. The edge sander reaches about 3 to 4 inches from the wall.
Hand sanding corners and tight spots. Wrap sandpaper around a sanding block and work into corners, closets, and areas the edge sander cannot reach. Follow the same grit progression used on the rest of the floor. Skipping grits in corners is a common shortcut that creates visible mismatches under stain.
Blending pass with the random orbital sander. The transition zone between drum and edge sander areas often shows a visible ring called the halo effect. A blending pass with a random orbital sander loaded with 120 grit paper over a 30 to 40 cm overlap zone eliminates this line. This step separates a professional-looking result from an amateur one.
Final dust removal. Sanding dust creates a gritty finish texture if not fully removed before applying any stain or finish coat. Vacuum the entire floor twice, then wipe with a tack cloth in the direction of the grain. For extra assurance, a light wipe with a mineral spirits-dampened cloth picks up fine particles the tack cloth misses.
Pro Tip: After the final vacuum, close all windows and doors and let the room settle for 20 to 30 minutes before tack clothing. Airborne dust will resettle on the floor during that time, and wiping too soon just moves it around.
How to apply stain and finish for a durable, even result
Stain is optional, but it is the only opportunity to change the floor’s color during this process. Test any stain color on an inconspicuous area, such as inside a closet, and let it dry fully before committing to the main floor. Colors look significantly different wet versus dry and under artificial light versus natural light.
Apply stain with a lambswool applicator or a clean cloth, working with the grain in manageable sections. Wipe off excess stain within the manufacturer’s recommended window, typically 5 to 15 minutes, before it becomes tacky. Oil-based stains generally need 8 to 12 hours of drying time before finish application. Water-based stains dry faster, often within 2 to 4 hours, but raise the grain slightly and may require a light 120-grit scuff before finishing.
Finish application follows these best practices:
Stir polyurethane, never shake it. Shaking introduces air bubbles that transfer directly to the floor surface as fish-eye defects.
Apply thin, even coats with a lambswool applicator, maintaining a wet edge to prevent lap marks. Thick coats cause fish-eye defects and uneven drying.
Screen between coats using a floor buffer with a 220-grit screen pad. This scuffs the surface for mechanical adhesion without removing the coat below.
Apply two coats for standard rooms and three coats for high-traffic areas like kitchens, hallways, and entryways.
Control the environment. Applying finish at 35 to 55% humidity and 18 to 24°C prevents haze, cloudiness, and adhesion failures. Running a dehumidifier in humid summer conditions is not optional on a quality job.
Common mistakes that ruin a hardwood refinishing project
Most finish failures trace back to one of a short list of repeatable errors. Knowing them in advance is the most practical hardwood floor refinishing tip available.
Stopping the drum sander with the drum down. This gouges the floor instantly and requires significant extra sanding to correct.
Skipping grit steps. Going from 36 grit directly to 80 grit leaves deep scratches that show under any finish.
Applying polyurethane too thick. Heavy coats trap solvents and dry unevenly, producing a cloudy or bubbled surface.
Rushing dust removal. Even a small amount of residual dust creates a sandpaper-like texture in the cured finish.
Ignoring humidity and temperature. Finishing in a hot, humid room or a cold garage produces haze and adhesion failures that require stripping and starting over.
Neglecting the halo effect. The visible ring between drum-sanded and edge-sanded zones is one of the most common signs of a DIY job. The blending pass with a random orbital sander is the fix.
Safety note: Polyurethane-soaked rags and used sandpaper are fire hazards. Spread used rags flat outdoors to dry completely before disposing of them. Never pile them in a trash can while still wet with finish.
Key takeaways
A successful full sand and refinish hardwood floor project depends on correct floor assessment, strict grit progression, thorough dust removal, and controlled finishing conditions.
Point | Details |
Assess before sanding | Use the water droplet test and wear layer check to confirm full sanding is the right treatment. |
Follow the grit sequence | Progress from 36 through 120 grit without skipping steps to avoid permanent scratches under finish. |
Blend transition zones | Use a random orbital sander at 120 grit to eliminate the halo effect between drum and edge sander areas. |
Control finishing conditions | Apply finish at 35 to 55% humidity and 18 to 24°C to prevent haze, bubbles, and adhesion failures. |
Remove all dust | Vacuum twice and tack cloth before every finish coat. Residual dust creates a gritty, unprofessional texture. |
What 20 years of refinishing floors has taught me
The homeowners who get the best results from a DIY refinish are not the ones with the most experience. They are the ones who slow down at every transition point. The grit change, the dust removal, the first finish coat. Those are the moments where impatience shows up in the final product for years.
The drum sander is the tool I see cause the most damage in inexperienced hands. Drum sanders are efficient but unforgiving, and a two-second lapse in attention creates a gouge that takes 20 minutes to sand out. If you have never operated one, rent it for a half-day first and practice on a section of subfloor or scrap wood before touching your finished floor.
My honest recommendation: if your floor covers more than 400 square feet, has significant water damage, or is an engineered product with a thin wear layer, call a professional before renting equipment. The cost comparison between DIY and professional refinishing often surprises homeowners once they factor in equipment rental, materials, and the risk of a mistake that requires a second full sand. A floor that gets sanded incorrectly twice has a shortened lifespan.
The blending pass is the single step most DIY guides skip, and it is the one that separates a floor that looks refinished from one that looks professionally done. Do not skip it.
— Jim
Ready to skip the rental equipment and get it done right?
If this guide has shown you anything, it is that a full sand and refinish is a serious project with real consequences for getting the technique wrong. Aosaveswoodfloors has been handling exactly these projects across St. Louis, Columbia, Belleville, and surrounding communities since 2003, with over 450 Google reviews from homeowners who chose restoration over replacement.

Aosaveswoodfloors uses dustless sanding equipment and eco-friendly finishes on every job, so there is no mess to clean up and no lingering odors when the crew leaves. Whether your floors have deep pet stains, water damage, or just need a fresh color, their professional refinishing services cover the full process from first sand to final coat. Before you replace those floors, get a quote and see what restoration can do.
FAQ
How long does a full sand and refinish take?
A full sand and refinish typically takes 5 to 7 days from start to final coat cure, including drying time between finish coats. Most rooms are walkable within 24 hours of the final coat, but full cure takes up to 7 days.
Can I sand engineered hardwood floors?
Engineered hardwood can be sanded only if the wear layer measures at least 2.4 mm above the tongue-and-groove joint. Thinner veneers risk sanding through to the core, which permanently damages the floor.
What is the difference between screen and recoat vs. full sanding?
Screen and recoat suits surface dullness on an intact finish, while full sanding is required for deep scratches, stains, water damage, or color changes. Choosing the wrong treatment wastes money and can damage the floor.
How many coats of polyurethane should I apply?
Two coats are standard for most rooms, and three coats are recommended for high-traffic areas like hallways, kitchens, and entryways. Screen lightly with a 220-grit pad between every coat for proper adhesion.
What humidity level is best for applying floor finish?
Apply polyurethane at 35 to 55% relative humidity and between 18 and 24°C. Outside those ranges, the finish is prone to haze, cloudiness, and poor adhesion that cannot be corrected without stripping and recoating.
Recommended

Comments