


Homeowners: Refinish Pine Floors in 1–2 Days and Keep the Natural Look

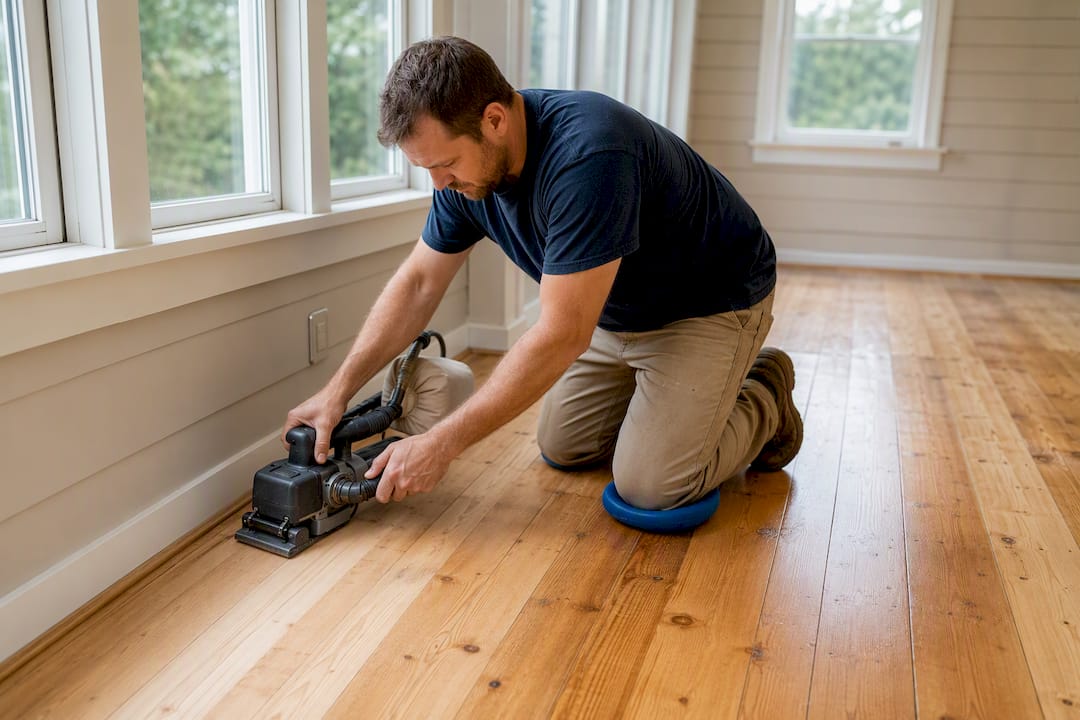
Yes, most pine floors can be refinished successfully, even ones with decades of wax buildup or scratches. The safest DIY route is a full sand down to bare wood followed by a clear sealer, since pine’s grain often looks better natural than stained. If your boards are thin, structurally shaky, or original heart pine in an older home, call a pro before you touch a sander.
TL;DR:
Use a full grit sanding sequence from 36 or 40 up to 120 grit to prevent scratches from showing through on soft pine.
Test stain or sealer on a hidden patch before full application to avoid uneven blotching and resin bleed.
Opt for water-based polyurethane for a clear, natural look or oil-based polyurethane for a warmer tone with longer curing times.
Seal knots with shellac and repair soft spots or gouges carefully to avoid sander marks and damage to thin boards.
Consider professional dustless sanding and eco-friendly finishes for quicker, safer results, especially for historic or fragile pine floors.
Table of Contents
Tools and Supplies You Need Before You Refinish Pine Floors
Rent a drum sander or a random orbital floor sander for the main field, plus an edger for the perimeter and a hand scraper for corners. Drum sanders remove finish fast but gouge soft pine if you hesitate, so first timers often do better with a random orbital unit, which is more forgiving on a wood this soft.
You’ll want a full grit progression on hand, not just one or two papers:
Coarse: 36 or 40 grit for stripping old finish (skip this pass if the floor only needs a light refresh)
Medium: 60 grit to erase swirl marks left by the coarse pass
Fine: 80 grit to smooth the surface further
Finish prep: 100 to 120 grit for the final pass before sealing
Buy your finish before sanding day: water-based polyurethane or an oil-based option, a pre-stain conditioner if you’re staining, and a part-B hardener additive if you want extra durability on soft pine. For dust, a shop vac with a dustless sander attachment, an N95 respirator or better, and drop cloths sealing off doorways are non-negotiable.
How Do You Refinish Pine Floors Step by Step?
Clear the room completely, pull baseboards if you want a clean edge, and walk the floor looking for popped nails, rot, or boards that flex underfoot. Countersink every nail head. Skipping this step is the single most common reason a rented sander tears a gouge across a room.
Sand with coarse grit first, but only if you’re stripping old finish down to bare wood. Keep the machine moving at a steady pace. A stationary sander burns through pine in seconds and leaves a divot you’ll be filling later.
Move to 60 grit, then 80, then finish at 100 to 120 grit. This sequence for pine matters more than on oak because soft grain telegraphs every scratch the coarser paper leaves behind.
Hand-sand edges and corners with a sanding block, since an edger alone tends to leave arcs the drum sander can’t blend.
Vacuum and wipe with a tack cloth between every grit change. Leftover grit from the previous pass gets dragged across the floor by the next paper, and dust left under a finish coat causes peeling and fisheye.
Repair problem spots now. Fill small gaps with a color-matched wood filler, replace any board that’s soft or split, and address minor cupping by extending the sanding pass slightly longer over that area rather than gouging deeper.
Test your finish on a hidden section, like a closet floor, before committing to the whole room. Absorption on pine varies board to board, and a test patch saves you from an ugly surprise.
Apply a thinned first coat, let it dry per the label, then scuff with 220 grit before your second and third coats. Two to three coats is standard; three gives noticeably better wear resistance on a wood this soft.
Dry times between coats usually run 2 to 4 hours for water-based poly and up to 24 hours for oil-based products, but full cure, when the finish reaches maximum hardness, takes 7 to 30 days depending on the product. Keep rugs and heavy furniture off the floor during that window even after it feels dry underfoot.
Pro Tip: Let the sander do the work. Pressing down harder doesn’t speed up stripping, it just digs a low spot into pine that no amount of finish will hide later.
Should You Stain Pine or Use a Clear Sealer?
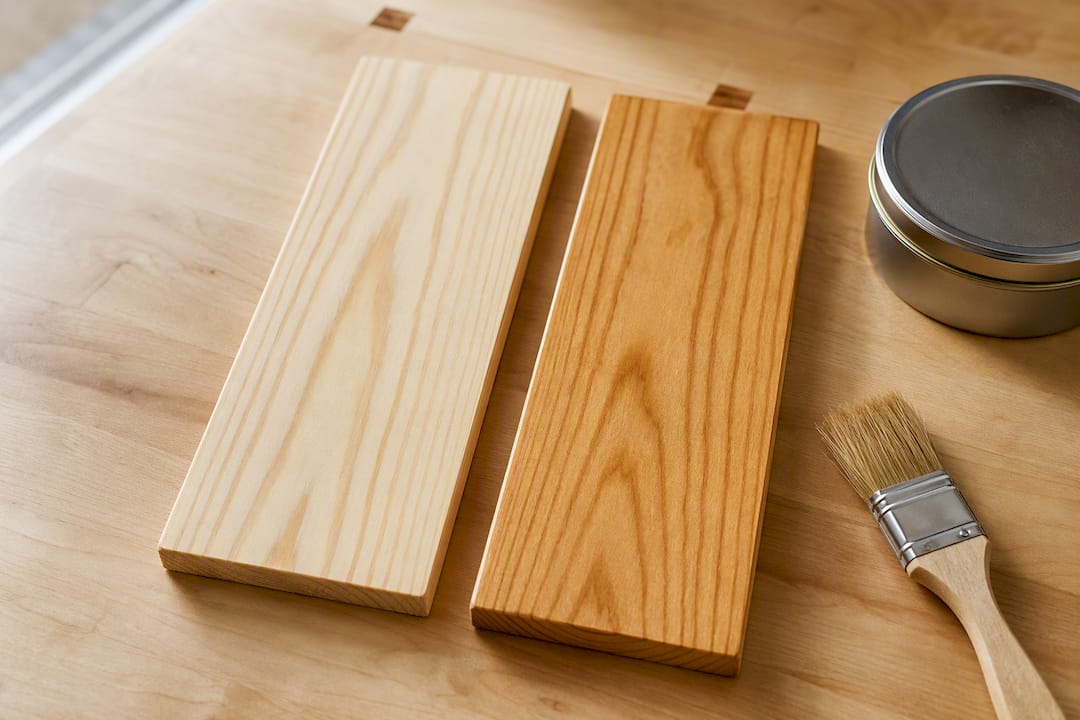
Pine blotches with stain because its grain density swings wildly board to board, and resin-heavy knots absorb color at a totally different rate than the surrounding wood. That uneven absorption is why so many finishers steer clients toward a clear finish instead, letting the natural amber tone develop on its own rather than fighting the wood’s tendency to drink stain unevenly.
If you’re set on color, a pre-stain conditioner or a gel stain, both formulated to slow absorption, reduces the risk of a blotchy result. Either way, test first:
Sand a hidden test patch to your final grit before touching the whole room.
Apply your conditioner or stain and let it sit the full recommended time.
Check for splotching near knots and check whether the sap has bled through.
Only move to the full floor once the test patch looks even.
Pro Tip: If the test patch looks even but slightly dull, that’s normal for pine. Topcoat will bring out depth you can’t see on raw wood.
Which Finish Is Best for Pine Floors?
Water-based polyurethane: dries fast, ambers very little, and keeps pine’s pale color close to its sanded state. Best pick if you want the floor to look like natural, unstained wood for years.
Oil-based polyurethane: adds a warm amber tone as it cures and holds up well, but it takes longer to cure and carries stronger fumes during application.
Hardwax oil: gives a matte, natural look and lets you spot-repair a scuffed area without recoating the whole room, though it needs more frequent light maintenance than poly.
Surface hardener additive: mixed into a clear sealer, a part-B hardener boosts abrasion resistance on soft pine while keeping the just-sanded look, since pine’s Janka hardness rating of roughly 380 lbf sits well below red oak’s 1,290, per woodworking reference data.
Sheen choice matters too, since a higher gloss shows dust and footprints faster on a soft floor that scuffs easily. If you’re weighing satin versus semi-gloss, the same logic door and trim finishers use for choosing sheen on interior surfaces applies to floors: lower sheen hides wear, higher sheen shows it off (and shows every flaw).
Fixing Knots, Sap Bleed, Soft Spots, and Sander Marks
Knots and sap bleed: seal every knot with a shellac-based knot sealer before any topcoat goes on, since a shellac barrier stops resin bleed that a latex product simply won’t hold back.
Blotchy staining: if a test patch comes back uneven, sand it back and switch to a clear sealer, or add a pre-stain conditioner and retest before committing.
Soft spots or washboarding: these usually trace back to an edger held too aggressively in one spot; light, even passes with a slightly finer grit prevent it, and a conservative sanding technique protects boards that are already thin from prior refinishes.
Drum or ding marks: check the whole field under raking light after each pass. Small gouges can often be sanded out at the next grit, but a deep drum mark usually means dropping back a grit and re-blending the whole board.
How Long and How Much Does Refinishing Pine Cost?
A single room, done carefully, usually runs one to two days of active work when you count prep, sanding, drying, and two to three coats. A full-house refinish stretches into multiple days, especially where board replacement or patch-matching is involved.
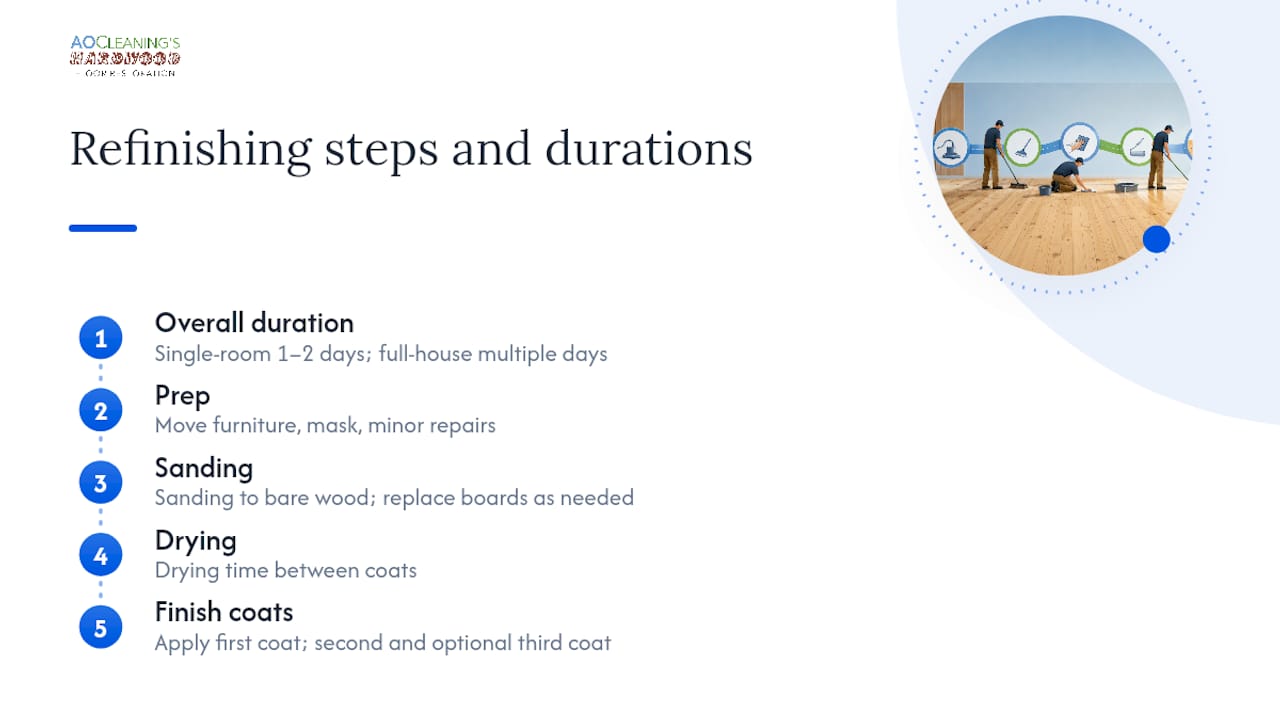
Costs swing on a few factors: sander rental versus a pro crew, finish type (oil-based costs less than a hardener-boosted system), and how many boards need replacing. Historic heart pine floors tend to run longer and pricier because matching old-growth grain and finish character takes more careful work than a standard refinish.
Hire a pro when boards feel thin or spongy underfoot, when you see water damage or rot, when the floor is original heart pine in a historic home, or when the house predates 1978 and lead paint rules (RRP) apply to any sanding work.
AO Cleaning’s Take on Dustless, 1-Day Pine Restoration
A local hardwood floor restoration company has been serving central Illinois and the St. Louis metro area since 2003 with many positive reviews. Their dustless sanding and eco-friendly finish process means minimal odor and cleanup, with most jobs walkable within a few hours. For readers weighing DIY against a full sand and refinishing service, that speed is worth factoring into the decision.
Why Preserving Pine’s Natural Look Beats Chasing a Stain
The advice repeated across most refinishing guides treats staining as a default step, something you do because that’s what refinishing means. It isn’t. Pine looks better left alone more often than not, and the conventional wisdom undersells how good a clear-sealed floor looks once it ambers naturally over a few years.
Where I think most DIY guides fall short is timeline honesty. They’ll tell you sanding takes an afternoon and gloss over the fact that full cure on a poly finish can take a month, during which your floor is more vulnerable than it looks. That gap between “dry” and “cured” causes more damaged finishes than bad sanding technique ever does.
If you’re doing this yourself, prioritize the sanding sequence and the test patch over the fancy hardener additives and boutique oils. A clean grit progression and a patient final coat schedule will outperform a premium product applied over a rushed sand job every time. Get the fundamentals right first, then decide if the upgrades are worth the extra cost.
— Jim
Ready for a Dustless, 1-Day Alternative to DIY Sanding?
If the grit progression, dust masks, and multi-week cure times above sound like more weekend than you want to give up, Clean and buff and full restoration services can achieve a natural pine look without requiring rental equipment. A dustless technique can eliminate the need for plastic containment and reduce wait times for fumes to clear, with many jobs walkable again in a few hours.

Deciding between DIY and a pro often comes down to time versus risk: a weekend of sanding saves money, but a thin board, a lead-paint era home, or a floor you can’t afford to gouge tips the scale toward calling in help. If your pine floors just need a refresh rather than a full strip, start with the hardwood floor clean and buff page to see what a same-day service could look like for your home.
Sources
Recommended

Comments