


What Wax Buildup Does to Your Floors (and How to Fix It)

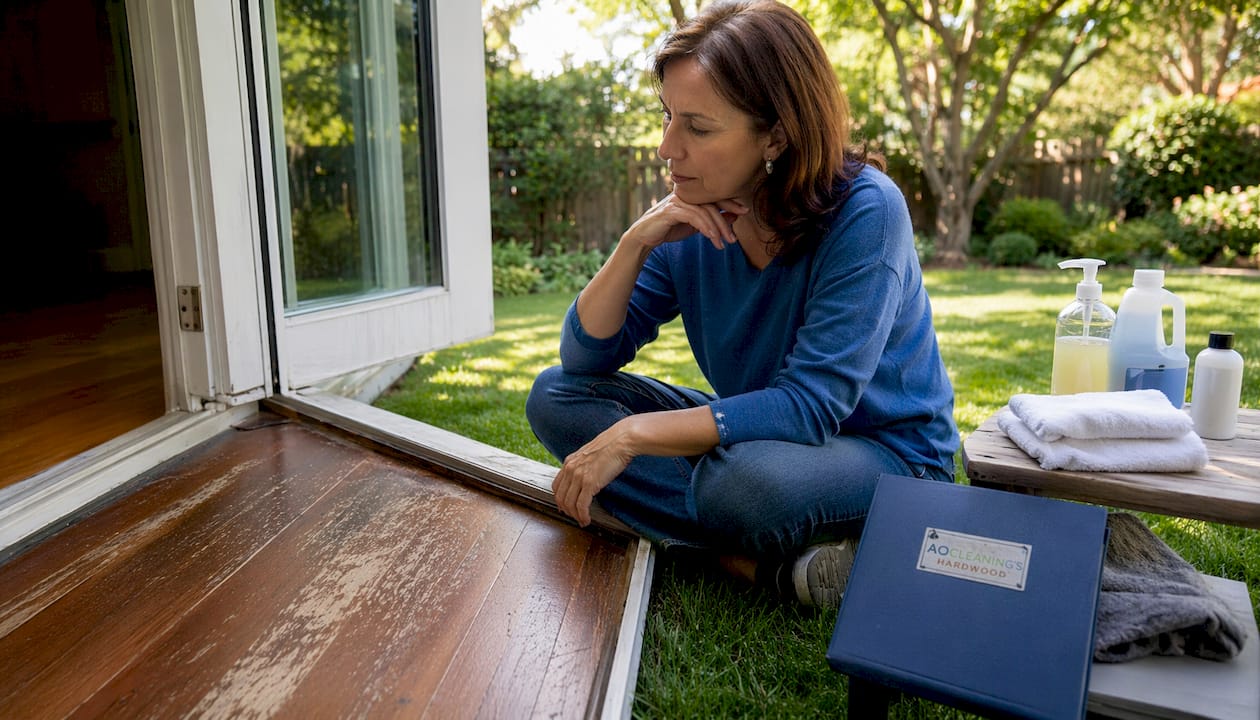
Wax buildup turns clean floors into a cloudy, sticky mess that gets worse every time you mop. The wax layers trap dirt and grit beneath the surface, block moisture from escaping the wood, and create a slippery film that no amount of regular cleaning can reverse. If you’ve been scrubbing your floors and they still look dull or hazy, wax accumulation is almost certainly the culprit.
Here’s what wax buildup actually does to your floors:
Creates a cloudy, grayish film that traps dust, hair, and grit, making floors look dirty even after cleaning
Prevents wood from breathing, which traps moisture and can cause warping or cupping
Makes surfaces slippery, raising the fall risk in high-traffic areas
Embeds grit that scratches and degrades the protective finish over time
Blocks new finish from bonding, making professional recoating impossible without full chemical stripping first
How do you know if your floors have wax buildup?
Wax buildup sneaks up on you. Most homeowners assume their floors are just aging when the real problem is product accumulation from months or years of routine cleaning.
Visual signs:
A cloudy or grayish haze that doesn’t lift after mopping
Uneven patches, some areas shinier than others
Footprints and smudges that won’t wipe away
Streaking when light hits the floor at an angle
Tactile signs:
A sticky or tacky feel underfoot
Uneven surface texture across the floor
The most common causes are over-applying wax or polish, using spray-on shine products that contain acrylics, and never stripping old layers before adding new ones. Non-pH-neutral cleaners make it worse by leaving their own residue, which bonds with the wax. Basic mopping only spreads the residue around rather than removing it, so the cycle compounds with every cleaning session.
How to remove wax buildup from floors safely
DIY removal works for light to moderate buildup if you take it step by step. Heavy accumulation usually calls for a professional, but here’s how to handle it yourself first.
Test a small area first. Pick an inconspicuous corner and apply your chosen wax stripper there. Wait the recommended dwell time and check for any discoloration or surface damage before treating the whole floor.
Gather your materials. You’ll need a gentle wax stripper formulated for your floor type, microfiber cloths, a soft-bristle scrub pad, and a pH-neutral floor cleaner for the rinse step.
Apply the stripper according to the label. Don’t rush the dwell time. The product needs to soften the wax layers before you can lift them. Rushing this step means more scrubbing and more risk of scratching.
Remove the softened wax gently. Use a soft cloth or a plastic scraper, never metal. Work in the direction of the wood grain to avoid cross-grain scratches.
Rinse with a pH-neutral cleaner. This removes stripper residue. Wring your mop or cloth nearly dry before touching the floor.
Dry the floor thoroughly. Standing moisture is one of the fastest ways to damage wood. Use dry microfiber cloths and let the floor air dry completely before walking on it.
Repeat for heavy buildup, or call a professional. If the haze persists after one cycle, the buildup is deeper than a single pass can address. At that point, professional wax removal is the safer and more reliable path.
Pro Tip: Never use a steam mop during or after wax removal. Steam forces moisture into wood joints and can cause irreversible swelling, even on floors that look fully sealed.
Preventing wax buildup: best practices for floor maintenance
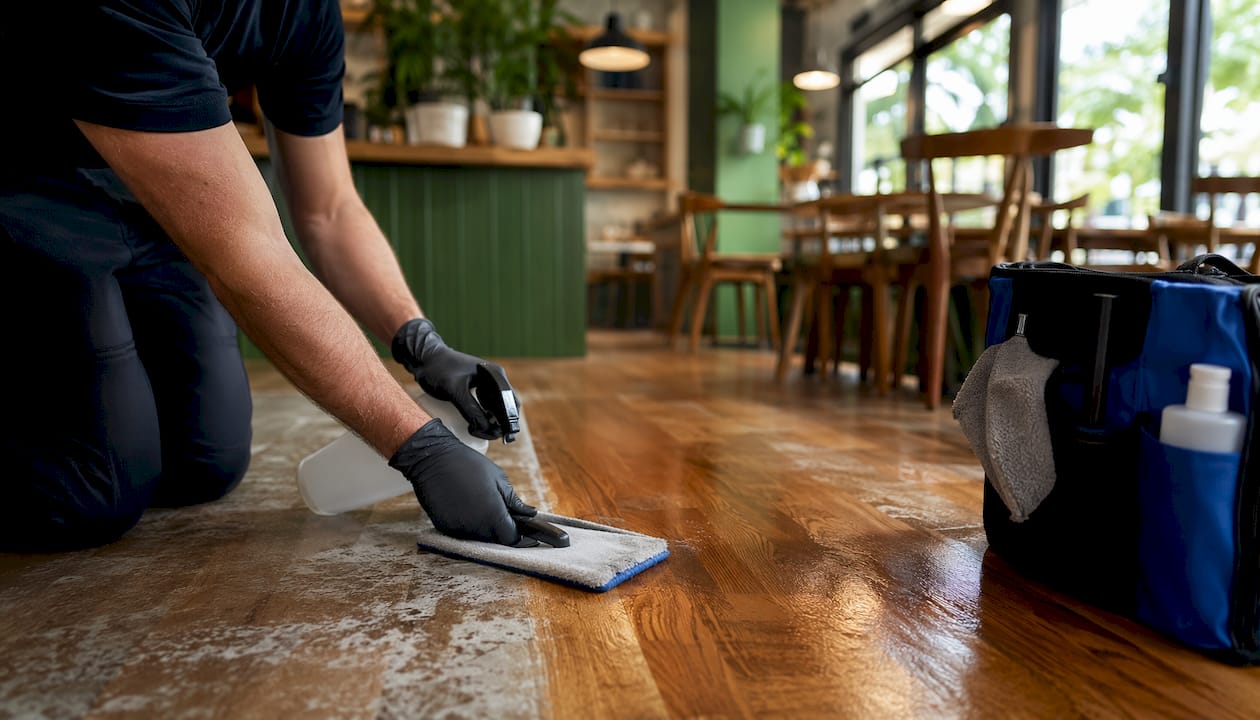
The National Wood Flooring Association recommends against wax entirely on modern polyurethane-finished floors, advising pH-neutral water-based cleaners instead. That single switch eliminates the most common source of buildup for most homeowners.
What to do:
Sweep or vacuum on the bare-floor setting daily to remove grit before it embeds
Use only manufacturer-approved, pH-neutral cleaners
If your floor type does require wax, strip old layers before applying new ones, and limit waxing to once or twice a year
Keep indoor humidity between 35% and 55% to reduce wood movement and the gaps where wax tends to accumulate
What to avoid:
Vinegar, ammonia, and oil soaps, which degrade finishes and trigger the need for more product
Steam mops, which void most manufacturer warranties and cause permanent joint damage
Excess water from wet mopping, which degrades protective finishes and accelerates the wax cycle
Spray-on shine products containing acrylics or polymers
Pro Tip: Less is more with any floor liquid. A nearly dry microfiber mop cleans effectively without saturating the finish. If you can see moisture sitting on the surface, you’ve used too much.
Understanding how different wood types respond to cleaners and wax products helps you choose the right routine from the start, before buildup becomes a problem.
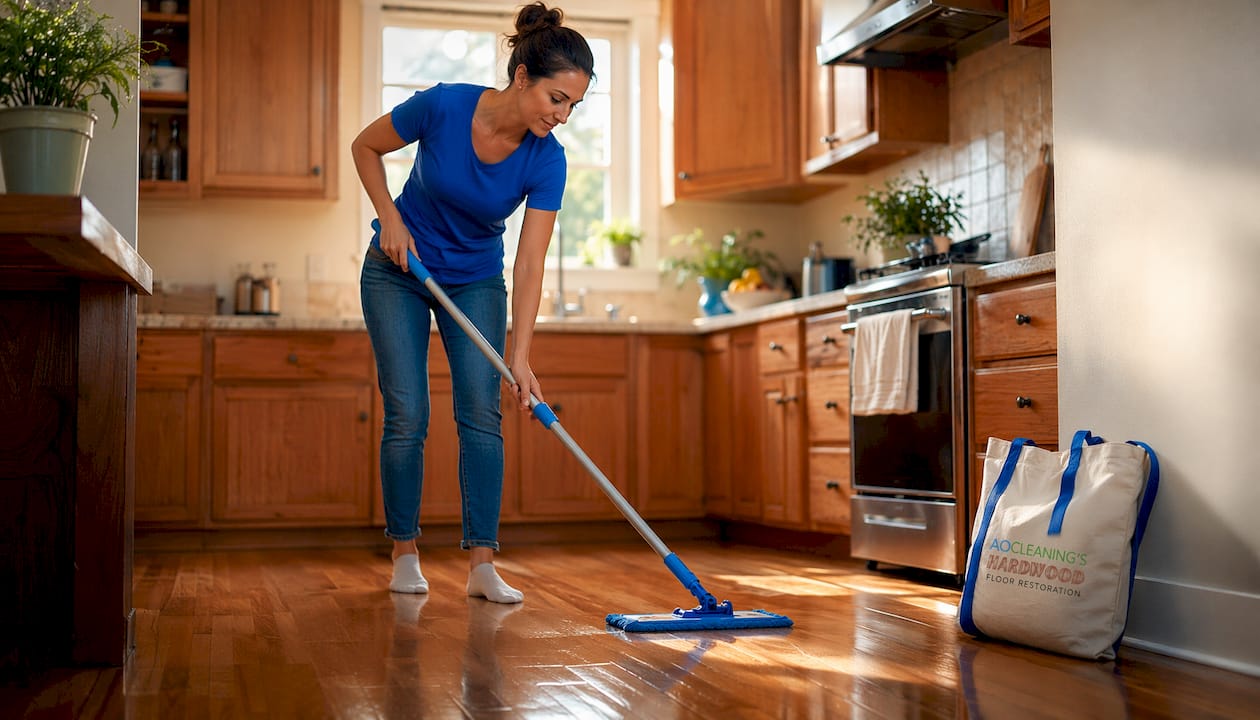
When should you hire a professional for wax removal?
Some situations are beyond what a DIY stripper can fix, and pushing harder usually makes things worse.
Thick, resistant buildup that survives multiple stripping cycles needs professional-grade equipment and chemistry
Warping, cupping, or cracking alongside a hazy finish signals that moisture has already penetrated the wood, and surface treatment alone won’t fix it
Uneven sheen despite repeated cleaning often means the buildup has hardened into a semi-permanent film that redistributes with every mop pass
Pre-refinishing prep is non-negotiable: professional refinishing cannot bond over wax layers, and skipping chemical stripping leads to peeling, fish-eye defects, and finish failure
Chemical stripping without experience risks discoloring the wood, damaging the grain, or leaving uneven patches that require sanding to fix
The cost of professional wax removal is a fraction of what full refinishing or floor replacement runs. Catching the problem early and calling a pro before the damage compounds is almost always the better financial decision.
What Aosaveswoodfloors brings to hardwood floor restoration
Aosaveswoodfloors has been restoring hardwood floors across central Illinois and the St. Louis metro area since 2003, and wax removal is one of their most requested services. With over 450 Google reviews, they’ve built their reputation on results that homeowners can see the same day.
Full-service restoration: wax removal, one-day restoration, clean and buff, screen and recoat, full sand and refinishing, and professional hardwood refinishing for floors that need a complete overhaul
Dustless, eco-friendly process: no mess, no lingering odors, and no compromises on air quality during the job
Fast turnaround: most restoration services finish in a single day, with floors walkable in about three hours
Local expertise: locally owned out of Columbia, IL, serving St. Louis, Monroe, and Madison Counties, including St. Louis, Belleville, Fairview Heights, O’Fallon, Waterloo, and surrounding communities
Homeowner education: Aosaveswoodfloors helps clients understand the right maintenance routine to prevent buildup from returning after restoration
Their tagline captures the philosophy well: “Before you REFLOOR it, let us RESTORE it.” If your floors look hazy, sticky, or worn, a restoration call is worth making before you price out new flooring.

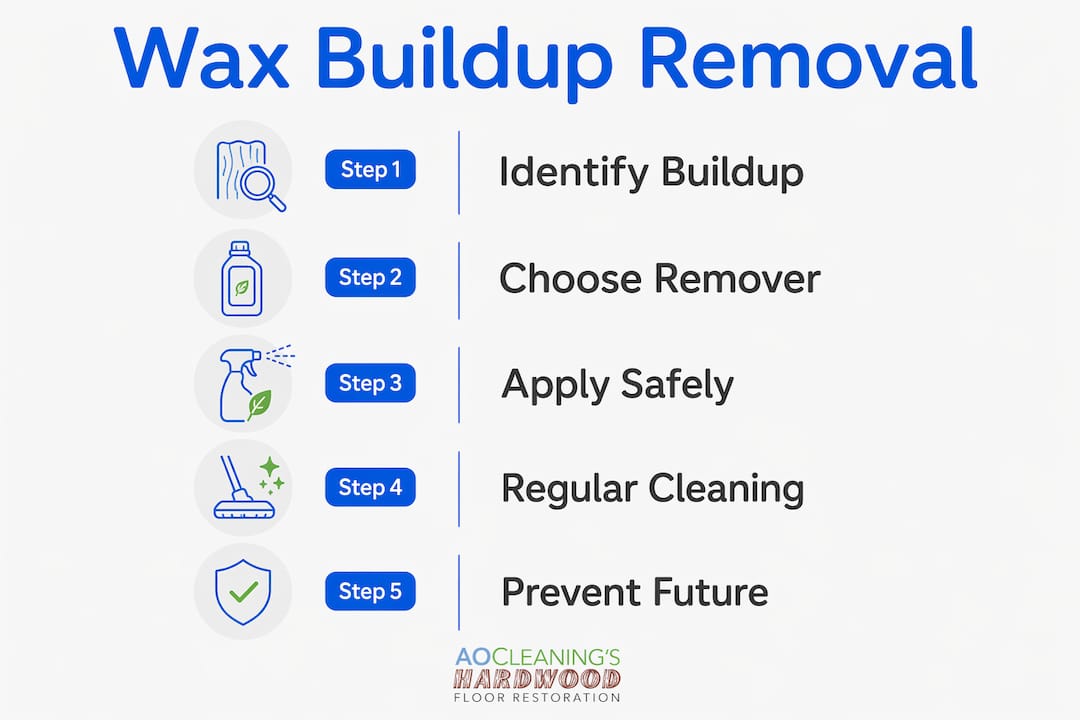
Key Takeaways
Wax buildup causes compounding damage to wood floors that regular cleaning cannot reverse, and professional removal is often the only reliable fix once the film hardens.
Point | Details |
Buildup blocks wood from breathing | Trapped moisture leads to warping, cupping, and long-term structural damage. |
Mopping spreads residue, not removes it | Wax and acrylic films redistribute with each pass, deepening the buildup cycle. |
Humidity control matters | Keeping indoor humidity between 35% and 55% reduces wood movement and buildup risk. |
Refinishing requires full wax removal | New finish cannot bond over wax layers; skipping stripping causes peeling and defects. |
Prevention beats restoration | pH-neutral cleaners and no spray-on polishes eliminate the most common buildup sources. |
Recommended

Comments