


What Causes Hardwood Floor Scratches (and How to Stop Them)

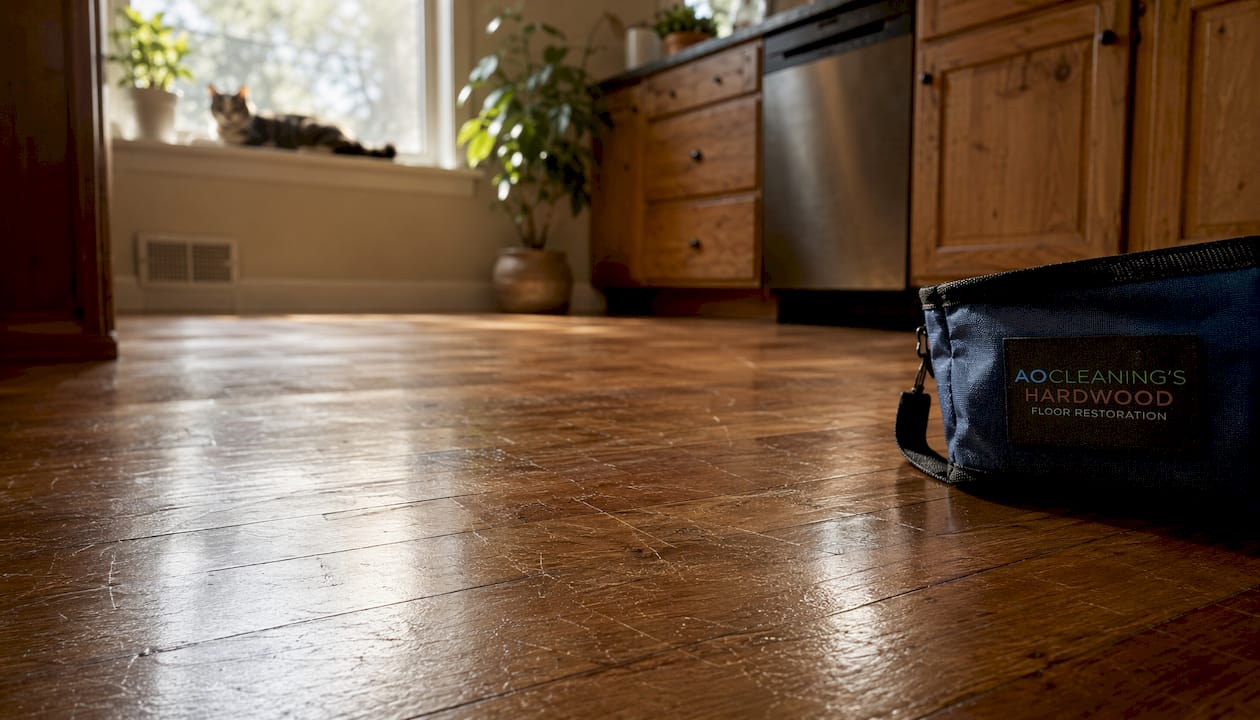
Most hardwood floor scratches come from three sources: abrasive grit tracked in on shoes and paws, unprotected furniture contact, and pet nails. The fix starts before the scratch does. Dust-mop daily, place entry mats at every door, add felt pads to all furniture legs, trim your pets’ nails regularly, and stop using wet or steam mops until you’ve removed all loose grit first. Those five habits alone will prevent the majority of new damage.
Top 3 immediate protections:
Place a two-mat system at every entry (coarse bristle mat outside, absorbent low-pile mat inside)
Add felt pads under every furniture leg today, not after you finish moving in
Switch to a microfiber dust mop for daily cleaning
Pro Tip: Check your felt pads right now. If they feel flat, stiff, or gritty to the touch, they’re no longer protecting your floor — they’re scratching it.
Table of Contents
What causes hardwood floor scratches in most homes?
Grit and tracked-in dirt are the leading cause of hardwood floor scratches, according to the National Wood Flooring Association. Tiny particles of sand, soil, and debris act exactly like sandpaper under every footstep. They don’t need to be visible to do damage. A thin layer of fine grit dragged across a finish hundreds of times a day will dull and scratch it faster than almost anything else.
Pet nails
Dogs and cats are among the most consistent scratch sources in any home. Larger or more energetic dogs are especially hard on floors because they use their claws for traction when accelerating or turning. As pets age and lose mobility, the problem often gets worse. Doorways, feeding areas, and the spots where dogs launch off the couch tend to show the deepest claw marks.
Furniture movement
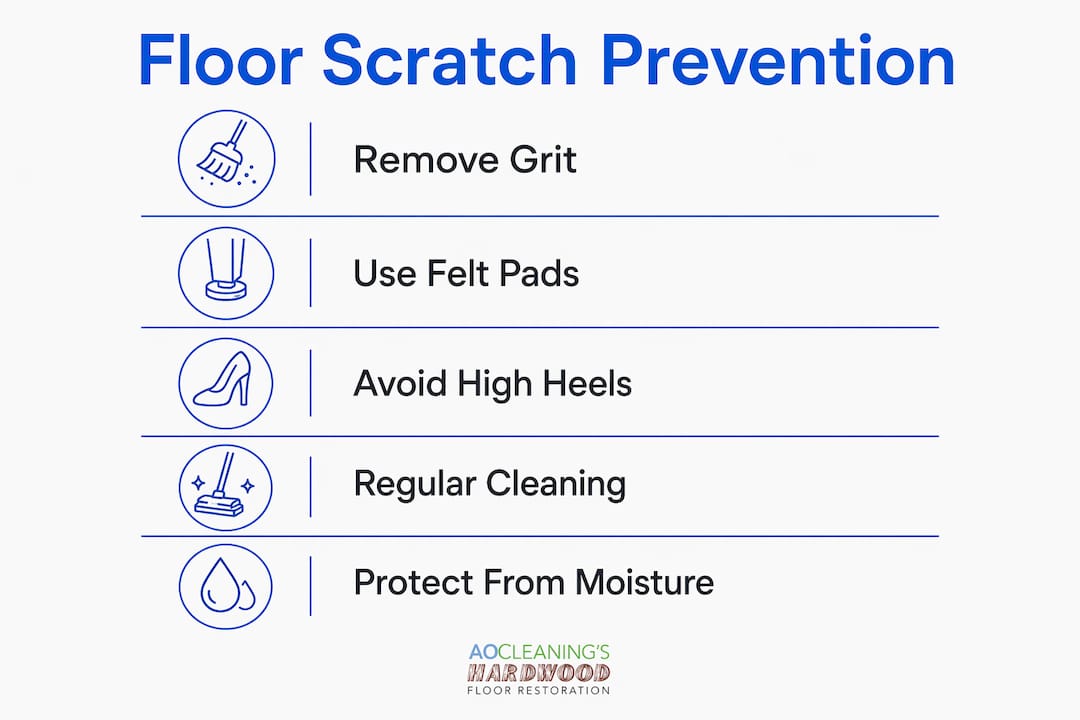
A single unprotected drag of a heavy chair or table can gouge straight through a finish and into the wood. Chairs without felt pads, sofas with metal feet, and office chairs with hard plastic casters are the usual culprits. Furniture sliders or a piece of quarter-inch Masonite under heavy items during a move will prevent the kind of damage that requires professional refinishing.
Concentrated pressure and footwear
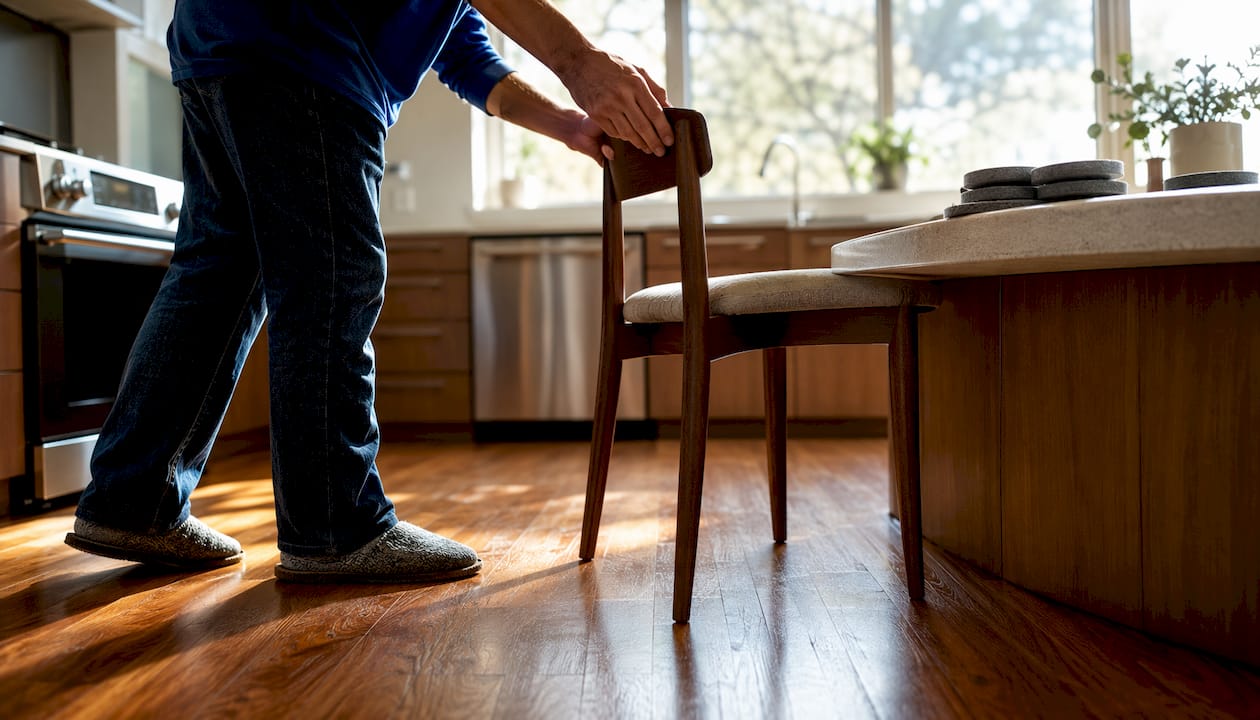
High heels concentrate a person’s full body weight onto a surface area smaller than a pencil eraser. That kind of pressure compresses and tears wood fibers, leaving dents and scratches that no cleaner will fix. Cleats, heavy work boots, and even dress shoes with worn heel caps cause similar damage. The physics here are simple: hardwood is softer than most people assume, and today’s lumber is often harvested younger than old-growth wood, which means looser grain and less natural hardness.
Cleaning damage and moisture
Steam mops force hot moisture into wood joints and grain, causing swelling and finish failure over time. Vinegar, lemon juice, and soap-based cleaners are acidic enough to dull polyurethane finishes with repeated use. Even a standard vacuum with a spinning beater bar can leave fine scratches if used on the wrong setting. The professional standard is a pH-neutral, hardwood-specific cleaner applied with a barely-damp microfiber mop — nothing wetter than that.
Cause | Damage type | Where it shows up first |
Grit and tracked-in dirt | Fine surface scratches, finish dulling | Entryways, hallways, kitchen paths |
Pet nails | Surface scratches, finish wear | Doorways, feeding areas, couch zones |
Unprotected furniture | Deep gouges, finish removal | Chair legs, sofa feet, table corners |
High heels / cleats | Dents, point scratches | High-traffic paths, entry areas |
Steam mops / acidic cleaners | Finish clouding, swelling | Entire floor surface over time |
How do you tell a surface scratch from deep wood damage?
The answer determines whether you can fix it yourself or need a professional. Run through this sequence before buying any repair product.
The fingernail test. Drag your fingernail lightly across the scratch. If it glides over without catching, the damage is in the finish only. If your nail catches or drops into the mark, the scratch has penetrated the finish and likely reached bare wood.
Check for finish failure signs. Look for persistent dullness that doesn’t respond to cleaning, water that soaks in instead of beading up, or gray or bare-looking wood in traffic lanes. Any of these signals that the finish is gone in that area.
Use angled light. Hold your phone flashlight at a low angle to the floor, or use a magnifier. Finish-only scratches will appear as bright lines in the surface sheen. Deeper scratches cast a shadow because they have actual depth.
Pro Tip: Take a photo with your phone flashlight held at floor level. The shadows in that image will show you exactly how deep the damage goes — far more clearly than overhead lighting.
Scratch type | What you see/feel | Typical fix |
Surface scuff | Dull mark, nail glides over | Polish, restorer product, wax stick |
Finish-penetrating scratch | Nail catches slightly, no bare wood visible | Touch-up marker, screen and recoat |
Deep gouge / bare wood | Nail drops in, gray or raw wood visible | Professional sand-and-refinish or board replacement |
How to prevent floor scratches: a practical checklist
Prevention is cheaper than repair, and most of it costs almost nothing. Here’s a prioritized plan organized by how often you need to act.
Daily and weekly habits:
Dust-mop or vacuum on the hard-floor setting every day in high-traffic areas
Wipe entry mats and shake them out weekly so they don’t trap and re-deposit grit
Wipe pet paws after outdoor trips, especially in wet or muddy conditions
One-time setup (do this week):
Install a two-mat entry system at every exterior door. A coarse bristle mat outside removes debris from shoe soles; an absorbent low-pile mat inside catches what’s left. This combination removes significantly more grit than a single mat.
Add felt pads to every furniture leg. Replace them before they flatten or show embedded dirt — a grit-clogged felt pad scratches floors just as effectively as no pad at all.
Swap hard plastic office chair casters for soft rubber wheels, or place a chair mat under any rolling chair.
Set a shoes-off rule at the entry, or at minimum a no-heels, no-cleats policy indoors.
Seasonal and environmental controls:
Keep indoor humidity within a recommended range to reduce wood movement and the micro-cracking that makes finishes more vulnerable
Use blinds, curtains, or UV-blocking window film to limit direct sun exposure on floor sections (more on this below)
Use pH-neutral hardwood cleaners and microfiber damp mops; avoid vinegar, steam mops, and soap-based products
Pro Tip: Low-pile runners in hallways and kitchen paths do double duty: they catch grit and protect the finish in the areas that take the most daily abuse. Non-rubber-backed rugs are safer for finishes — rubber can discolor or trap moisture against the wood.
Habit | Frequency | Impact |
Dust-mop / vacuum (hard-floor setting) | Daily | Removes grit before it abrades finish |
Wipe entry mats | Weekly | Prevents grit re-deposit at entries |
Regularly check and replace felt pads to keep them from becoming abrasive | ||
Regularly trim pet nails to reduce claw-related surface scratching | ||
Professional clean-and-buff | Annually or as needed | Restores sheen before wood is exposed |
Repair options: from surface marks to full refinishing
Not every scratch needs a professional. Match the repair to the damage level.
Tier 1: Surface marks and finish scuffs
Clean the area first with a pH-neutral hardwood cleaner and a microfiber cloth. Never apply any product over grit.
Apply a color-matched touch-up marker or wax stick to fill the mark. These work best on shallow finish scratches where the wood color is still intact.
Use a hardwood restorer or urethane-based polish to blend the repair and restore sheen. Water-based polishes applied every two to three months can also fill micro-scratches and even out the floor’s appearance.
Tier 2: Finish-penetrating scratches
A screen-and-recoat (also called buff-and-recoat) is the right call when scratches are widespread but haven’t reached bare wood. A professional lightly abrades the existing finish, then applies a fresh coat. This is faster and less expensive than full refinishing, and it extends the life of the floor significantly. You can read more about what buffing involves before deciding whether to call a pro.
Tier 3: Deep gouges and bare wood
When scratches catch your fingernail, show raw wood, or cover large areas of a traffic lane, DIY repair options are limited. Full sanding and refinishing removes the old finish entirely and applies fresh coats. Board replacement is needed when individual planks are split, deeply gouged, or water-damaged beyond repair.
Materials checklist by tier:
Tier 1: Touch-up markers, wax sticks, hardwood restorer, microfiber cloths
Tier 2: Fine-grit abrasive pads (for light buffing), hardwood-compatible finish coat, orbital buffer
Tier 3: Drum or orbital floor sander, stain, finish coats, replacement boards (pro territory for most homeowners)
One warning that applies to every tier: always dust-mop before any damp cleaning or abrasive action. Dragging a mop or buffer over grit turns a repair attempt into additional damage.
When should you call a hardwood floor professional?
Some damage is beyond what a marker or wax stick can address. Here are the concrete signs that a professional is the right next step.
Call a pro when you see:
Scratches or gouges that catch your fingernail and show raw or gray wood
Finish failure across entire traffic lanes (dull, water-absorbing, visibly worn through)
Water staining, cupping, or boards that have started to warp or separate
Widespread discoloration that cleaning doesn’t improve
Typical service timelines:
Clean-and-buff: Usually completed in a few hours; floors walkable the same day.
Screen-and-recoat: One day of work; cure time varies by finish type, typically 24 hours before normal foot traffic.
Full sand-and-refinish: One to three days depending on square footage and number of finish coats; floors need 24–72 hours before furniture goes back.
Cost factors include square footage, finish type, whether board replacement is needed, site access, and prep work required. Get at least two estimates and ask specifically about dustless equipment, cure time, finish type experience, and any warranty or guarantee on the work. A professional who can’t answer those questions clearly is worth skipping.
What trade professionals and industry research actually say
Most consumer articles on hardwood floor care repeat the same surface-level advice. The trade guidance goes deeper.
The National Wood Flooring Association identifies grit as the primary cause of hardwood floor damage and daily dust-mopping as the single highest-impact prevention habit. That’s not a minor point. High-traffic lanes and entryways show wear first because small daily abrasive interactions accumulate, and worn finish appears dull before visible scratches develop. By the time you see the scratches clearly, the finish has often been compromised for weeks.
Felt pads become abrasive over time as they trap grit. Professionals recommend replacing them before they flatten or show embedded dirt — not waiting until they fail completely. A pad that looks fine from above may already be grinding debris into your finish from below.
Finish type matters more than most homeowners realize. Factory-applied aluminum-oxide finishes are among the most scratch-resistant options available, but they’re harder to touch up on-site because the factory cure process can’t be replicated with standard products. Oil-finished floors absorb dirt more readily and require manufacturer-specific care, including periodic re-oiling of traffic areas. Site-applied polyurethane sits in the middle: durable, repairable, and the most common finish type a professional will work with.
Finish type | Scratch resistance | Repairability | Notes |
Aluminum-oxide (factory) | High | Difficult on-site | Best for high-traffic homes; hard to touch up |
Site-applied polyurethane | Moderate–high | Good | Most common; screen-and-recoat friendly |
Oil finish | Moderate | Requires manufacturer products | Needs periodic re-oiling; absorbs dirt more readily |
Engineered hardwood is not scratch-proof. Its surface wear layer is still wood and needs the same prevention and maintenance as solid hardwood. The difference is dimensional stability, not scratch resistance.
How finish type and newly finished floors affect scratch visibility
A freshly finished floor shows every mark more clearly than an older one, and that’s not a defect. New polyurethane is at peak gloss, which means light reflects uniformly across the surface. Any disruption to that surface, even a fine scuff, breaks the reflection and becomes visible. This is especially true with high-gloss finishes.
Sheen level also plays a role. High-gloss finishes show scratches more readily than satin or matte options because there’s more uniform reflection to disrupt. The sheen of a finish works the same way on wood floors as it does on any other wood surface: the higher the gloss, the more visible every imperfection. Smooth, flat floors also show wear more than hand-scraped or wire-brushed textures, which naturally break up light reflection and hide minor surface marks.
New floors also need a break-in period. Avoid dragging anything across a freshly finished floor for at least 72 hours, and keep pets off for the same period. The finish may be dry to the touch much sooner, but it takes days to reach full hardness.
How everyday household activities cause scratches you might not expect
High heels are one of the most damaging things that can walk across a hardwood floor. A standard stiletto heel concentrates body weight onto a contact point smaller than a pencil tip, generating pressure that compresses and tears wood fibers. Even a relatively soft heel can leave a dent in most domestic hardwood species. Work boots with exposed metal hardware, cleats, and worn dress shoes with metal heel caps cause similar concentrated damage.
Dropping objects is another underappreciated cause. A cast iron pan, a glass bottle, or a heavy tool dropped from counter height hits the floor with enough force to dent or crack the finish. The damage is usually localized but often deep enough to reach bare wood, which means moisture and dirt can get in immediately.
Kids’ toys with hard plastic wheels, furniture with metal glides instead of felt, and even heavy appliances rolled across the floor during cleaning all contribute to the same pattern: concentrated pressure or sharp edges dragging across a surface that looks hard but isn’t. Hardwood is softer than tile or stone, and the finish layer protecting it is measured in thousandths of an inch.
How sunlight and humidity affect scratch visibility and floor vulnerability
Direct sunlight does two things to hardwood floors: it fades the wood’s color unevenly, and it degrades the finish over time. UV exposure breaks down polyurethane and oil finishes at the molecular level, making them brittle and more prone to cracking and scratching. A floor section that sits under a south-facing window will show finish wear and scratch damage faster than the rest of the room, even with identical foot traffic.
Humidity is the other environmental factor most homeowners underestimate. Wood expands when humidity rises and contracts when it drops. Repeated cycling outside the 35–55% range causes micro-cracking in the finish, which creates entry points for grit and moisture. Those micro-cracks also make existing scratches more visible because they scatter light differently than intact finish. A hardwood floor maintenance routine that includes humidity control will extend the life of any finish significantly.
UV-blocking window film is one of the most cost-effective protections available. It reduces fading and finish degradation without blocking natural light, and it’s far less disruptive than replacing a floor section that’s faded two shades lighter than the rest of the room.
Key Takeaways
Grit is the primary cause of hardwood floor scratches, and daily dust-mopping combined with a two-mat entry system stops most new damage before it starts.
Point | Details |
Grit is the top cause | Tiny particles act like sandpaper; daily dust-mopping is the highest-impact prevention habit. |
Felt pads need replacing | Pads trap grit over time and become abrasive; check and replace them every 3–6 months. |
Finish type affects repairability | Aluminum-oxide finishes resist scratches but are hard to touch up; polyurethane is more repair-friendly. |
Match repair to damage depth | Surface scuffs need polish or wax; bare wood needs a professional screen-and-recoat or refinish. |
Aosaveswoodfloors for pro repairs | For finish failure, deep gouges, or water damage, Aosaveswoodfloors offers clean-and-buff, screen-and-recoat, and full refinishing in the St. Louis metro and central Illinois area. |
The thing most homeowners get wrong about floor scratches
Most people treat floor scratches as a repair problem. They’re actually a maintenance problem that turned into a repair problem.
The floors that end up needing full refinishing almost always got there the same way: grit was left on the surface too long, felt pads were never replaced, and the first signs of finish dulling were ignored. By the time visible scratches appear across a traffic lane, the finish has usually been failing for months. A professional clean-and-buff at that early stage costs a fraction of what a full sand-and-refinish costs, and it buys years of additional life.
The other mistake is reaching for a DIY fix before diagnosing the damage correctly. Touch-up markers and wax sticks work on surface scuffs. They do nothing for a scratch that’s reached bare wood, and applying them over a deeper scratch can actually make professional repair harder by contaminating the wood. The fingernail test takes five seconds and tells you exactly which category you’re dealing with.
Aosaveswoodfloors has been doing this work since 2003, and the pattern holds across hundreds of jobs: the homes with the best-looking floors aren’t the ones that spent the most on repairs. They’re the ones that dust-mopped consistently, replaced felt pads before they failed, and called a professional at the first sign of finish failure rather than the last.
Aosaveswoodfloors restores floors before replacement becomes the only option
When scratches go beyond what a wax stick can handle, Aosaveswoodfloors is the professional option for homeowners in the St. Louis metro and central Illinois area who want their floors restored without the disruption of a full replacement.

Their services cover every level of damage: clean-and-buff for early finish wear, screen-and-recoat for widespread surface scratching, and full sand-and-refinishing for deep gouges or floors that have lost their finish entirely. Every job uses dustless equipment and eco-friendly products, so there’s no dust cloud left behind and no lingering chemical odors. Most restoration work is completed in a single day, with floors ready to walk on in about three hours.
If your floors are showing signs of finish failure, deep scratches, or water damage, an in-home assessment is the fastest way to know exactly what they need. Request an estimate or visit the website to learn more about available services and schedule a consultation.
Useful sources and further reading
National Wood Flooring Association — Maintenance guidance: The industry standard for wood floor care, finish types, and cleaning recommendations.
The Spruce — Removing scratches from wood floors: Practical repair steps and cause explanations from home improvement editors.
Family Handyman — Preventing scratches on hardwood floors: Expert-sourced prevention tips including furniture protection and pet management.
Aosaveswoodfloors — Hardwood floor scratch repair options: A step-by-step guide to DIY repair options at different damage levels.
Aosaveswoodfloors — Floor maintenance between refinishes: How to maintain floors while waiting for a scheduled recoat or refinish.
Aosaveswoodfloors — 7 pro tips for maintaining floors between services: Short, actionable habits that extend the life of any hardwood finish.
Recommended

Comments