


Can You Really Polish a Quartz Countertop Back to New?

Yes, but only in specific situations, and not the way you’d polish granite. Engineered quartz can be brought back to a shine when the dullness is caused by residue, hard water film, or fine surface scuffs. What it cannot do is take a full mechanical polish the way natural stone does, because the factory finish is engineered to last for decades without maintenance, and aggressive buffing can do more harm than the dull spot ever did.
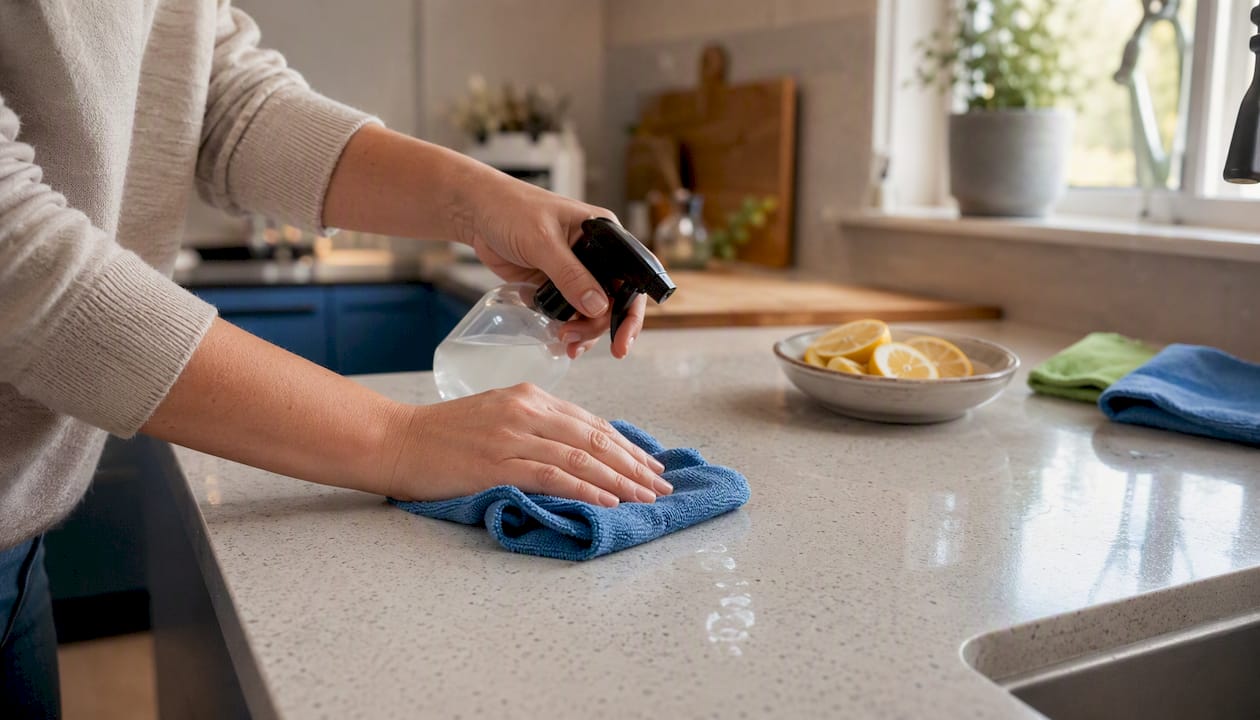
Before you touch a polishing pad, do this: wash the surface with warm water and a few drops of dish soap, rinse completely, and dry it with a microfiber cloth. Then run a simple wet test on the dull area. If the shine comes back the moment the surface gets wet and disappears again as it dries, you’re looking at residue or mineral film, not real damage. That single test tells you almost everything you need to know before spending a dime on products.
Clean the entire countertop with mild soap and water, then dry it completely.
Wet just the dull patch and watch what happens as it dries.
If shine returns temporarily, treat it as a cleaning problem. If it stays flat and dull, you’re dealing with actual surface wear.
A few ground rules apply no matter what you find:
Never reach for bleach, ammonia, or an acidic cleaner. They can etch resin and strip color.
Skip anything abrasive, including car polish, scouring pads, or steel wool.
Heat is the enemy of quartz. High-speed buffers can scorch the resin binder and leave a permanent mark that no product will fix.
Key Takeaways
Quartz countertop polishing works best as a last resort after cleaning and quartz-safe cream fail, and it always requires low heat and constant water to protect the resin binder.
Point | Details |
Clean and test first | Wash with soap and water, then run a wet test before assuming you need to polish anything. |
Use quartz-safe products only | Choose pH-neutral cleaners and polishes labeled for engineered stone, never granite or marble formulas. |
Avoid heat and abrasives | Skip high-RPM buffers, bleach, acidic cleaners, and scouring pads, since resin scorches and dulls easily. |
Escalate at the right signs | Scorching, deep gouges, or haze that survives a cream treatment means it’s time to call a professional. |
Aosaveswoodfloors handles what DIY can’t | Their countertop restoration service covers repair, graded wet polishing, and final buffing in a single visit. |
Table of Contents
Why Quartz Countertop Polishing Works Differently Than Granite
Engineered quartz consists mostly of crushed quartz mineral bound together with polymer resin, not a slab of solid stone. That resin is what gives quartz its uniform color and nonporous surface, and it’s also the reason quartz countertop polishing follows a completely different rulebook than granite or marble care.
Resin is thermoplastic, meaning it softens under heat and friction. A polishing wheel that would safely buff granite can scorch quartz resin in seconds, leaving a dull, sometimes yellowed patch that’s often permanent, according to Engineerskill. That single fact explains almost every “don’t” on this page.
Manufacturers have built their care instructions around this reality. Cambria’s own product care guidance states that quartz is non-porous and typically does not require sealing or routine polishing at all, reserving polishing for narrow, localized problems like haze or fine scratching, per Cambria’s quartz countertop FAQ. Wilsonart publishes similar care guidance for its engineered surfaces, steering homeowners toward gentle cleaning rather than mechanical restoration as a default habit.
Quartz doesn’t need the routine sealing and polishing that natural stone demands. When a manufacturer tells you your countertop is essentially maintenance-free, treating it like granite by grabbing a buffer at the first sign of dullness is exactly backward.
What this means for your DIY plan:
Skip high-RPM tools entirely unless you’re using a variable-speed polisher set low, with water running continuously.
Don’t apply sealers or waxes. Quartz doesn’t absorb them the way stone does, and they often leave a film that traps grime and looks worse than the original dullness.
Check your specific manufacturer’s warranty language before attempting anything beyond basic cleaning. Some warranties are voided by unapproved chemical or mechanical treatments.
How to Diagnose Dullness, Haze, and Scratches
Not all dullness is the same problem, and treating a residue issue like a scratch issue wastes time and risks damage. A short diagnostic pass tells you which camp you’re in.
Run the wet test. Wipe the dull area with a damp cloth and watch it as it dries. Shine that returns wet and fades as it dries points to soap scum or hard-water mineral deposits, according to Martha Stewart Living’s quartz cleaning guide. Shine that never fully returns, wet or dry, means you’re dealing with surface-level wear rather than film.
Try the fingernail test. Run a fingernail lightly across the mark. If it catches or you can feel a groove, that’s a scratch or gouge, not haze. Smooth marks that only look dull under certain light are usually cosmetic film or micro-scratching from abrasive cleaning products.
Check the pattern. A cloudy patch near the sink usually means hard water. A dull ring near the stove suggests heat exposure. Scattered fine lines in a high-traffic prep zone point to knife marks or gritty cleaning pads.
Common causes, roughly in order of how often they actually turn out to be the culprit: soap residue buildup, hard water mineral film, abrasive cleaning pads used out of habit, heat damage from hot pans set directly on the surface, and physical scratching from knives or gritty debris dragged across the counter.
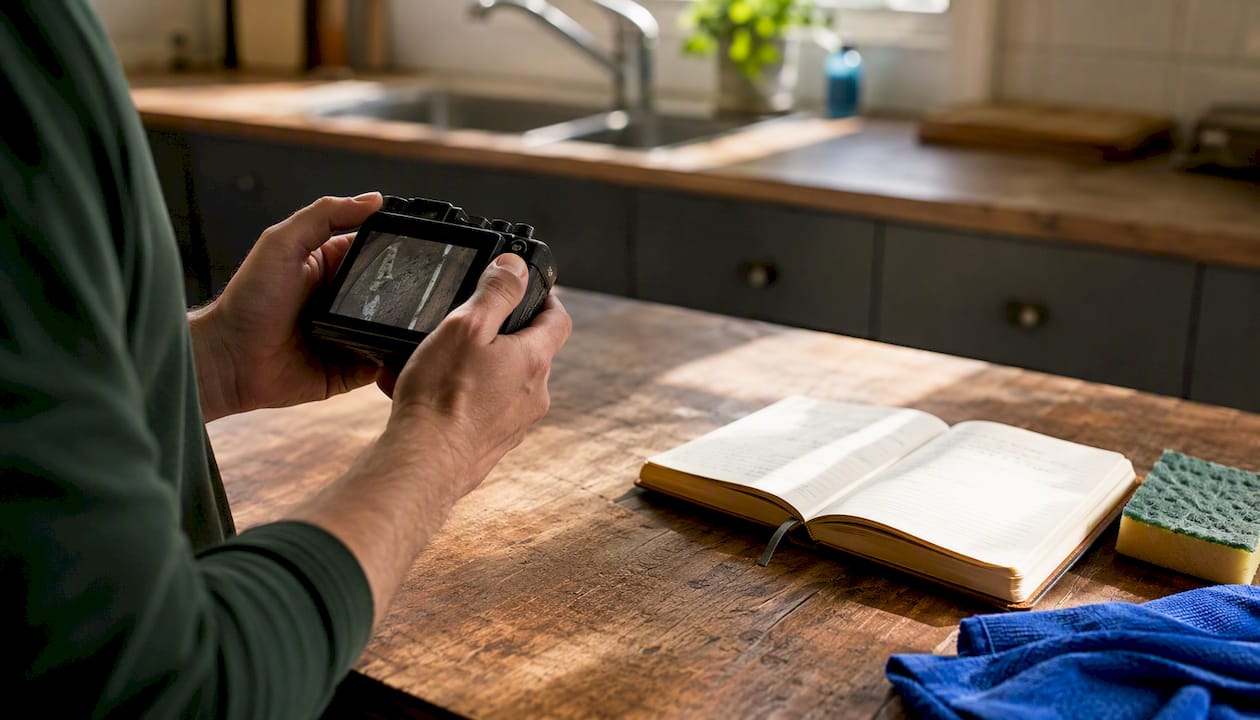
Pro Tip: Keep a small notebook or phone photo log of where dull spots show up and when. A cluster near the coffee maker almost always means hard water, not a flaw in the quartz itself, and that changes your whole approach from polishing to simply switching cleaners.
The Safe DIY Method for Restoring Quartz Shine
Work from the gentlest option to the most aggressive, and stop as soon as the problem is solved. Most dull spots never need anything beyond step one or two.
Deep clean first. Wash with warm water and dish soap, working in circular motions with a soft cloth. Use a plastic scraper (never metal) to lift dried residue or hardened food film. Rinse thoroughly and dry immediately with a clean microfiber towel, since air-drying often leaves the mineral spots that started the whole problem.
Test a hidden spot. Before applying anything new, try it on an inconspicuous section, like under the overhang or near the backsplash edge, and wait 24 hours to check for discoloration or texture change.
Move to a quartz-safe polishing cream if cleaning alone doesn’t fix it. Apply a small amount to a felt buffing pad, work it into the dull area in a small, roughly one-foot section, and keep the pad moving. A gentle DIY progression like this, cleaning first and escalating only when needed, tends to solve the majority of dullness complaints without ever touching a mechanical polisher, according to DeFusco Industrial Supply’s guide to polishing quartz countertops.
If cream and a felt pad still aren’t enough, progress to wet diamond-impregnated pads, starting at the least aggressive grit rated for engineered quartz. Trade guidance recommends working through a grit progression such as 400, then 800, then 1500, then 3000, never skipping a step, with water running the entire time to prevent clogging and resin scorch, per Rapidrepair.
Spend no more than a few minutes per square foot at each grit stage, checking progress by hand and by eye before moving to the next level. Rushing this step is how homeowners end up with visible swirl marks.
What to avoid at every stage: bleach, acidic cleaners, car wax or polish, steel wool or scouring pads, and any high-RPM buffer without continuous water cooling. If the countertop feels warm to the touch at any point, stop immediately.
Keep the polisher moving constantly. A stationary pad, even at low speed, builds heat fast.
Water is not optional at the diamond-pad stage. It’s the single biggest factor in preventing resin damage during polishing.
Small sections, checked frequently, beat one long uninterrupted pass every time.
Pro Tip: Set a kitchen timer for 90 seconds per section when you’re using diamond pads. It sounds arbitrary, but it forces you to stop, feel the surface for heat, and check your progress before the resin has a chance to scorch.
Products and Tools Worth Having on Hand
You don’t need a full stone-restoration kit to fix most quartz dullness. What you need is the right handful of tools, chosen for gentleness rather than raw cutting power.
Consider these categories:
Quartz-safe polishing creams, formulated without abrasive grit, for the first mechanical attempt after cleaning fails.
Felt buffing pads, which distribute pressure evenly and won’t gouge the surface the way stiffer pads can.
Wet diamond polishing pads, reserved for scratches that survive the cream stage, used only with a low-RPM variable-speed polisher.
Microfiber cloths, for both daily cleaning and buffing after any restoration step.
A plastic scraper, for lifting dried food or hardened residue without scratching the surface.
When you’re shopping, read the label closely. Look for products explicitly marked “for engineered stone” or “quartz safe,” and check that any spray cleaner is pH-neutral. General-purpose stone polishes made for granite or marble often contain waxes or abrasives that aren’t formulated for resin surfaces.
Kit-style products like StonePro’s quartz countertop polish kits bundle a compound with applicator pads specifically sized for this job, which takes the guesswork out of matching product to surface. Everyday cleaners such as Simple Green’s Granite & Stone Polish formulations can also handle light haze and daily upkeep, though they’re built for maintenance rather than restoration work.
Reach for whatever solves the problem with the least aggression possible. A cleaning-grade product that clears up 80 percent of dull spots on its own beats a mechanical polisher every time, because it carries zero risk of resin damage.
Steer clear of anything labeled for stone sealing or waxing. Reputable care guides consistently warn that waxes and sealers not formulated for quartz leave a film that traps dirt and grease, per Blackburns Interiors’ quartz care guidance, which ironically makes the surface look duller over time, not shinier.
A quartz-safe polishing kit is sufficient for the vast majority of homeowner situations. Where it stops being enough is chips, deep gouges, or any spot that already looks scorched or yellowed.
When DIY Isn’t Enough and It’s Time to Call a Pro
Some damage simply isn’t a home project, no matter how careful you are. Recognizing the line early saves you from turning a fixable problem into an expensive one.
Scorching or yellowing on the surface, usually from a hot pan or an overheated polishing attempt, is a sign the resin itself has changed structurally. No cream or cloth reverses that.
Deep gouges that catch a fingernail need color-matched epoxy fill and professional leveling, not a buffing pad.
Large areas of persistent haze that don’t respond to a proper grit progression usually mean the damage runs deeper than surface-level, or that the original installation had an uneven finish to begin with.
Any repair near a seam or edge is worth handing to a professional, since color-matching and feathering technique matter more in those spots to avoid a visible halo around the repair.
Professional restoration typically involves color-matched resin fills for chips, mechanical leveling with a full grit progression, and a final wet-polish and buff pass. Pricing varies by the size of the affected area, whether repair (not just polishing) is needed, and your local market, so treat any number you see online as a rough planning figure rather than a quote. If your countertop is still under manufacturer warranty, check the warranty terms first. Unapproved DIY mechanical work can sometimes void coverage that a professional repair would have preserved.
What a Professional Quartz Restoration Actually Looks Like
When Aosaveswoodfloors handles a quartz countertop that’s beyond safe DIY range, the process follows a deliberate sequence rather than jumping straight to a buffer.
Inspection and diagnosis to determine whether the issue is surface residue, fine scratching, chemical etching, or resin damage from heat.
Deep cleaning to strip away buildup and get an accurate read on what’s actually wrong underneath.
Color-matched repair, when needed, for chips or gouges, using epoxy matched to the specific quartz color and pattern.
Graded wet polishing, moving through progressively finer grits with continuous water, the same low-heat approach outlined earlier but executed with commercial-grade equipment calibrated for consistent pressure.
Final cream buff to bring back uniform gloss across the repaired and surrounding areas so there’s no visible line between old and new finish.
Aftercare guidance so the homeowner knows exactly how to maintain the result.
A repair that’s technically correct but visually mismatched isn’t really finished. The last step in any quartz restoration should be making sure nobody can tell where the damage used to be.
Aosaveswoodfloors has served homeowners across the St. Louis metro and central Illinois since 2003, building a track record backed by 450+ Google reviews. Many restoration jobs, including countertop work, are completed using dustless techniques and eco-friendly products, with single-day options available depending on the scope of the work. During a visit, expect a walk-through inspection first, then active water use during the polishing stage (bring a towel or two to keep nearby surfaces dry), and if a resin repair is involved, some curing time before the countertop is ready for normal use again.
Everyday Habits That Keep Quartz Looking New
The best quartz countertop maintenance routine is boring by design: the same few steps, repeated consistently, prevent most of the problems covered above from ever starting.
Wipe down with warm water, a few drops of mild soap, and a microfiber cloth daily or after meal prep.
Rinse and dry immediately. Air-drying invites the water spots and mineral film that mimic real damage.
Use cutting boards and trivets every time. Quartz resists scratching better than most surfaces, but it’s not scratch-proof, and direct heat from pans is still a real risk.
Skip bleach, ammonia-based cleaners, and anything acidic like vinegar or citrus-based sprays.
Never use scouring pads, steel wool, or anything marketed as “heavy-duty” abrasive cleaning.
Do a quick monthly check under good lighting, looking for early haze near the sink or stove. Catching a small spot early means a two-minute cleaning fix. Ignoring it for months can let mineral buildup harden into something that actually needs the cream-and-pad treatment covered earlier.
Pro Tip: Keep a dedicated microfiber cloth just for the countertop, separate from the one you use on dishes or other surfaces. Cross-contamination with grease or dish soap residue from other cloths is a surprisingly common cause of the streaky haze homeowners mistake for a deeper problem.
Our Take: When to Trust Yourself and When to Step Back
Most of the anxiety homeowners feel about quartz countertop polishing comes from confusing it with granite maintenance, and that confusion leads people in two bad directions at once. Some assume quartz needs the same aggressive periodic polishing and sealing that natural stone requires, and they end up applying products that leave a film and make things worse. Others assume quartz is indestructible because it’s marketed as low-maintenance, and they reach for whatever’s under the sink without checking the label, only to find out too late that bleach or an abrasive pad has dulled a spot permanently.
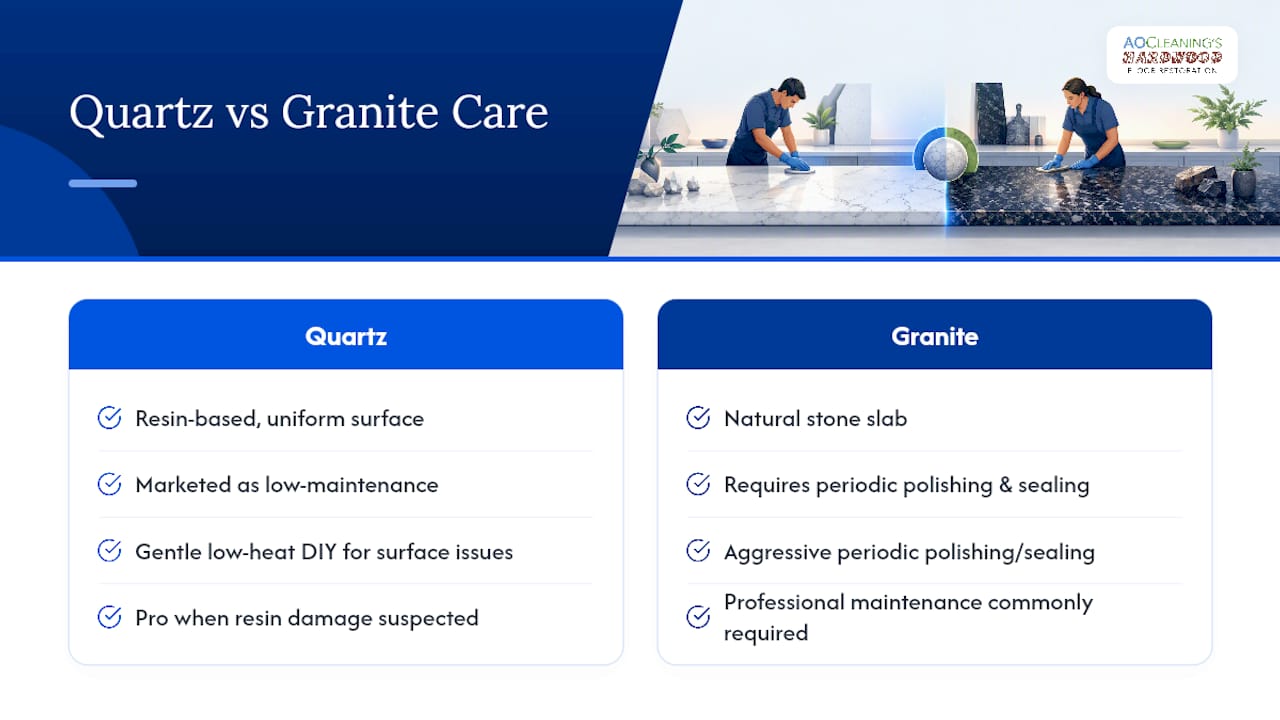
The honest rubric is simpler than either extreme: try conservative, low-heat DIY methods for anything that’s surface-level, meaning residue, hard water film, or light scuffing that passes the wet test. Escalate to a professional the moment you see scorching, yellowing, a gouge you can feel with a fingernail, or haze that doesn’t respond after a proper cream-and-pad attempt. That’s not a hedge. It’s a recognition that resin damage is often irreversible, while a professional color-matched repair genuinely can look invisible when done right.
Testing a small, hidden area before committing to any product or technique across the whole countertop isn’t just a safety habit, it’s also how you protect your manufacturer warranty if something later needs a covered repair. We’d rather see a homeowner spend ten extra minutes testing under the overhang than risk turning a fixable dull spot into a permanent one.
Get Professional Quartz Countertop Restoration Without the Guesswork
If your countertop has moved past what a polishing cream and a felt pad can fix, Aosaveswoodfloors offers a faster, safer path than trial-and-error with rented equipment. Instead of gambling on a high-RPM buffer you’ve never used on resin before, you get a trained inspection, color-matched repair work when chips or gouges are involved, and a graded wet-polish process built specifically for engineered stone.

The countertop cleaning, polishing, and sealing service covers the full sequence: inspection, deep cleaning, repair where needed, progressive wet polishing, and a final buff that blends seamlessly with the surrounding surface. Every job uses dustless techniques and eco-friendly products, and many restorations wrap up in a single visit. Aosaveswoodfloors serves homeowners across St. Louis, Monroe, and Madison Counties, including Columbia, Belleville, Fairview Heights, Waterloo, and O’Fallon. If you’re staring at a dull patch that survived the wet test and the cream, request an inspection and get a straight answer on what it’ll take to fix it right.
Sources
Recommended

Comments