


How to Prepare Hardwood Floors Before Refinishing

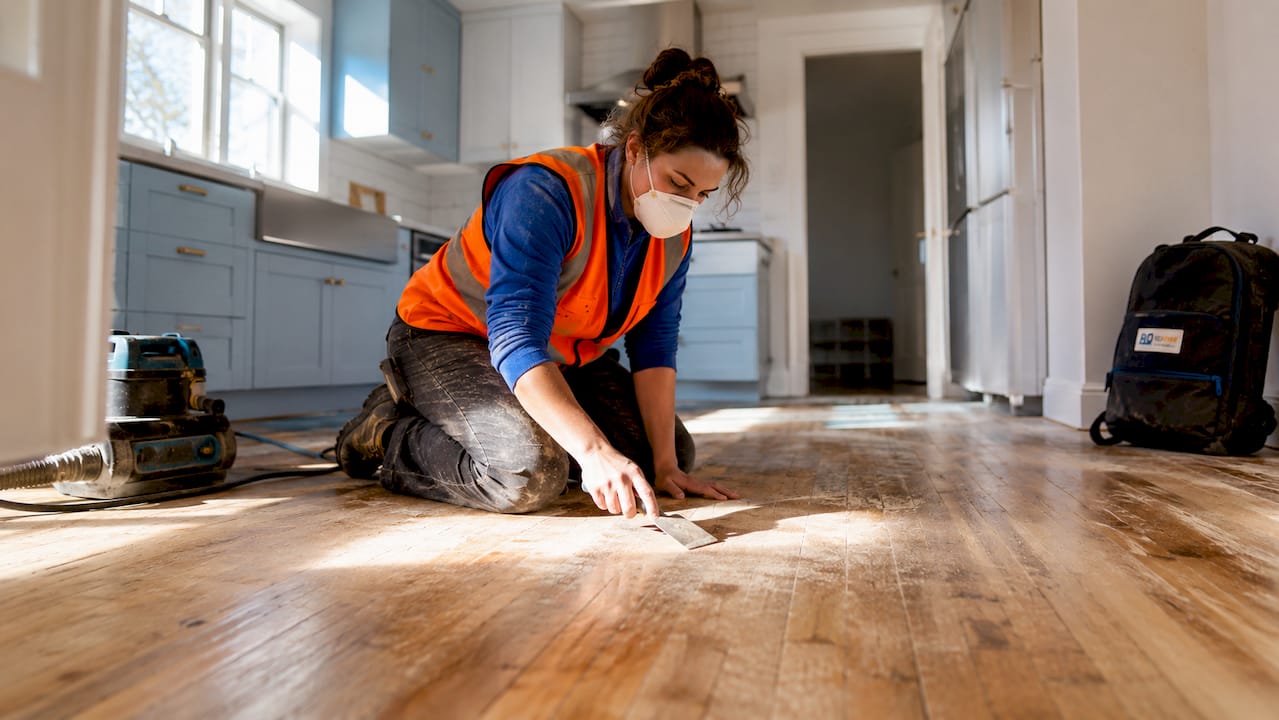
Proper preparation is the single factor that separates a flawless hardwood floor refinish from one that peels, bubbles, or looks uneven within months. To prepare hardwood floors before refinishing, you must clear the room, repair surface damage, sand through a grit progression, and clean every trace of dust before applying any finish. The process typically takes 3–5 days from start to finish, with complete curing requiring 7–14 days before heavy furniture returns. Skipping or rushing any prep step shows up permanently in the final surface.
What tools and materials do you need to prepare hardwood floors?
The right equipment makes the difference between a professional result and a costly redo. Gather everything before the project starts so you are not stopping mid-job to track down supplies.
Sanding machines:
Drum sander: removes old finish across the main floor field
Edge sander: handles the perimeter within a few inches of the walls
Detail sander or oscillating tool: reaches corners and tight spots a drum sander cannot
Abrasives and repair supplies:
Sandpaper in 36, 60, 80, 100, and 120 grit
Wood filler and putty knives for cracks, nail holes, and gaps
Painter’s tape and plastic sheeting for protecting walls and vents
Cleaning supplies:
Shop vacuum with fine-dust filter
Tack cloths for post-sanding wipe-down
Microfiber cloths for final surface cleaning
Safety gear:
Item | Purpose |
Safety goggles | Protects eyes from airborne dust and debris |
Ear protection | Reduces noise exposure from drum sander |
N95 or P100 dust mask | Filters fine wood dust from lungs |
Knee pads | Protects joints during hand-sanding and repairs |
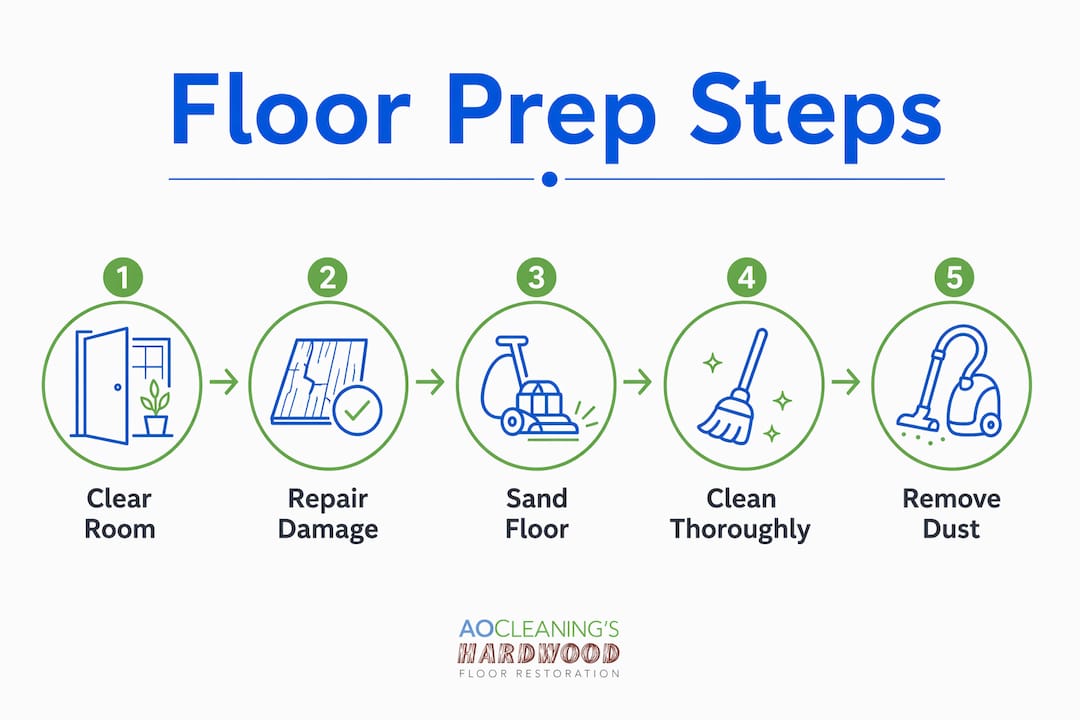
Never substitute a standard shop broom for a vacuum during sanding cleanup. Brooms redistribute fine dust rather than removing it, and that dust contaminates the finish coat.
How do you prepare the room and floor surface before sanding begins?
Room preparation is the foundation of refinishing hardwood floor prep. A poorly staged room leads to contaminated finishes, damaged trim, and safety hazards.
Remove all furniture, rugs, and decor. Every item must leave the room. Even small rugs trap dust that migrates back onto the floor during sanding.
Take down baseboards or quarter-round molding. Baseboards are removed or taped depending on the contractor’s method. If you remove them, label each piece so reinstallation is straightforward.
Pull all nails, staples, and protrusions from the floor. Any metal above the surface will tear sandpaper and gouge the drum sander drum. Use a nail set to countersink any nail heads flush or below the surface.
Seal HVAC vents and doorways with plastic sheeting. Tape plastic over every vent opening and seal doorways to contain dust. Running the HVAC during refinishing spreads dust through ductwork and causes uneven finish drying.
Clean the floor of wax, polish, and debris. Wax residue prevents new finish from bonding. Use a wax remover product and let the floor dry fully before sanding begins.
Set up ventilation. Open windows in the work area and position a box fan to exhaust air outward. This reduces fume buildup during finishing.
Pro Tip: Walk the entire floor before sanding and press down any squeaky boards. A squeaky board often has a loose nail. Drive a screw through the subfloor from below, or face-nail and countersink it from above. Fixing squeaks before sanding saves you from reopening a finished floor later.
What is the proper hardwood floor sanding process?
The hardwood floor sanding process follows a strict grit progression. Jumping grits or skipping passes leaves visible scratches that show through the finish coat.
Start with 36–60 grit. This coarse pass removes the old finish, deep scratches, and surface stains. Move the drum sander with the grain at all times. Never stop the sander while the drum is in contact with the floor.
Move to 80 grit. This intermediate pass smooths the roughness left by the coarse grit. It removes the deep scratch pattern and levels any slight unevenness between boards.
Finish with 100–120 grit. The fine pass creates the smooth surface the finish needs to adhere evenly. Sanding progresses from 36–60 grit through 100–120 grit to produce a surface ready for stain or finish.
Edge sand after each main pass. The edge sander runs along the perimeter where the drum sander cannot reach. Match the grit of the edge sander to the grit you just ran on the main floor.
Hand sand or use a detail sander in corners. Corners and closet edges require manual attention. A folded piece of sandpaper wrapped around a sanding block works well here.
Vacuum and tack cloth between every pass. Dust left between passes becomes trapped under the next layer of abrasion and creates a rough texture in the final surface.
Pro Tip: Keep the drum sander moving at a steady walking pace. Stopping with the drum spinning in one spot burns the wood and creates a visible depression that no amount of finish will hide.
How to repair and clean the floor after sanding
Post-sanding repairs and cleaning are the last line of defense before finish goes down. Any gap, crack, or dust particle left on the surface becomes permanent once the finish cures.
Repairs first:
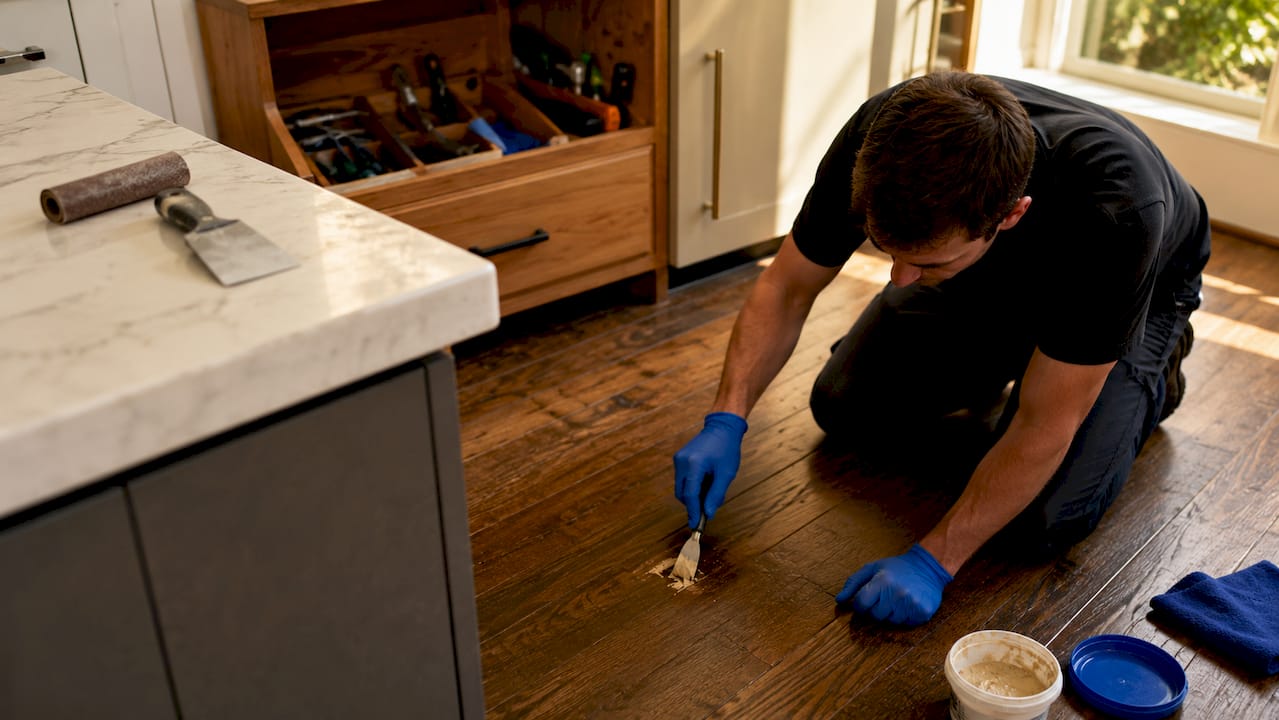
Fill all cracks, nail holes, and gaps with a latex wood filler that matches your floor species. Apply with a putty knife and overfill slightly.
Let filler dry completely. Drying time varies by product and humidity but typically runs 2–4 hours for latex fillers.
Sand filled areas lightly with 120 grit by hand to bring them flush with the surrounding surface.
Cleaning sequence:
Vacuum the entire floor, including edges, baseboards, and window ledges. Fine dust settles on every horizontal surface in the room.
Wipe the floor with tack cloths in overlapping passes. Tack cloth cleaning must extend to window ledges and baseboards to prevent microscopic dust from falling back onto the wet finish.
Follow with a barely damp microfiber cloth to pick up any remaining particles. The cloth should be nearly dry, not wet.
Cleaning Step | Tool | Goal |
First pass | Shop vacuum | Remove bulk dust from floor and edges |
Second pass | Tack cloth | Lift fine particles from surface |
Third pass | Damp microfiber | Capture microscopic residue |
Final check | Hand wipe | Confirm no grit remains before finishing |
Turn the HVAC off before the cleaning sequence begins and keep it off until the finish dries. Forced air recirculates contaminants and creates surface defects in the finish coat.
What household preparations support the refinishing process?
Refinishing is a high-disruption project that affects the whole house, not just the room being worked on. Planning your household around the project prevents contamination and protects your belongings.
Plan to leave during sanding. The sanding phase is noisy and dusty, and most homeowners find it easier to stay elsewhere during this step. Fumes from finish coats also require ventilation time before re-entry.
Remove houseplants entirely. Condensation from terra cotta pots causes permanent ring stains on freshly finished floors. Move plants to a garage, porch, or neighbor’s home until the finish cures fully.
Plan meals if kitchen floors are being refinished. Cooking should be avoided for 3–5 days during kitchen floor refinishing to prevent finish damage from heat and grease. Set up a temporary food station in an unaffected room or plan to eat out.
Protect electronics and artwork. Fine sanding dust travels far. Cover televisions, computers, and framed art with plastic sheeting or move them out of adjacent rooms.
Confine pets. Pets walking across wet finish leave prints that cannot be fixed without resanding. Keep them in a separate area of the house or arrange for them to stay elsewhere.
Create a household traffic plan. A strict traffic plan post-sanding prevents anyone from walking across wet finish coats. Tape off entry points and mark the sequence in which rooms become accessible again.
“Homeowners should acknowledge refinishing as a high-disruption project, with noise, dust, and fumes that can affect entire household comfort.” — Restoration specialists
Key takeaways
Thorough preparation before refinishing hardwood floors requires clearing the room, repairing damage, sanding through a proper grit progression, and completing a multi-step dust removal process before any finish is applied.
Point | Details |
Grit progression matters | Sand from 36–60 grit through 100–120 grit; skipping grits leaves scratches in the final finish. |
Dust removal is non-negotiable | Vacuum, tack cloth, and damp microfiber in sequence before any finish coat goes down. |
HVAC must be off | Running forced air during refinishing spreads dust and causes uneven finish drying. |
Houseplants cause stains | Terra cotta pot condensation leaves permanent ring stains on freshly finished floors. |
Plan for 7–14 days of curing | Heavy furniture should stay off the floor for up to 14 days after refinishing is complete. |
What I’ve learned after watching homeowners rush the prep
The most common mistake I see is homeowners treating the cleaning phase as optional. They sand carefully, fill the gaps, and then sweep once with a broom before calling the floor ready for finish. That broom just pushed the dust around. The finish goes down, the dust gets locked in, and the surface feels like 80-grit sandpaper when it cures.
The second mistake is forcing trim pieces off the wall. Professionals recommend a walkthrough before removal to identify trim that is painted over, glued, or nailed at odd angles. Yanking it off splits the wood or pulls drywall with it. Tape it instead if it will not come off cleanly.
The third thing most articles skip is the mindset piece. Refinishing is genuinely disruptive. The noise is loud, the dust gets everywhere despite containment, and the curing period feels long when you are living around it. Homeowners who go in expecting a smooth, quiet two-day project get frustrated and start cutting corners on drying times. Give the project the full timeline it needs. A floor that cures properly lasts years longer than one that was rushed back into service.
If you are working with a contractor, communicate your household’s specific needs before the project starts. Allergies, pets, work-from-home schedules, and kitchen access all affect how the project should be staged. A good contractor adjusts the plan around your life, not the other way around.
— Jim
Aosaveswoodfloors can handle the hard part for you
Preparation takes time, the right equipment, and a lot of patience. If your floors need a professional clean and buff before refinishing, or if you want the full sanding and refinishing handled by a team that has done this for over 20 years, Aosaveswoodfloors is worth a call.

Aosaveswoodfloors serves homeowners across St. Louis, Monroe, and Madison Counties from their base in Columbia, IL. They use dustless techniques on every job, so you skip the dust containment headache entirely. Their hardwood floor clean and buff service is a practical first step if your floors need a refresh before committing to a full refinish. Check the full refinishing project checklist to see exactly what to expect before the work begins.
FAQ
How long does it take to prepare hardwood floors for refinishing?
Room clearing, repairs, and sanding typically take 1–2 days. The full refinishing project, including finish coats and curing, runs 3–5 days, with heavy furniture staying off the floor for up to 14 days.
What grit sandpaper should I start with on hardwood floors?
Start with 36–60 grit to remove the old finish, move to 80 grit to smooth rough areas, and finish with 100–120 grit for a surface ready to accept stain or finish.
Do I need to remove baseboards before refinishing hardwood floors?
Baseboards are either removed or covered with painter’s tape depending on the method used. Removing them allows for cleaner edge sanding, but forcing stubborn trim can damage drywall or split the wood.
Why does the HVAC need to be off during hardwood floor refinishing?
Running forced air spreads sanding dust through ductwork and across the wet finish surface, causing uneven drying and visible surface defects. Keep the system off from the final cleaning phase through finish drying.
Can I stay in my home while hardwood floors are being refinished?
Most homeowners leave during the sanding phase due to noise and dust. Finish coat fumes also require ventilation before re-entry, so planning to stay elsewhere for at least one night is the practical choice.
Recommended

Comments