


How to Clean and Buff Hardwood Floors: DIY Process

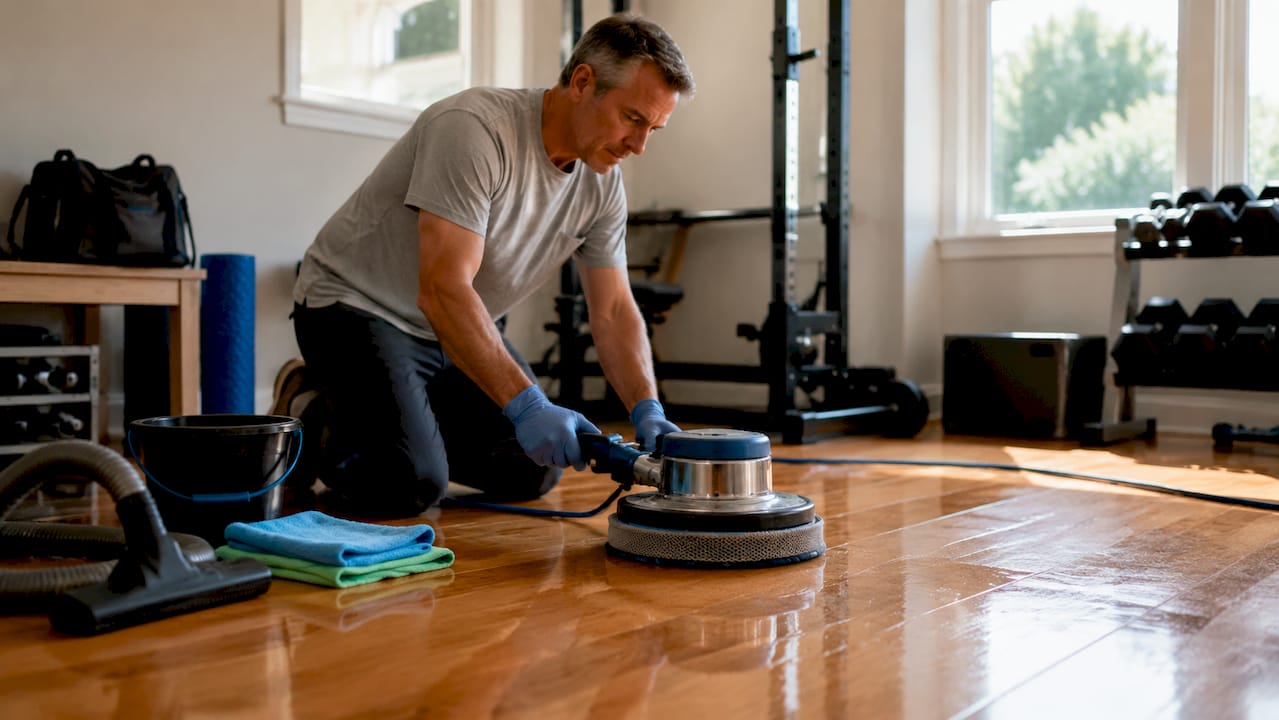
The clean buff hardwood floors process is defined as a method of lightly abrading the existing finish, deep cleaning the surface, and applying a fresh polyurethane coat to restore shine and protection without sanding the wood itself. This approach sits between a simple mop-and-go cleaning and a full sand-and-refinish job. You get a floor that looks renewed in a single day, with far less dust, cost, and disruption than full refinishing. The right tools, including a floor buffer with a 120-grit mesh screen, a microfiber mop, and water-based polyurethane, make this a realistic project for most homeowners.
What tools and materials do you need to clean and buff hardwood floors?
Getting your supply list right before you start saves you two trips to the hardware store and one ruined finish. The process requires both cleaning tools and surface preparation materials, and skipping any one item typically shows up in the final result.
Essential tools:
Floor buffer with a 120-grit mesh screen (also called a screen-and-buff pad)
Vacuum with a hard floor attachment
Microfiber mop with a flat head
Tack cloths (at least 4 to 6 for an average room)
Drop cloths for baseboards and furniture
Cleaning and finishing materials:
pH-neutral hardwood floor cleaner (Bona Hardwood Floor Cleaner and Method Squirt and Mop are both widely available options)
Water-based polyurethane finish (Minwax Polycrylic or Varathane Diamond Floor Finish work well for DIY application)
Clean lint-free applicator pads or a lambswool applicator
The distinction between water-based and oil-based polyurethane matters here. Water-based formulas dry faster and emit fewer fumes, making them the practical choice for most homeowners doing this work themselves. Oil-based finishes are more durable over time but require longer dry windows and better ventilation. For a buff and recoat project, water-based is the standard recommendation.
Pro Tip: Buy one extra mesh screen. Screens wear out faster than expected on textured or older finishes, and stopping mid-room to find a replacement ruins your workflow.
How to clean hardwood floors thoroughly before buffing
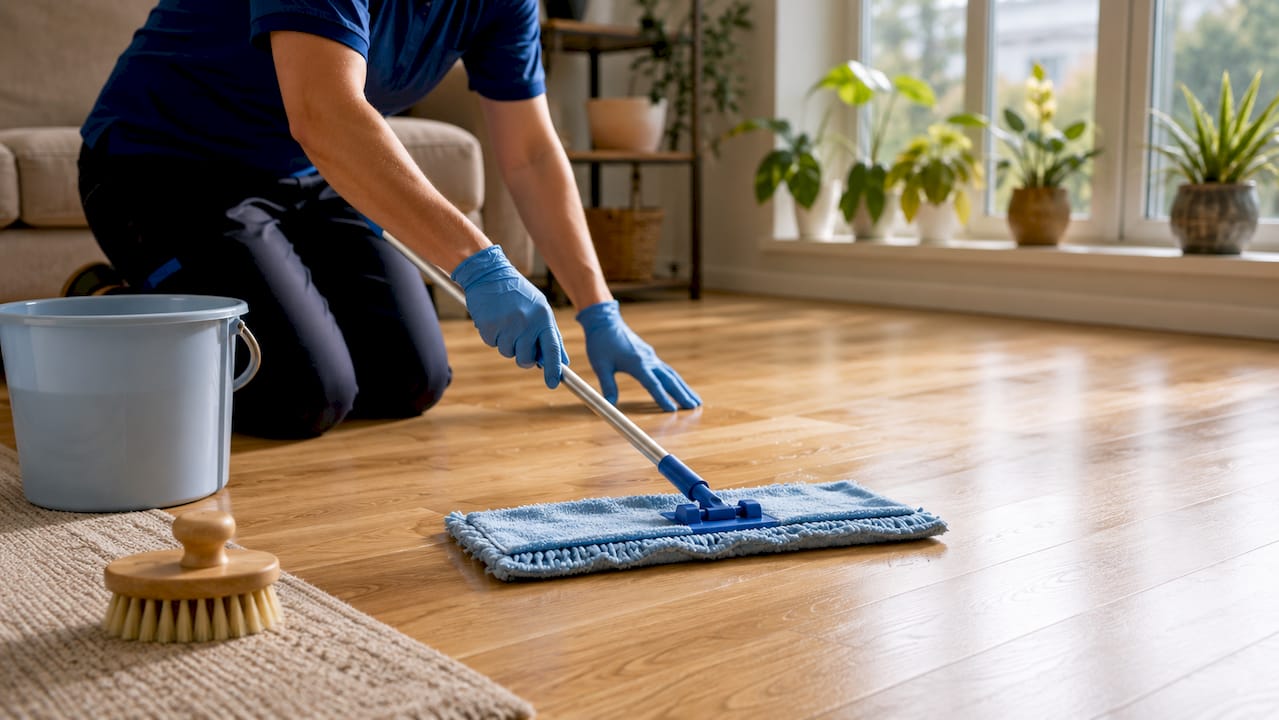
Thorough cleaning before recoating is the step most DIYers underestimate. Any dirt, oil, or residue left on the surface causes finish adhesion failure, meaning your new coat peels or clouds within weeks.
Follow these steps in order:
Sweep or dry vacuum the entire floor. Use a hard floor vacuum attachment to pull up dust, pet hair, and grit from between boards. Do not use a broom alone. Brooms push fine particles into cracks rather than removing them.
Vacuum a second time along the grain. This picks up what the first pass missed, especially in the grooves of hand-scraped or wire-brushed floors.
Mop with a pH-neutral cleaner. Apply your cleaner to a microfiber mop head until it is barely damp, not wet. Over-wetting hardwood is one of the most common causes of finish dullness and long-term wood damage. Work in sections of about 6 to 8 square feet.
Dry each section immediately. Follow the mop with a dry microfiber cloth or a second dry mop head. Do not let water sit on the surface for more than 30 seconds. Moisture that seeps into seams can cause swelling that no amount of buffing will fix. This is the same principle behind water damage prevention on wood surfaces generally.
Spot treat stains and scuffs. For heel marks or stubborn scuffs, apply a small amount of cleaner directly to a folded microfiber cloth and rub with the grain. Avoid circular scrubbing, which can leave visible swirl marks in the finish.
Let the floor dry completely. Wait at least 30 to 45 minutes after mopping before moving to the buffing stage. The surface must be bone dry or the mesh screen will clog and the new finish will not bond.
Pro Tip: Run your hand across the floor after it dries. If it feels tacky or slightly sticky in any spot, clean that area again. Tackiness means residue is still present, and buffing over it traps the contamination under your new coat.
What is the step-by-step buffing process for hardwood floors?
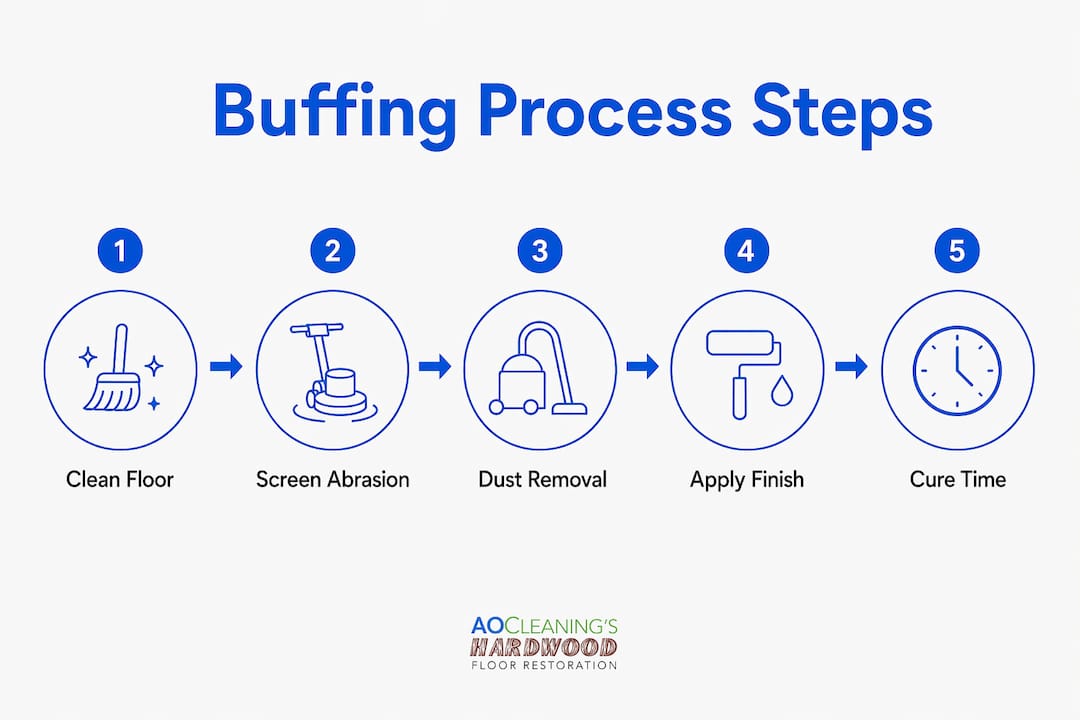
Buffing, or screening, is a surface preparation method distinct from sanding. A 120-grit mesh screen scuffs only the finish layer, creating microscopic scratches called “tooth” that allow new polyurethane to grip. It does not remove stain color or alter the wood itself.
Here is how to do it correctly:
Attach the mesh screen to the buffer pad. Center it carefully. A screen that shifts during use leaves uneven abrasion marks.
Start at the corner farthest from the door. This is the standard rule for any floor finish work. You always work toward the exit so you never trap yourself in a wet or freshly buffed corner.
Move the buffer in slow, steady left-to-right passes. Overlap each pass by about 3 inches. Moving too fast leaves unscreened patches. Moving too slowly in one spot can cut through the finish entirely, which means you need full refinishing rather than a buff and coat.
Keep the buffer moving at all times. Stopping with the machine running creates visible circular burns in the finish. If you need to pause, turn the machine off first.
Screen the edges by hand. A floor buffer cannot reach within 3 to 4 inches of the wall. Use a sanding sponge or folded mesh screen to hand-scuff the perimeter, following the grain direction.
Inspect the screened surface under raking light. Hold a flashlight low and parallel to the floor. The entire surface should appear uniformly dull and hazy. Shiny spots mean the screen missed those areas and the new finish will not adhere there.
Mechanical abrasion via screening is not optional. Skipping it and applying a new coat directly over a clean but unscreened floor results in peeling within months. The chemistry of polyurethane requires a physical bond, not just a clean surface.
Pro Tip: If you see the mesh screen turning dark brown or black quickly, your floor has a wax coating rather than a polyurethane finish. Wax and polyurethane are not compatible. Stop immediately and consult a professional before proceeding.
How to remove dust after buffing before applying finish
Dust removal after screening is where many DIY projects fail. Vacuuming plus tack cloth use is the only reliable method for removing all particles. Sweeping alone leaves fine dust that traps under the new finish and creates a bumpy, cloudy surface.
Follow this sequence without skipping steps:
Vacuum the entire floor twice. Use a hard floor attachment and work in overlapping rows. The first pass removes the bulk of the dust. The second pass catches what the first disturbed and redistributed.
Vacuum the walls and baseboards. Buffing throws fine particles onto vertical surfaces. Those particles fall back onto the floor if you do not remove them before applying finish.
Wipe the entire floor with tack cloths. Unfold each cloth fully and wipe in long strokes with the grain. Replace the cloth when it feels loaded. For a 200-square-foot room, expect to use 4 to 6 cloths.
Wait 15 minutes after tack wiping. Airborne particles need time to settle before you open the finish can. Close any HVAC vents in the room to prevent air circulation from reintroducing dust.
Do a final visual check under raking light. Any remaining dust shows up as tiny bright specks. Address those spots with a fresh tack cloth before proceeding.
Dust control after buffing is the single most important factor separating a smooth, glass-like finish from one that looks gritty or uneven.
How do you apply polyurethane finish coats after buffing?
Applying the finish coat correctly locks in all the work you have done. Rushing this stage or applying it incorrectly wastes every hour you spent cleaning and screening.
Choosing your finish:
Finish Type | Touch Dry | Recoat Window | Full Cure |
Water-based polyurethane | 1 to 2 hours | 2 to 4 hours | 7 to 14 days |
Oil-based polyurethane | 4 to 6 hours | 24 hours | 21 to 30 days |
Water-based polyurethane dries faster and allows same-day recoating, which is why it is the standard choice for buff and recoat projects. Oil-based finishes are more amber in tone and more durable, but the extended dry times make them impractical for a one-day project.
Application steps:
Pour finish into a paint tray rather than applying directly from the can. This prevents contaminating the entire container with dust or debris from the applicator.
Start at the farthest corner and work toward the door, just as you did during buffing.
Maintain a wet edge by working quickly enough that each new stroke overlaps the previous one before it begins to dry. Lap marks appear when you apply finish over a section that has already started to set.
Apply thin, even coats. Two thin coats outperform one thick coat every time. Thick coats trap air bubbles and take far longer to cure.
Allow the first coat to dry fully within the recoat window before applying the second.
Pro Tip: Do not trust how the floor feels to determine if it is dry enough to recoat. Staged dry and recoat windows based on the manufacturer’s time recommendations are more reliable than the touch test. A floor can feel dry to the touch while still being chemically active underneath.
After the final coat, keep foot traffic off the floor for at least 24 hours. Wait 72 hours before moving furniture back. Full cure takes up to 14 days for water-based finishes, so avoid area rugs and heavy furniture legs during that window.
Key takeaways
The clean buff hardwood floors process works because it combines thorough cleaning, mechanical screening, precise dust removal, and thin polyurethane coats applied in the correct sequence.
Point | Details |
Screen before recoating | A 120-grit mesh screen creates the mechanical bond new polyurethane needs to adhere. |
Clean before you screen | Dirt or residue under the screen causes adhesion failure and a cloudy finish. |
Dust removal is non-negotiable | Vacuum twice, then use tack cloths to eliminate particles that cause bumps and bubbles. |
Choose water-based finish for DIY | Faster dry times and lower fumes make water-based polyurethane the practical choice. |
Follow cure times, not touch tests | Premature foot traffic or furniture placement damages finish that feels dry but is not fully cured. |
What I have learned from watching homeowners tackle this process
After years of seeing both successful DIY buff and coat projects and ones that needed professional correction, the pattern is consistent. The homeowners who get great results are not necessarily the most skilled. They are the most patient.
The biggest mistake I see is rushing the dust removal stage. People spend an hour cleaning and buffing, then wipe the floor once with a tack cloth and call it done. Two days later they are looking at a finish that looks like it was applied over sandpaper. Dust is invisible until it is trapped under a coat of poly, and by then the only fix is screening it all over again.
The second most common mistake is over-wetting during the cleaning phase. A microfiber mop should feel barely damp, not wet. If you can wring water out of it, it is too wet. I have seen floors that looked fine after cleaning but developed soft spots and finish adhesion problems weeks later because moisture worked its way into the seams.
The buff and coat process is genuinely homeowner-accessible, and maintaining hardwood floors between professional services extends the time before you need a full refinish by years. But there are limits. If your floor has deep scratches, worn-through areas, or a wax coating rather than polyurethane, buff and coat is not the right service. Applying a new coat over a compromised finish does not fix the underlying problem. It hides it temporarily and makes the eventual repair more complicated.
Know what you are working with before you start. If the finish is intact and the floor just looks dull and tired, this process will give you results that genuinely surprise you.
— Jim
Professional clean and buff services from Aosaveswoodfloors

If you have gone through this guide and decided you would rather have it done right the first time without the risk of a do-over, Aosaveswoodfloors has been handling exactly this kind of work since 2003. With over 450 Google reviews and more than 20 years serving homeowners across St. Louis, Monroe, and Madison Counties, they know what a properly buffed and recoated floor looks like. Their professional clean and buff service uses dustless techniques and eco-friendly products, with most floors ready to walk on in about three hours. If your floors need more than a buff and coat, their full sand and refinishing service handles deeper restoration in a single day. Before you replace those floors, call Aosaveswoodfloors first.
FAQ
What does the clean buff hardwood floors process actually do?
The process lightly abrades the existing finish with a mesh screen to create adhesion points, then applies a fresh polyurethane coat to restore shine and protection. It refreshes the floor without sanding the wood or changing the stain color.
How often should you buff and recoat hardwood floors?
Most hardwood floors benefit from a buff and recoat every 3 to 5 years, depending on foot traffic and how well the floor is maintained between services. Regular cleaning with a pH-neutral product extends that interval.
Can you buff and recoat floors with a wax finish?
No. Polyurethane does not bond to wax, and applying it over a wax coating causes peeling and failure. If your floor has a wax finish, the wax must be fully removed before any recoating can take place.
What is the difference between buffing and refinishing hardwood floors?
Buffing, or screening and recoating, only addresses the finish layer and is suitable when the wood itself is undamaged. Full refinishing involves sanding down to bare wood and is required when there are deep scratches, gouges, or worn-through areas.
How long before you can walk on floors after buffing and recoating?
With water-based polyurethane, light foot traffic is safe after 24 hours. Furniture should stay off the floor for at least 72 hours, and full cure takes 7 to 14 days depending on the product used.
Recommended

Comments