


Historic Hardwood Restoration: A Conservation-First Guide

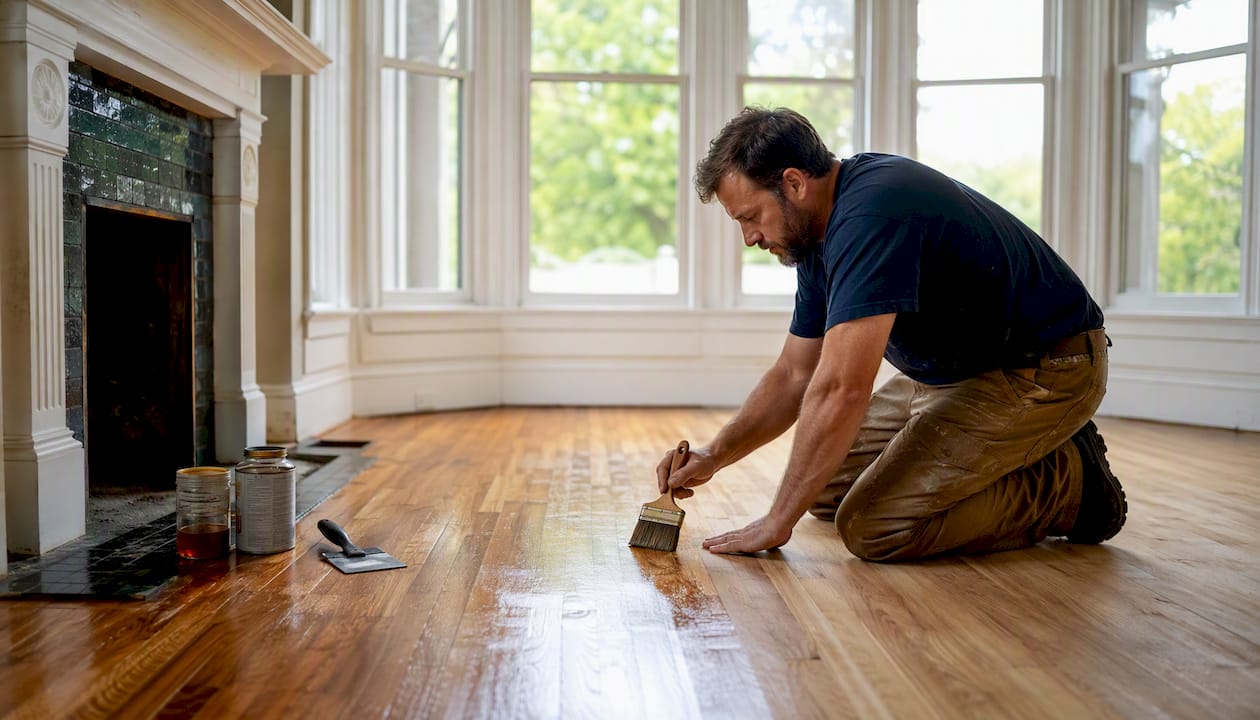
Most historic hardwood floors can and should be restored rather than replaced, as long as the wood is structurally sound and enough wear layer remains for at least one more sanding. Preservation keeps the patina, the plank widths, and the species pairing that a new floor simply cannot replicate, and it typically costs less than tearing everything out. Before you call anyone, take three steps.
Document what you have. Photograph the floor room by room, note the species if you can identify it (heart pine, quarter-sawn oak, and chestnut are common in pre-1950s homes), and mark obvious damage.
Test before you disturb anything. If the home has finishes applied before 1978, test for lead in the coating, and check for asbestos if there is old sheet flooring or mastic underneath.
Schedule a conservation-minded assessment, not a generic refinishing quote, so someone experienced with historic hardwood restoration evaluates wear-layer thickness and subfloor condition before recommending a plan.
There are a handful of situations where restoration stops being the right call: a wear layer too thin to sand safely, more than 30% of boards requiring replacement, or active mold and rot in the subfloor. Those cases point toward partial or full replacement, covered later in this guide.
Key Takeaways
Historic hardwood restoration succeeds when documentation, hazard testing, and minimal intervention come before any sanding or finish decision.
Point | Details |
Preserve when structurally viable | Most historic floors can be restored if the wear layer and subfloor are sound. |
Document and test first | Photograph the floor and test pre-1978 finishes for lead before scheduling work. |
Choose finishes for accuracy, not trend | Shellac, wax, and varnish suit many historic floors better than high-gloss polyurethane. |
Vet restorers on containment and history | Ask for a written conservation plan, dustless setup, warranty, and historic-project references. |
Aosaveswoodfloors offers conservation-first service | Dustless, eco-friendly restoration with documented plans and most jobs finished in a single day. |
Table of Contents
What Does the Historic Hardwood Restoration Process Look Like?
What Finishes Are Historically Appropriate for Old Hardwood?
How Long Does Historic Hardwood Restoration Take, and What Does It Cost?
Why Does Minimal Intervention Matter More Than a Perfect Finish?
What Should You Expect From a Conservation-Minded Restoration Service?
What Does the Historic Hardwood Restoration Process Look Like?
A restoration that respects a historic floor follows a specific order, and skipping steps is how good intentions turn into an over-sanded, character-stripped floor. Here’s the sequence a conservation-minded restorer should follow.
Discovery and documentation. The restorer identifies species, original finish type, existing patina, and evidence of prior repairs or refinishing. They also check subfloor condition from a basement or crawlspace if accessible.
Stabilize and mitigate hazards. Any active moisture source gets addressed first. Pre-1978 finishes get tested for lead, and suspect flooring materials for asbestos, before any sanding begins. The work area gets isolated with dust containment.
Targeted repairs. This means selective board replacement where boards are cracked or rotted, dutchman patches for localized gouges, and spline or shim repairs for gaps between boards, rather than replacing anything that doesn’t need it.
Conservative surface preparation. A restorer weighs passive or light chemical stripping against full sanding. Screen-and-recoat, which lightly abrades the existing finish without cutting into bare wood, often preserves more original material than a full sand-to-bare-wood approach.
Finish selection and application. The right finish depends on the floor’s age and prior finish history, not current trends; choosing the appropriate finish sheen is crucial, as explained in Matt, satin, or gloss: which finish is right for your kitchen · Refinishing Studio. This gets its own section below.
Protection and cure time. Traffic gets restricted while the finish cures, and homeowners get guidance on furniture pads and rug placement to protect the new surface.
Pro Tip: Sequence matters more than most homeowners realize. A restorer who samples the existing finish and tests a small area before committing to a stripping method is protecting your floor’s value, not just being cautious. Minimal intervention at every stage is what separates historic hardwood restoration from a standard refinish job.
Which Repair Techniques Work Best on Historic Floors?
Repair choices reveal whether a contractor understands preserving historic wood or is just running a standard refinishing operation. Here’s what to look for in an estimate.
Precision board replacement matches species, grain direction, and plank width using reclaimed lumber whenever possible, since new-cut lumber rarely matches the density and color of century-old boards.
Dutchman repairs patch small, localized damage, like a gouge or burn mark, by cutting out the damaged section and fitting in a matching wood insert rather than replacing the entire board.
Inlay repairs address damaged decorative elements, such as a medallion or border, using the same fitting logic as a dutchman but on ornamental work.
Gap filling has real trade-offs. Rope caulk and colored fillers hide gaps quickly but read as artificial up close; wood splines cut to match board thickness preserve the historic look better, though they take longer to install.
Subfloor and joist stabilization may be needed before any surface work starts. Spongy or bouncy spots usually mean sistering weakened joists or replacing sections of subfloor, and that work belongs to a structural contractor, not a flooring crew.
A good repair is nearly invisible. Seams should sit tight with no visible gap, grain direction should run consistently across the patch, and the new wood’s tone should sit close to the surrounding patina once finished (it will darken slightly with light exposure over the following weeks).
Picture a damaged section of a heart pine board: the restorer cuts a clean rectangular “sash” around the damage, fits a matching reclaimed board section into that opening with glued edges, and where the gap runs along a seam instead of across a board, drives a thin wood spline into the joint to close it flush. Done well, you’d need to run your hand across the surface to find where the repair ends and the original board begins.
What Finishes Are Historically Appropriate for Old Hardwood?
Finish choice is where most well-meaning restorations go wrong. The traditional options, shellac, wax, and varnish remain appropriate for many antique and historic surfaces, and professional restorers select among them based on the floor’s age, original finish, and how much wear the space sees. Shellac gives a warm amber tone and is easy to spot-repair, but it’s sensitive to water and alcohol. Wax produces a soft, low sheen closer to how many pre-1900 floors originally looked, though it needs more frequent reapplication. Varnish sits between the two, being more durable than wax and more repairable than modern polyurethane.
Modern products have a place too, when the goal is conservation rather than a showroom look. Low-amber oil-modified varnishes and non-yellowing water-based polyurethanes can extend durability on high-traffic floors without the aggressive plastic sheen that reads as obviously modern.
What to avoid: high-gloss oil-based polyurethane. It creates a mirror-flat, uniformly glossy surface that erases the subtle variation historic patina gives a floor, and it’s difficult to spot-repair later without leaving visible lap marks.
Factor | Traditional finishes (shellac, wax, varnish) | Modern finishes (water-based poly, low-amber oil-modified) |
Appearance | Warm, variable sheen that reads as authentic | Uniform, can look flat or artificial at high gloss |
Durability | Lower, needs more frequent maintenance | Higher, better resists scratches and moisture |
Repairability | Easy to spot-repair and blend | Harder to blend repairs without sanding a full section |
Historical appropriateness | High, matches original application methods | Moderate, best used where durability is the priority |
Pro Tip: Before stripping anything, have your restorer document the existing finish with photos and, if possible, a small sample. A test patch in an inconspicuous corner, like under a radiator or inside a closet, tells you how the wood will respond before you commit the whole room.
How Do Moisture and Structural Issues Affect Restoration?
Wood moves with humidity, and that movement is often the real story behind a floor that looks “worn out.” Cupping (edges higher than the center), shrinking (visible gaps that open in winter), and buckling (boards lifting entirely) all trace back to moisture imbalance rather than age alone. Keeping indoor relative humidity in a stable, moderate range year-round does more to protect a historic floor than any finish choice.
Before scheduling sanding, walk the floor yourself and check for these red flags:
Soft or spongy spots underfoot, especially near exterior walls, bathrooms, or kitchens.
Noticeable bounce when you walk across a section, which often points to a weakened joist below.
Dark staining or discoloration that suggests a past or ongoing leak.
A known history of a leaking pipe, toilet, or roof near the affected area.
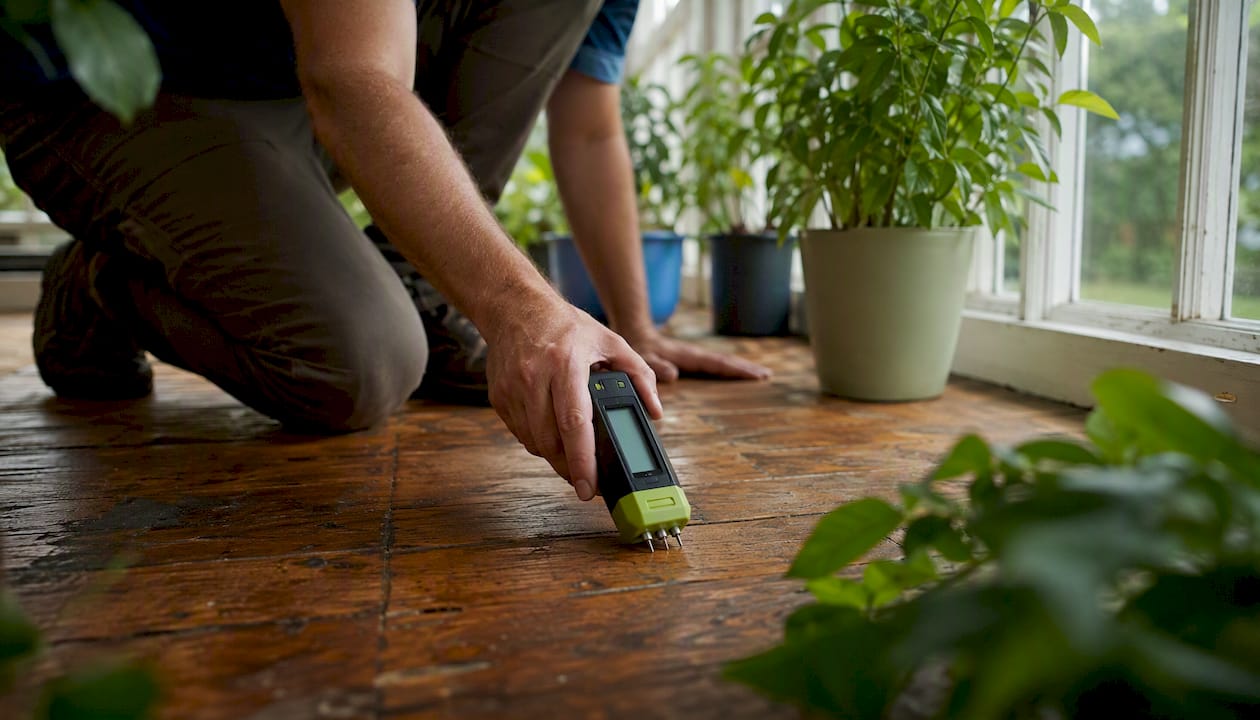
Any of those signs means a moisture meter reading and, likely, a structural contractor’s opinion before a flooring crew touches the surface. Evidence of active insect damage, like frass (wood dust) near baseboards or soft, honeycombed wood, calls for a pest specialist first.
Conservative moisture guidance: Restoration professionals generally recommend confirming wood moisture content is stable and consistent across the floor before finishing, since sealing in trapped moisture is one of the most common causes of finish failure and board cupping after a restoration is complete. If you notice recurring seasonal gaps that open and close by more than a sliver, that’s a sign to address humidity control in the home before, not after, refinishing.
How Long Does Historic Hardwood Restoration Take, and What Does It Cost?
A single room typically moves through assessment, repair, sanding, and finishing over about a week, with cure time extending a few more days before furniture goes back. A multi-room or whole-house project usually runs about a week to two weeks from start to finish, according to restoration specialists who track project timelines across typical residential jobs. Assessment and documentation happen first, followed by any board repair, then sanding or screening, staining if needed, finish application, and finally a cure period before normal foot traffic resumes.
Costs vary widely depending on scope, and getting an itemized bid matters more than chasing the lowest number.
Service level | Typical cost per square foot | What it includes |
Simple refinish (screen and recoat) | Roughly a lower cost per square foot | Light abrasion of existing finish, new topcoat, no board repair |
Full restoration | Roughly $5 to $12 | Board repair or replacement, sanding, finish application |
Full replacement | Roughly a higher cost per square foot | Removal of existing floor, new material and installation |
These ranges come from industry cost data on restoration versus replacement, and actual bids shift based on wood species, how many boards need replacement, the finish level chosen, access to the space, and whether hazardous-material abatement (lead or asbestos remediation) is required. As a rule of thumb, restoration tends to make financial sense when a large majority of the existing floor is salvageable; below that threshold, the math starts favoring replacement.
When you’re comparing bids, ask each contractor for the same details: an itemized breakdown, confirmation of dust containment method, the specific finish product and sheen level, warranty terms, and expected cure time before the room is usable. Bids that skip any of those are hard to compare honestly against one another. Our guide to hardwood restoration stages breaks down what separates a simple clean-and-buff from a full restoration if you’re trying to figure out which category your floor falls into.
How Do You Choose a Restorer for a Historic Floor?
The consultation is where you find out if a contractor understands preserving historic wood or just runs a standard refinishing crew. Ask these questions directly.
Will you document the floor’s condition and provide a written conservation plan before starting work?
Have you worked on historic properties before, and can you share references from those projects?
What dust containment method do you use, and is the work dustless?
What finish are you recommending for this specific floor, and why?
Are you insured, and what warranty do you offer on the finished work?
Watch for red flags during that conversation. A contractor who insists on full sand-to-bare-wood before even assessing wear-layer thickness is skipping a step that protects your floor. No mention of dust containment, reluctance to source matching reclaimed wood for repairs, or a vague, undocumented warranty are all signs to keep looking.
Trust signals work the other way. A documented conservation plan, a portfolio of before-and-after photos from actual historic projects, a written warranty, references from other historic property owners, and dustless or eco-friendly equipment all point to someone who treats your floor as worth preserving rather than a quick job. Our guide to evaluating professional restoration services walks through how to compare multiple bids side by side using these same criteria.
How Do You Maintain a Restored Historic Floor?
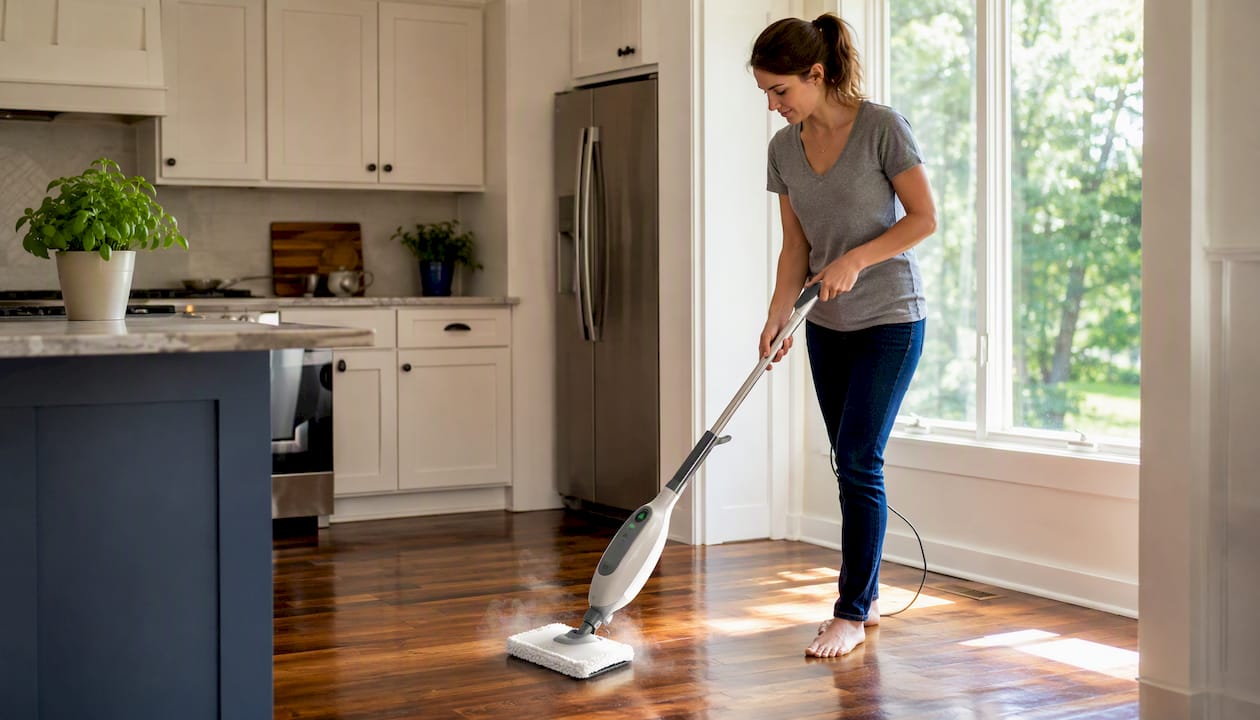
The maintenance routine you follow in the first year sets the tone for how long the finish lasts. Sweep or use a soft-bristle attachment daily in high-traffic areas, and mop weekly with a barely damp microfiber cloth. Skip steam mops entirely; the heat and moisture can penetrate seams and damage both the finish and the wood underneath. Use entryway rugs with a felt or fabric backing rather than rubber, which can trap moisture and discolor the finish over time.
Beyond daily care, plan for periodic maintenance: screening and recoating every few years depending on traffic, spot repairs as soon as you notice a scratch or worn patch (waiting lets damage spread), and re-oiling on a set schedule if your floor uses an oil finish rather than a film-forming one.
Product choice matters as much as frequency. Look for pH-neutral cleaners designed specifically for hardwood, and non-abrasive cloths or mop heads rather than anything scrubby. AO Cleaning’s own neutral hardwood cleaner is formulated for this kind of ongoing care after a restoration, without stripping or dulling the finish you just paid to have done right.
Pro Tip: Keep a simple maintenance log for the first 12 months: sweep and mop dates, any spots you notice needing attention, and when you last checked humidity levels. That record becomes invaluable if you ever need warranty service or want to hand off care instructions to a future owner.
Why Does Minimal Intervention Matter More Than a Perfect Finish?
The National Park Service’s preservation guidance is built around a simple principle: preserve original material and patina wherever possible, because over-restoration is often irreversible and reduces both historic and market value. Stripping a floor down to bare wood when a screen-and-recoat would have worked doesn’t just cost more. It removes decades of surface character that no amount of staining can convincingly recreate.
That said, preservation has limits, and pretending otherwise does homeowners a disservice. Replacement becomes the responsible call when the wear layer is too thin to sand safely, when a significant portion of boards need replacement, when mold or rot has spread through the subfloor, or when insect damage has compromised structural integrity. In those cases, restoration isn’t conservation, it’s a stopgap that fails within a few years.
There’s an environmental argument here too. Restoring what’s already there saves the embodied carbon of manufacturing new flooring and recovers old-growth lumber that simply isn’t available anymore; today’s fast-growth timber doesn’t match the density or grain tightness of boards milled a century ago.
Whatever decision you make, document it. Record what was repaired, what materials and finishes were used, and why replacement was chosen if that’s the path you took. The next owner or caretaker of a historic property deserves to know the floor’s history as clearly as they know its species.
What Should You Expect From a Conservation-Minded Restoration Service?
A restoration approached with conservation as the priority looks different from a standard refinish job, from the first walkthrough to the final coat. Illustrative outcomes look like this: a floor with decades of accumulated wax buildup gets a passive cleaning and light screening instead of aggressive sanding, preserving the amber patina underneath rather than exposing raw wood that never had that color to begin with. A room with a handful of damaged boards gets precision dutchman repairs using reclaimed stock instead of a wholesale board swap that would leave visible color mismatches for years.
AO Cleaning’s service lineup covers the full range a historic property might need: 1-day hardwood floor restoration for floors that just need surface renewal, full sand-and-refinish for floors requiring deeper work, screen and recoat for maintaining an already-restored finish, wax removal for older buildup, targeted board replacement, and in-home consultations to scope out what a specific floor actually needs before any work begins.
Every job uses dustless containment and eco-friendly finish products, which matters both for the mess factor and for indoor air quality in an occupied home. Every project comes with a documented restoration plan and a written warranty, so you know exactly what was done and what’s covered if something needs attention later.
A conservation-minded consultation should leave you with three things in hand: a clear scope of what needs repair versus what can be preserved as-is, a materials and finish recommendation matched to your floor’s age, and a realistic timeline. If a contractor can’t give you all three before starting work, that’s worth noticing.
Booking a consultation gets you an in-person assessment, a written scope of work, and a timeline before any sanding or repair begins.
When Should Homeowners Always Call a Professional?
If your floor has any structural uncertainty, visible mold, or a finish history you can’t identify, hire a professional before doing anything else. The cost of a wrong DIY move on a historic floor, whether that’s oversanding through a thin wear layer or trapping moisture under a sealed finish, almost always exceeds the cost of the consultation you skipped. That’s not a knock on capable DIYers; solid 3/4-inch hardwood genuinely is a reasonable refinishing project for an experienced homeowner. But historic floors carry a layer of risk that generic refinishing advice doesn’t account for: unknown finish chemistry, decades of prior repairs, and a patina that, once sanded away, is gone permanently.
References matter more here than almost anywhere else in home services. Ask any restorer for names of other historic property owners they’ve worked with, and actually call them. A contractor confident in their historic hardwood restoration work will hand those references over without hesitation.
If there’s one thing I’d tell every caretaker of a historic property: protect the containment and the finish decision above everything else. A messy jobsite and an aggressive, glossy finish are the two most common ways a well-intentioned restoration ends up erasing the character it was supposed to protect.
How Do You Book a Conservation-Minded Consultation?
If you’re staring at a worn but structurally sound historic floor, the fastest path to clarity is a conservation-minded in-home assessment rather than a generic refinishing quote. Aosaveswoodfloors offers exactly that: an evaluation that starts with documenting your floor’s species, finish history, and wear-layer condition before recommending anything, so you’re not paying for more sanding than your floor actually needs.

The service lineup matches what a historic property actually requires: dustless containment so your home stays livable during the work, period-appropriate finish options rather than a one-size-fits-all polyurethane, and board repair using matched or reclaimed stock when replacement is necessary. Most jobs are completed in a single day, with floors ready to walk on in about three hours, which matters when you’re trying to keep a household running during a renovation.
Booking a consultation gets you a documented scope of work, a materials and finish recommendation specific to your floor’s age, and a clear timeline before anyone touches a sander. If you’ve been putting off a decision because you weren’t sure whether your floor could be saved, start with an in-home consultation rather than assuming replacement is your only option, and ask about the pH-neutral hardwood cleaner for keeping the finish protected once the work is done.
Where Can You Read More About Restoring Historic Hardwood?
The National Park Service’s preservation guidance lays out the conservation principles behind preserving original material over replacement.
D and G Flooring’s restoration cost and timeline guide breaks down per-square-foot pricing across refinishing, restoration, and replacement.
Lowe’s refinishing guide explains which floors are realistic DIY candidates and which need a professional.
Home Depot’s refinishing how-to covers sanding grit progression and finish application steps in detail.
Mumford Restoration’s guide to historical finishes explains when shellac, wax, and varnish remain the right choice for antique wood.
Frequently Asked Questions
Can any historic hardwood floor be restored, or are some too far gone? Most can be restored if the wear layer is thick enough for at least one more sanding and the subfloor is structurally sound. Floors with severe rot, extensive insect damage, or more than 30% of boards needing replacement usually make more financial sense to replace.
How much does historic hardwood restoration typically cost? Full restoration, including board repair, sanding, and finish, generally runs a moderate cost per square foot, compared to a lower cost per square foot for a simple refinish and a higher cost per square foot for full replacement. Costs shift based on species, extent of repair, and finish level.
What’s the difference between refinishing and restoring a historic floor? Refinishing typically means cleaning or lightly recoating an existing finish without structural repair. Restoration includes board repair or replacement, more involved sanding or screening, and a full finish reapplication, making it the right choice when damage goes beyond surface wear.
Should I choose a modern polyurethane or a traditional finish for my historic floor? Traditional finishes like shellac, wax, and varnish typically suit older floors better because they preserve patina and are easier to spot-repair. Low-amber, non-yellowing modern finishes work when durability is the priority, but high-gloss oil-based polyurethane tends to erase the character conservation aims to protect.
How long does a typical historic hardwood restoration project take? A single room usually takes a few days from assessment through cure time. A whole-house project generally runs about a week to two weeks, depending on the extent of board repair needed and the finish chosen.
Sources
Recommended

Comments