


Can You Bleach Hardwood Floors? A Homeowner's Safety Guide
- Kim M.

- Aug 13
- 10 min read
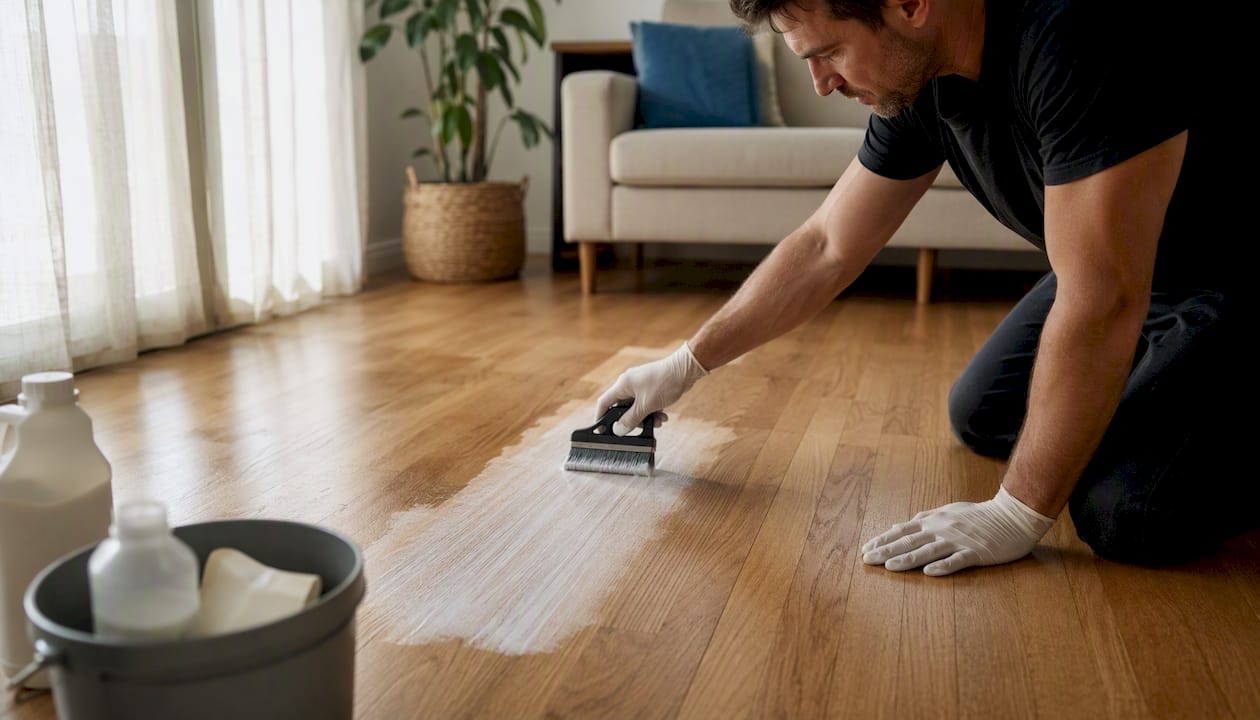
Bleach can be used on hardwood floors, but the answer depends almost entirely on whether your floor has a finish. On a sealed, polyurethane-coated floor, household chlorine bleach is a bad idea: Clorox’s own guidance warns it can strip finishes, cause hazing, and create irreversible discoloration. On bare, stripped wood during a refinishing project, the right type of bleach, applied correctly, is a legitimate tool. The wrong bleach on the wrong floor is how a stain becomes an expensive refinishing job.
If bleach was just spilled on your finished floor:
Blot immediately with a dry cloth. Do not rub.
Rinse the area with plain water, then dry thoroughly. Check for finish haze or color change within 30 minutes.
If you’re considering bleach to treat a stain:
Stop and identify your finish type first.
For a sealed floor, alternative gentler treatments like enzyme cleaners or diluted oxygen bleach are preferred.
For bare wood during refinishing, read through the full process below before you open a bottle.
Always spot-test in a hidden area and check the finish manufacturer’s guidance before applying any bleach product.
Key Takeaways
Bleach belongs on bare wood during a controlled refinishing workflow, not on finished hardwood floors as a routine stain treatment.
Point | Details |
Finished vs. bare wood | Chlorine bleach damages sealed finishes; bleaching belongs in a refinishing workflow on bare wood only. |
Always spot-test first | Apply any bleach product to a hidden area and check for haze, color shift, or raised grain before treating the stain. |
Match bleach to stain type | Use oxalic acid (Savogran) for water/tannin spots, two-part bleach (Zinsser) for color change, oxygen bleach for mildew on sealed floors. |
Neutralize and dry completely | Neutralize with baking soda solution (oxalic) or diluted vinegar (two-part), then allow at least 24 hours to dry before refinishing. |
Aosaveswoodfloors | For stains covering multiple planks, damaged finishes, or persistent odor, Aosaveswoodfloors offers professional diagnosis, dustless refinishing, and same-day restoration across the St. Louis metro area. |
Table of Contents
What each type of bleach actually does to wood and its finish
Not all bleach is the same, and using the wrong one is the most common mistake homeowners make. Here’s how the four main types behave.
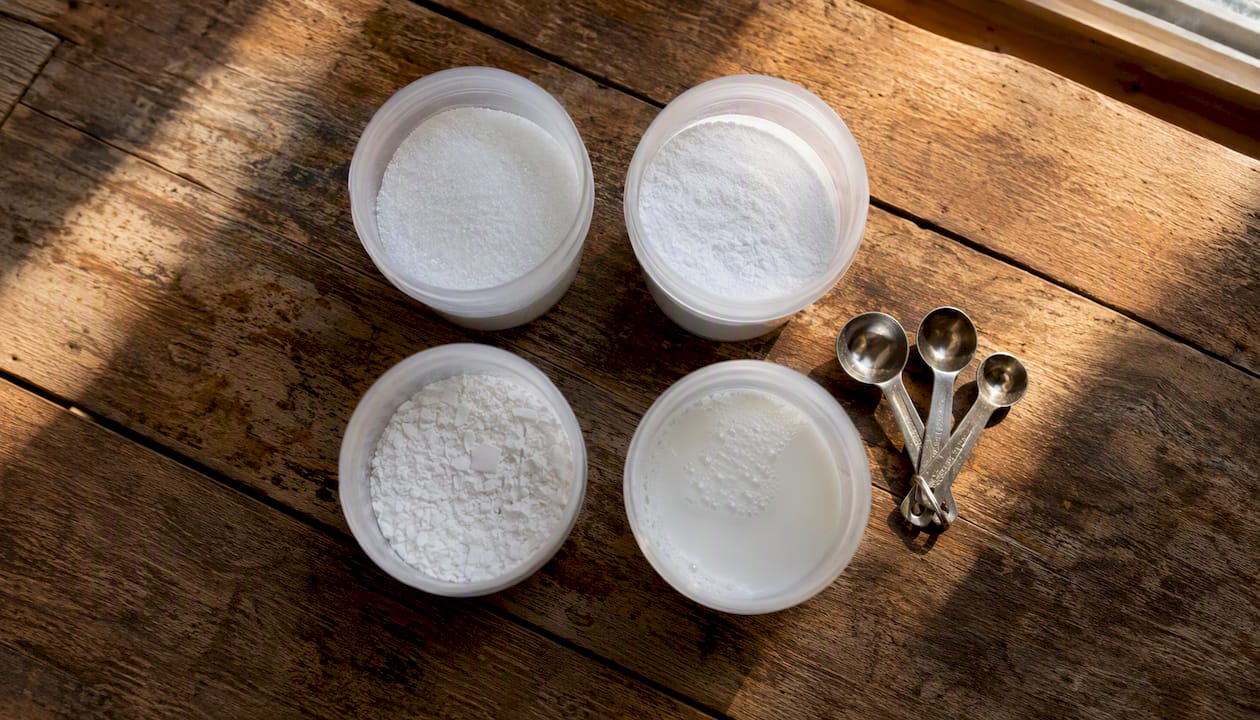
Chlorine bleach (sodium hypochlorite) is the Clorox-style stuff under most kitchen sinks. It’s effective on mildew and surface bacteria, but it attacks polyurethane finishes aggressively. On a finished floor, it can cloud the coating, raise the grain, and bleach the wood unevenly. Risk level: high on any finished surface.
Oxygen bleach (sodium percarbonate) releases hydrogen peroxide when dissolved in water. It’s milder than chlorine and is the safer starting point for a sealed floor with a mildew or light stain problem. Still, Floor Chem Depot’s guidance is clear: oxygen bleach still requires careful dilution, a spot test, and a strict contact time limit because prolonged exposure can shift color even through a finish.
Two-part wood bleach (peroxide + sodium hydroxide) is the professional-grade option sold by brands like Zinsser (Rust-Oleum). Part A is sodium hydroxide; Part B is hydrogen peroxide. Applied together on bare wood, they produce a powerful oxidizing reaction that can dramatically lighten wood tone. Zinsser’s product guidance is unambiguous: this product is for stripped, bare wood only, and it must be neutralized, sanded, and refinished afterward. Risk level: high. This is not a spot-cleaner.
Oxalic acid is the industry standard for black water spots, iron/tannin stains, and some urine-related discoloration on bare wood. Savogran’s wood bleach is the most widely available oxalic acid product in U.S. hardware stores. Per Savogran’s label instructions via True Value, a 12 oz. container mixed with 1 gallon of hot water covers a moderate area suitable for typical spot treatments. It works by breaking the iron-tannin bond that creates those dark rings, and it requires neutralization with baking soda solution after treatment. Risk level: moderate on bare wood, high on any finished surface.
Bleach Type | Best For | Safe on Finished Wood? | Neutralizer | Risk Level |
Mildew, surface bacteria | No — strips finish | Baking soda solution | High | |
Oxygen (sodium percarbonate) | Mildew, light stains | With caution + spot test | Rinse with water | Moderate |
Color change, deep dye stains | No — bare wood only | White vinegar solution | High | |
Oxalic acid (Savogran) | Water spots, rust, tannin stains | No — bare wood only | Baking soda solution | Moderate–High |
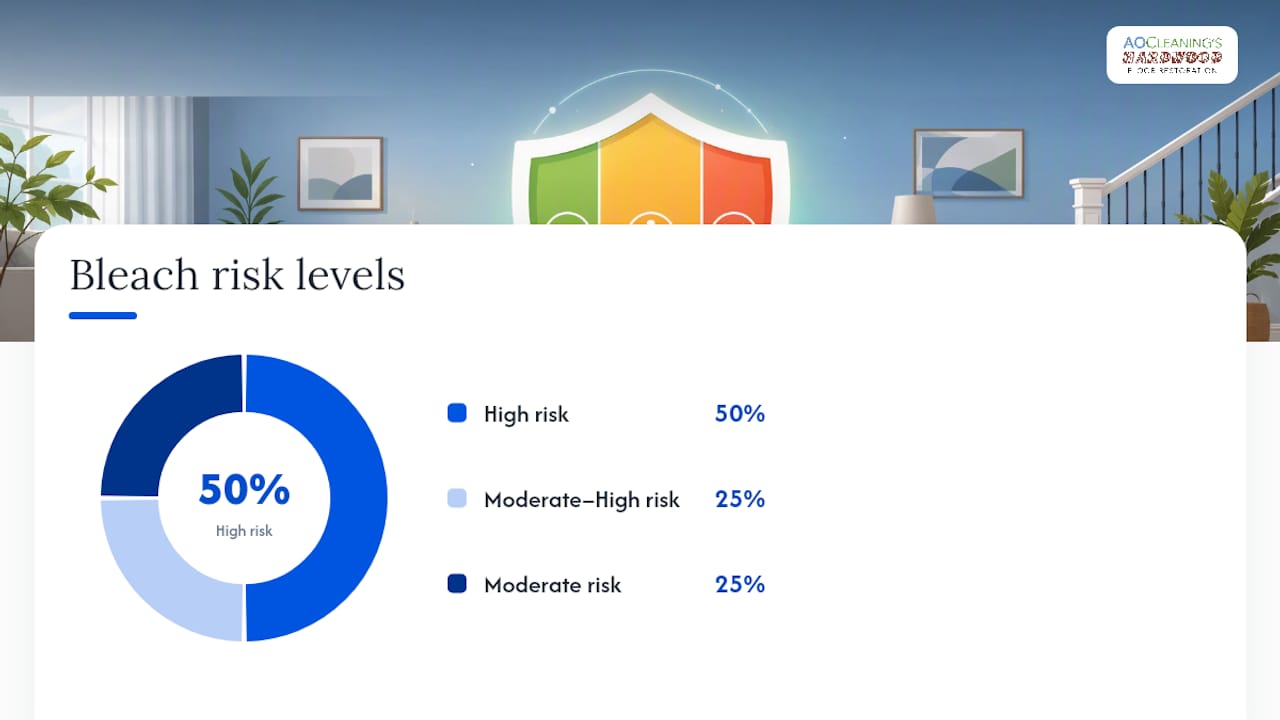
One pattern worth noting: the more powerful the bleach, the narrower its appropriate use case. Chlorine bleach is everywhere and feels familiar, which is exactly why it causes so much floor damage.
How to treat a stain on a sealed hardwood floor without wrecking the finish
The goal here is to address a localized problem without stripping the finish across a wider area. Work small, work slow, and stop at the first sign of trouble.
Step-by-step spot treatment
Identify your finish. Water-based polyurethane, oil-based polyurethane, wax, and hardwax oil finishes all react differently. If you’re unsure, check the original product documentation or call the installer. Wax and oil finishes are especially vulnerable to any bleach.
Choose oxygen bleach, not chlorine. Mix oxygen bleach powder (such as OxiClean or a dedicated wood-safe oxygen bleach) at roughly 1 tablespoon per cup of warm water. Never use full-strength chlorine bleach on a finished floor.
Run a spot test first. Apply a small amount to a hidden area (inside a closet, under a rug edge) with a clean cloth. Wait 10 minutes. Check for haze, color shift, or raised grain. If any of those appear, stop entirely.
Apply to the stain only. Use a cloth, not a mop. Work the solution onto the stain with light pressure. Keep it off the surrounding finish as much as possible.
Limit contact time to 5 minutes maximum. Set a timer. Longer contact increases the risk of finish damage even with milder bleach.
Rinse immediately. Wipe the area with a clean damp cloth, then dry thoroughly. No standing water.
Assess after drying. If the stain is lighter but still visible, a second application may help. If the finish looks hazy or the grain feels rough, stop.
Stop signals that mean you’ve gone too far:
Visible haze or cloudiness in the finish
Color change in the surrounding wood (not just the stain)
Raised grain or rough texture after drying
Any softening or peeling of the finish
Pro Tip: A small repair on a finished floor almost never blends perfectly. If the stain covers more than a few square inches or the finish is already compromised, sanding and recoating a single board or section is a cleaner fix than repeated bleach applications.
How to safely bleach bare hardwood to lighten color or remove deep stains
This is a different process entirely. Bleaching bare wood is part of a refinishing workflow, not a cleaning task. You’re working on wood that has already been stripped of its finish, and the goal is either to remove a deep stain or to lighten the overall wood tone before applying a new finish.
The full sequence
Strip the existing finish completely. Chemical stripper or mechanical sanding down to bare wood. No bleach product works correctly through a finish.
Clean the surface. Remove all stripper residue with a damp cloth and let the wood dry fully, at least 24 hours.
Choose the right bleach for the stain type:
Black water spots or rust/tannin stains: oxalic acid (Savogran). Mix 12 oz. with 1 gallon of hot water per label instructions; this covers approximately 200 square feet.
Overall color lightening or dye stains: two-part wood bleach (Zinsser/Rust-Oleum). Apply Part A first, then Part B while the surface is still wet, per manufacturer instructions.
Apply with a brush or sponge. Work with the grain. Avoid pooling.
Observe dwell time. Oxalic acid typically works within 15–30 minutes. Two-part bleach acts faster; follow the label. Do not leave either product on longer than directed.
Neutralize thoroughly:
Oxalic acid: rinse with a baking soda and water solution (1 tablespoon per quart), then flush with clean water.
Two-part bleach: neutralize with a white vinegar and water solution (1 part vinegar to 3 parts water), per Zillow’s refinishing workflow guidance.
Dry for a minimum of 24 hours. Chemical bleaching raises moisture content in the wood. Refinishing over damp wood traps moisture and causes finish failure.
Sand lightly. A light pass with 120-grit removes raised grain and opens the surface for the new finish.
Refinish. Apply your chosen stain and topcoat.
Important warnings before you start:
Chemical bleaching weakens wood fibers with repeated applications. One pass is usually the limit before you risk structural softening.
Two-part bleaches are aggressive and irreversible. Woodworker’s Journal advises treating them as a last resort, with sanding and refinishing as the preferred method for serious stains.
If the stain covers multiple planks or an entire room, the color result will be uneven unless the bleach is applied uniformly across the whole surface.
If you’re not confident in the neutralization step, stop and call a pro. Incomplete neutralization leaves active chemistry in the wood that will interfere with any finish you apply.
If you want to open the grain for better stain penetration after bleaching, water-popping is a finishing pre-step worth knowing: lightly dampen the sanded bare wood with distilled water, let it dry, and the grain will stand up to accept stain more evenly.
Safety precautions and disposal you can’t skip
Bleach is a corrosive chemical. The risks are manageable with the right precautions, but they’re real.
PPE and ventilation:
Chemical-resistant gloves (nitrile minimum; rubber for two-part bleaches)
Safety glasses or goggles
A respirator rated for chemical vapors if working in a poorly ventilated space
Open windows and run a fan to move air across the floor, not just around the room
Never mix these:
Bleach + ammonia: produces toxic chloramine gas
Bleach + vinegar or any acid: releases chlorine gas (note: vinegar is used as a neutralizer after chlorine/two-part bleach is rinsed off, not mixed directly with it)
Bleach + hydrogen peroxide in high concentrations: can cause rapid oxidation and heat buildup
Bleach in a sealed container after use: pressure can build; always leave containers vented
Disposal:
Diluted bleach rinse water can typically go down a municipal drain in small quantities. Check your local utility’s guidelines for larger volumes.
Neutralized oxalic acid solution should be further diluted before disposal; do not pour concentrated solution directly into a drain or onto soil.
Never pour bleach into a septic system in quantity; it can disrupt the bacterial balance.
Protecting pets and furnishings:
Keep pets out of the work area until the floor is fully rinsed, dried, and ventilated. Dogs and cats are sensitive to chlorine fumes at floor level.
Cover or remove rugs, upholstered furniture, and anything fabric within splash range.
Pro Tip: Floor Chem Depot’s safety guidance recommends wearing eye protection even for oxygen bleach applications. It feels like overkill until it isn’t.
Safer alternatives to bleach, and when to call a pro
Bleach is rarely the first tool you should reach for. Most stain and odor problems on hardwood floors have lower-risk solutions.
Safer alternatives by problem type:
Pet urine odor and staining: enzyme cleaners (such as Nature’s Miracle or Rocco & Roxie) break down uric acid at the molecular level. They work on finished floors without finish risk. For routine cleaning of hardwood floors, a pH-neutral cleaner handles most day-to-day needs without any bleach at all.
Mildew on a finished floor: diluted oxygen bleach, spot-tested first.
Surface scuffs and dye stains: a candle wax or surface residue approach using gentle mechanical removal before any chemical treatment.
Deep tannin or water spots on bare wood: oxalic acid, as described above.
Overall color lightening or dye removal: sanding and refinishing is often safer and more predictable than chemical bleaching, particularly for large areas.
Decision checklist: when to stop DIYing and call a pro
Call a hardwood restoration professional when:
The stain covers more than one or two planks
The odor persists after enzyme treatment (indicates urine has penetrated the subfloor)
The finish is already damaged, hazy, or peeling
You’re unsure of the finish type or the floor’s age
The floor is engineered hardwood with a thin veneer (bleaching can burn through the wear layer)
Any bleach application has already changed the color of the surrounding wood
A professional hardwood restoration service diagnoses the finish type, controls sanding depth, applies two-part bleach in a controlled environment if needed, matches color across planks, and refinishes with dustless equipment. The outcome is a floor that looks uniform. A DIY bleach attempt on the wrong surface often creates a visible blotch that requires more sanding to fix than the original stain would have needed. The full sand-and-refinish process is not always the nuclear option — sometimes it’s simply the faster, cleaner path.
The case for knowing your limits before you open a bottle
Most homeowners who damage their floors with bleach weren’t careless. They were trying to fix something, and they reached for the most familiar product in the cabinet. The problem is that chlorine bleach is designed for non-porous surfaces. Wood is the opposite of that.
What I’ve seen repeatedly in this industry: the stain that prompted the bleach application was often fixable with an enzyme cleaner or a targeted oxalic acid treatment. The finish damage that followed the bleach application was not. You can sand out a water spot. You cannot sand out a clouded finish without refinishing the whole board, and sometimes the whole room.
The pattern that works: identify the stain type first, match the treatment to the stain, test in a hidden spot, and set a timer. If the test spot shows any finish reaction, the answer is not “try a different bleach.” The answer is to call someone who can assess whether refinishing is the right next step.
Two-part bleaches are genuinely powerful tools in the right hands. In the wrong hands, on the wrong floor, they are irreversible. That’s not a reason to avoid them entirely. It’s a reason to be honest about which situation you’re actually in.
Floors you’d rather not experiment on? Aosaveswoodfloors handles it right the first time
Skipping the DIY bleach risk entirely is a legitimate choice, especially when the stain is large, the finish is already questionable, or you’ve already tried one treatment that didn’t work. Aosaveswoodfloors has been restoring hardwood floors across central Illinois and the St. Louis metro area since 2003, with over 450 Google reviews from homeowners in St. Louis, Columbia, Belleville, O’Fallon, and surrounding communities.

Their team diagnoses the finish type before touching the floor, uses dustless equipment on every job, and carries eco-friendly products including AO Hardwood Neutral Cleaner and AO’s Magic Stain Remover for targeted stain work. For floors that need more than a cleaner, their clean and buff service refreshes the surface without a full sand, and their full sand and refinishing service handles deep stains, bleach damage, and complete color changes. Most jobs are done in a single day, with floors ready to walk on in about three hours. Book an estimate at Aosaveswoodfloors.
Sources
Before you use any bleach product on your floors, read the label completely and check the manufacturer’s guidance for your specific finish. These are the primary sources referenced in this article:
Product labels change. Always verify current instructions directly from the manufacturer before use, and follow their directions exactly, including dilution ratios, dwell times, and neutralization steps.
Recommended

Comments